Build an Outfeed Table
This support for long stock also makes a great working surface
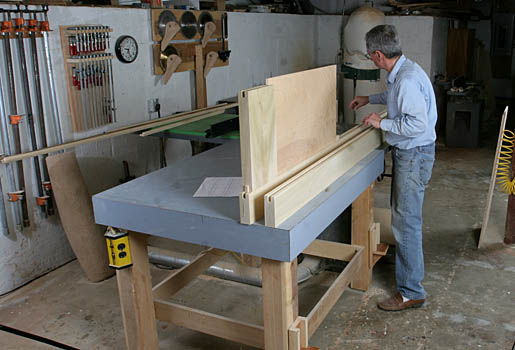
I designed this outfeed table using typical core-box (also know as torsion box) construction. Starting with 4/4 poplar stock cut into a consistent width, cut all the stringers to the same length, and then cut the small crosspieces and ends. It’s easiest to assemble the core on a flat surface and to staple the parts together with a wide crown stapler at top and bottom.
It also helps to cut the top and bottom surfaces slightly oversize. These pieces can be made from either 3/4-in. plywood or from particleboard. Lay out the top on the flat surface, and then assemble the core on this part.
After stapling the top of the core together, place the second 3/4-inch sheet on top, and flip over the whole sandwich. Remove the 3/4-in. top of the flipped sandwich, and staple the other side of the core together.
With the core stapled together, run a bead of glue over the top edges, and staple the top to the core. This should be carefully marked so that no staples will fall into the area of the grooves for the saw’s miter guide. Flip the assembly, and do the same for the bottom. When the glue is dry, flush-trim all overhangs, and apply laminate to the sides and top. Then add a groove into the top surface for a miter guide.
Each leg of the outfeed table is made from four pieces of 4/4 stock butt-joined and glued and stapled together. By routing a groove on the inside faces of the narrow pieces, you can insert a crosspiece to provide a platform for the adjustable foot. Bore holes for the support brackets, and brace as needed to stiffen the assembly.
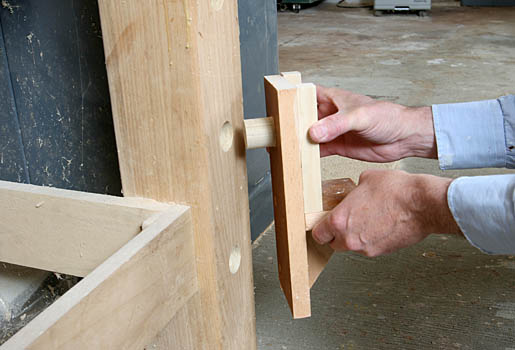
Brackets keep the door in placeThe support brackets are friction fit and support the door for mortising.While the door will sit unattended on edge, I usually clamp it in place (inset photo).
To learn how Levine uses joinery and moldings to construct his doors, read Build Your Own Interior Doors from Fine Homebuilding Issue #192 (Dec 2007/Jan 2008), pp.54-55.
Photos by: Justin Fink


