Job-site chisel sharpening
Grind out deep nicks with a belt sander, use a diamond stone to create a sharp edge, then finish with stropping compound
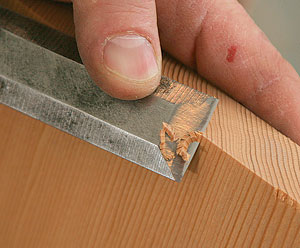
I always carry a 1-in. chisel in my tool bag. I use it for everything from adjusting a door’s hinge mortise to scraping drywall mud out of a corner before installing a length of baseboard. If I have to, I use my chisel to cut a finish nail. It’s not that I like to abuse my tools, but if a chisel or the blade of my block plane gets nicked, I know I can quickly restore the edge while still on the job.
To restore a chisel or plane blade after the edge is damaged beyond a quick honing, I begin by grinding out the deep nicks. This task is ideally done on an 8-in. grinding wheel, but that tool is usually not on a job site. Fortunately, a belt sander with a 120-grit belt can double as a grinder and can be found on almost any job site. For safety, I make sure the sander is held securely in place, and I keep the belt running away from my hands and body. Also, I remove the dust bag to eliminate fire risk. I work slowly to maintain control and to prevent the chisel from becoming too hot and losing its temper. I also keep a cup of water close by; I dip the chisel in to cool it down.
BECOME A MEMBER TO WATCH THIS TECHNIQUE ON VIDEO: Build Like a Pro: Job-Site Sharpening
After I’ve ground past the nicks and given the edge an initial bevel, I use a diamond sharpening stone. A diamond stone is not actually a stone at all but a steel plate with diamond grit bonded to the surface. The one I use has a coarse side of 400 grit and a fine side of 1200 grit. This stone is virtually indestructible and is the only stone I need before I finish the edge. For final honing, I use a stropping compound (sidebar, p. 108), which gives the chisel a razor-sharp finish.
Grind out nicks with a belt sander
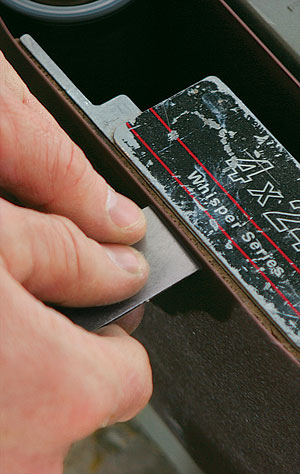
Tackle the tip first. Use a 120-grit sanding belt, and make sure the belt sander is clamped down securely. With the trigger locked on, gently push the chisel tip against the belt, taking care to hold the chisel at 90° to the belt. Keep water close by, and frequently dip the tip to prevent it from overheating and turning blue, thus losing its ability to hold an edge.
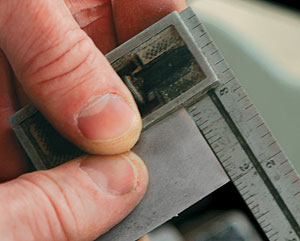
Keep it square. As I make the initial grind, I check for square frequently and make any necessary adjustments.
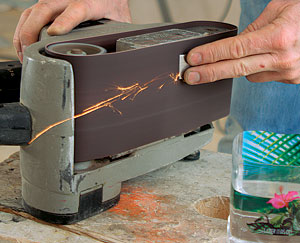
Grind the bevel at 30°. Find a stable hand position where the sander’s belt is moving away from your hands and body. I like to keep my fingers close to the chisel tip to have better control and to gauge how hot the steel is. Take your time when grinding the bevel. When the steel becomes uncomfortably hot, dip it in water until it cools down, then continue grinding. The goal is to eliminate the flat tip without grinding past it.
Use a diamond stone for the back and the bevel
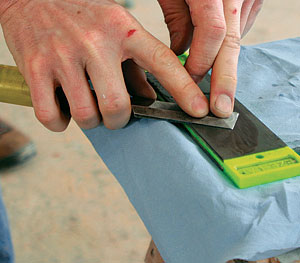
Lap the back first. Place a cloth or rag under the stone to protect it and to keep it from moving. Apply even pressure toward the tip while keeping the chisel perfectly flat. Make smooth, regular strokes back and forth until the abrasion pattern is even across the cutting edge (see inset photo). Before moving to the bevel side, I work the back with the 400 then 1200 grits as well as polish it with stropping compound.
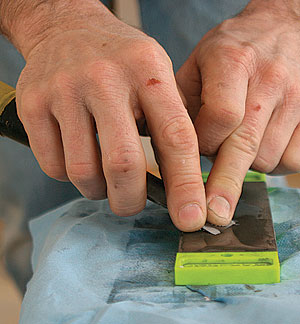
Hone the bevel with just a few strokes. With firm finger pressure toward the tip, tilt the chisel up and down until you feel that the face of the bevel is flat on the stone. Once you know it’s flat, take a few strokes, and check your progress. The bevel face is small, so it won’t take long to get an even abrasion pattern. Pay special attention to the leading edge.
Put the final polish on with stropping compound
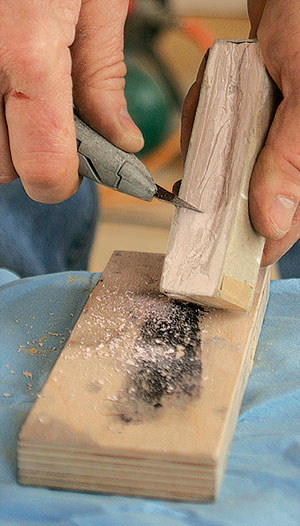
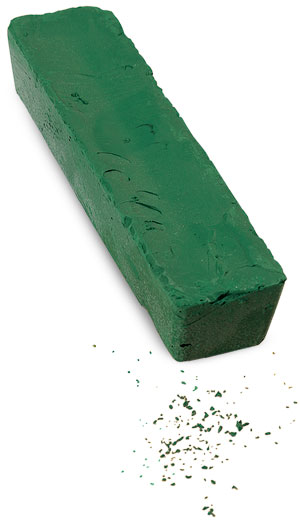
Scrape the compound onto a scrap of birch. I use birch plywood as a stropping surface, but any flat hardwood surface will work. Scrape a smattering of flakes onto the surface, and rub it evenly with your fingers. It doesn’t take much. I’ve had the same block of stropping compound for a couple of years and am only now making a dent in it.
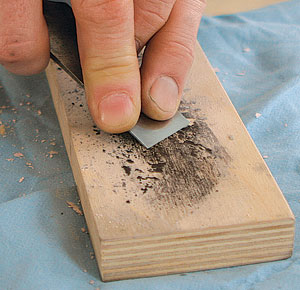
Pull back to polish the bevel. The entire surface of the bevel does not need a polish; only the cutting edge needs to be worked. With pressure toward the tip, get the bevel flat as in Step 5. Then tip the chisel just past that point, and pull it toward you once. Repeating this action three or four times puts a nice polish along the bevel side of the cutting edge.
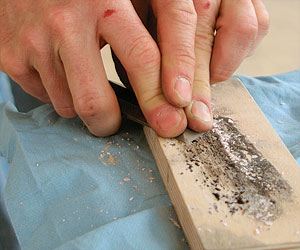
A final stroke completes the process. From sharpening the bevel, there will be a fine burr on the cutting edge that can be felt on the back side. To remove this burr, lay the chisel flat on the birch as when lapping, and with medium pressure, pull the chisel toward you once.
Sharp enough to shave with
You might not want to shave your face with a chisel, but testing its edge on a few arm hairs is a good way to gauge its sharpness. To get a chisel this sharp, you could use progressively finer sharpening stones all the way up to 8000 grit, but that would take too much time. Besides, who wants to cart around all those stones? A better way is to strop the edge.
For this final sharpening step, I use a stropping or honing compound (www.rockler.com). For sharpening tool steel, both green chromium oxide and white to gray aluminum oxide work equally well. One bar costs between $10 and $20. This superfine abrasive doesn’t need to be applied to a flat leather strop. Instead, use a scrap of birch plywood. Once you’ve spread the abrasive on the plywood, just two or three pull strokes should be enough to get the edge razor sharp.
Photos by: John Ross, except where noted


