Shortcuts to a Shed
Time-saving tips about planning, materials, and construction that will get any outbuilding up in a hurry.
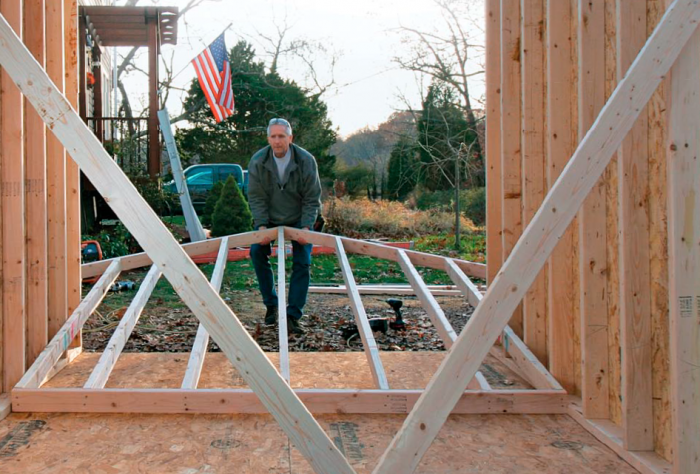
Synopsis: A shed can be a perfect complement to a house, providing storage space for lawn equipment and yard gear. By using basic techniques and taking advantage of the power of a construction calculator, contributing editor Rick Arnold has a plan for building a simple shed in a weekend. This article includes a sidebar about the Redi-Footing, a plastic pier that can replace a traditional concrete foundation.
Bonus features:
- Watch the entire “How to Build a Tool Shed” video series at the bottom of this webpage
- Watch a video where Rick demonstrates how he uses a construction calculator to figure out the angle and length of the rake wall studs for this shed.
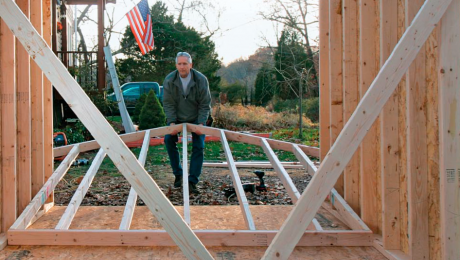
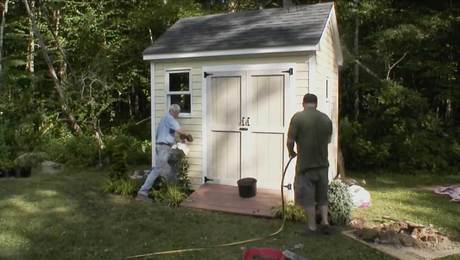
I’ve always enjoyed projects that let me step back and see a completed, weathertight structure in just a short period of time. Building a shed like the one shown here is just this type of project. From foundation to roof, it involves nearly all the framing components of a house, yet it can be completed by one person in a weekend.
When homeowners hire me to build a shed, it’s usually because they want it to match their house. The materials that are used to build a shed from scratch typically cost only about half of what you’d pay for a shed made in a factory and trucked to your site. Also, a custom shed that matches the house enhances the property value rather than detracts from it.
Smart framing saves time and materials
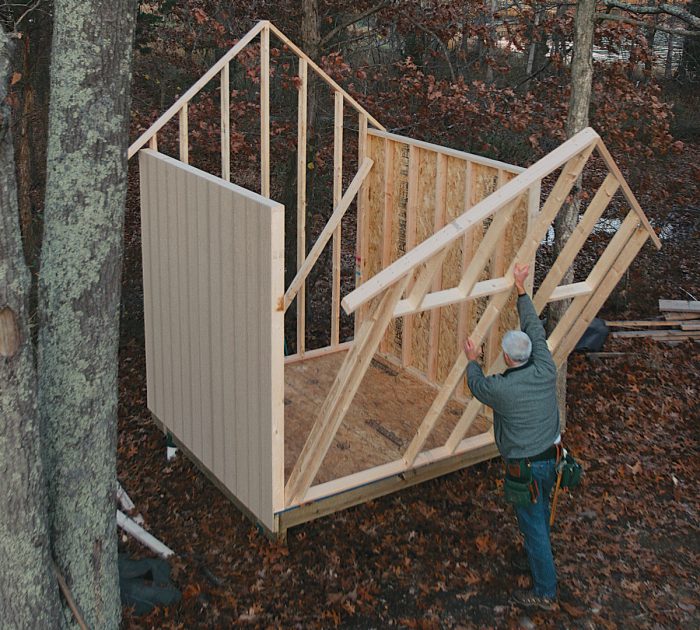
I give myself a couple of days to build a shed like this, but careful planning is key. First, I write down all the measurements, then create a cutlist. From the cutlist, I make a buy list that I can give to the lumberyard for a materials delivery.
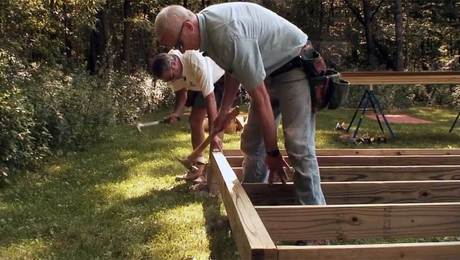
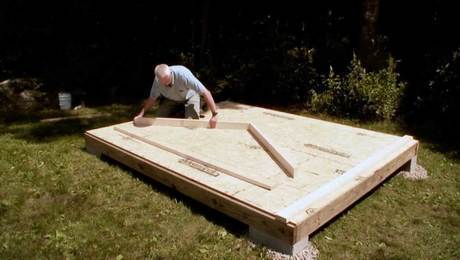
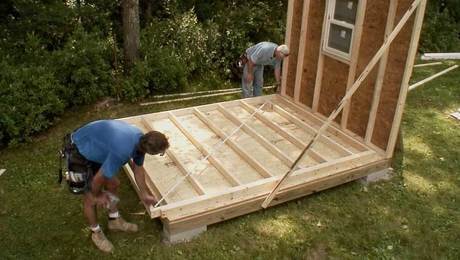
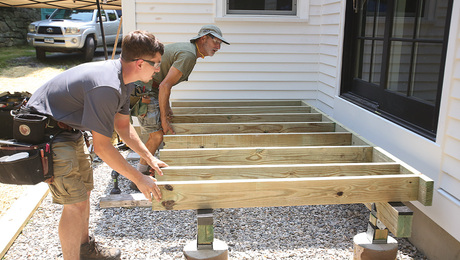
To save time and money, I design the shed’s framing so that there’s a direct load path from rafter to stud to floor joist. For the floor, I use beams to support the rim and the floor joists instead of supporting the joists with joist hangers connected to the rim.
I lay out the joist locations 16 in. on center and use the same layout for the studs and the rafters. I use only one wall top plate because the roof load is transferred directly from the rafters to the studs.
Finally, the gable-end walls are framed so that the top plate is at the same height as the top of the rafters to support the roof sheathing. This saves me the expense of four rafters and also the time required to cut and install them.
Material choices make a difference
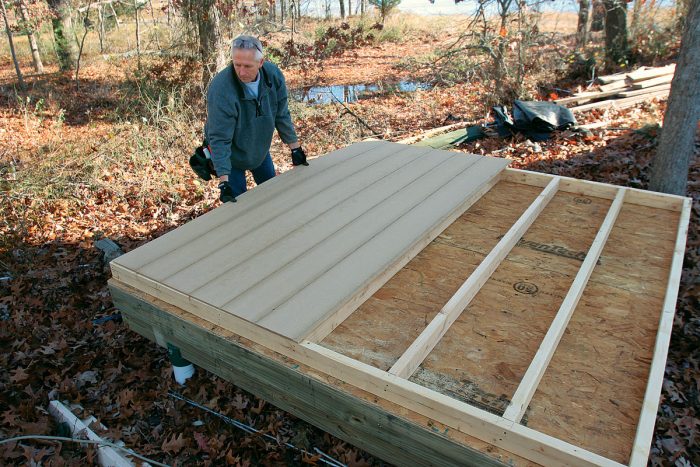
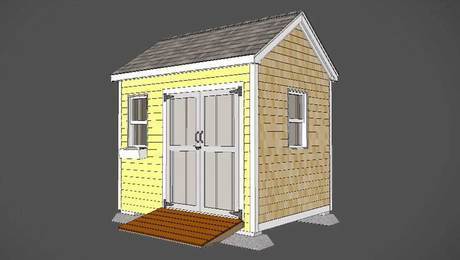
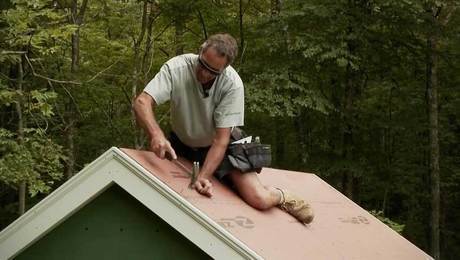
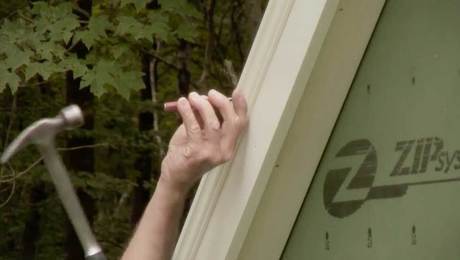
For this shed, I used PVC for all of the trim. This matched the house and also saved me the time of prepping and painting. I gave the shed a steeply pitched roof that matches the house while also adding overhead storage space.
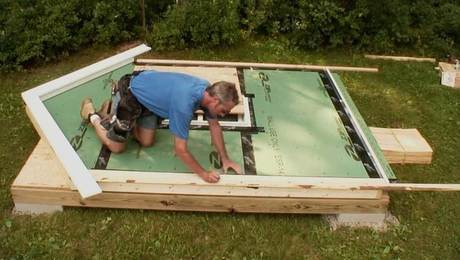
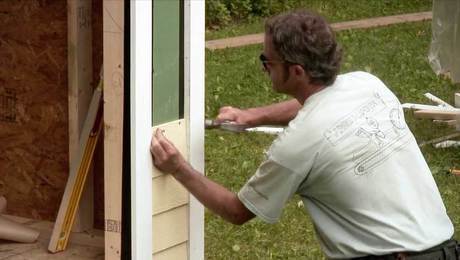
I like Louisiana-Pacific’s SmartSide cedar-texture panels for shed-wall sheathing. This oriented-strand-board (OSB) panel comes with exterior primer already applied and a cedar-channel pattern on the outside face, so it can serve as finished siding. However, I build out the rake trim 3⁄4 in. so that in the future, I can easily install the sidewall shingles to match the house.
A few years ago, I discovered Redi-Footing, a pier foundation that uses commonly available schedule-40 PVC pipe in place of poured concrete.
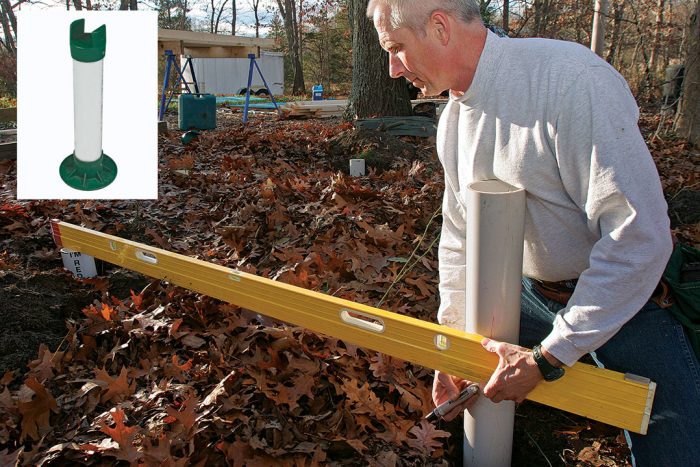
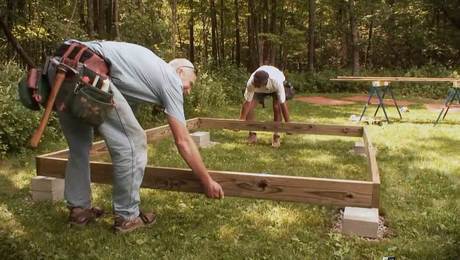
Shed foundations are always a balancing act. It’s tempting to provide the bare minimum because frankly, it’s only a shed. In my mind, the bare minimum is a pressure-treated floor system laid directly on cinder blocks set on grade.
Although I like to have something a little more substantial, poured-concrete piers that are set below the frost line seem like overkill for a small shed. Generally, unless otherwise specified, I will excavate below the topsoil and, if the ground is not gravel, provide a 4-in. bed of gravel to keep the foundation drained.
To read the entire article, click the View PDF button below:
Videos in the Series
-
Introduction: How to Build a Simple but Sturdy Tool Shed
-
Build a Tool Shed Series: Install a Block Foundation
-
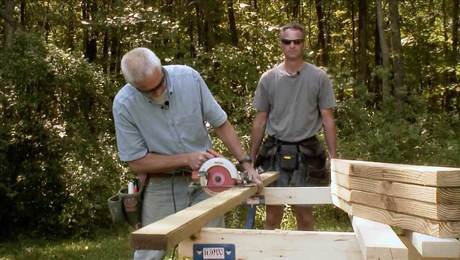
Shed Floor Framing Basics
-
Build a Tool Shed Series: Building a Gable-End Wall, Pt. 1
-
Build a Tool Shed Series: Building a Gable-End Wall, Pt. 2
-
Build a Tool Shed Series: Building the Bearing Walls
-
Build a Tool Shed Series: Build the Roof (Part 1)
-
Build a Tool Shed Series: Build the Roof (Part 2)
-
Installing Trim on a Simple Tool Shed
-
Build a Tool Shed Series: Installing Windows and Doors
-
Build a Tool Shed Series: Installing Lap and Shingle Siding
-
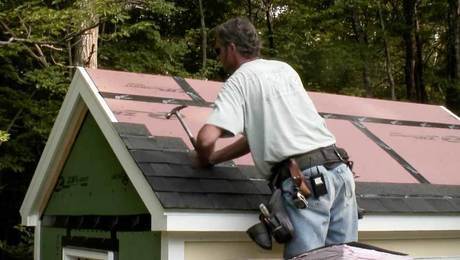
Build a Tool Shed Series: Install Architectural Shingles
-
Build a Tool Shed Series: Foundation System
-
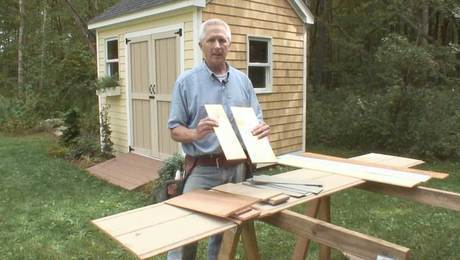
Build a Tool Shed Series: Siding Options
-
Build a Tool Shed Series: Accessorize Your Shed
-
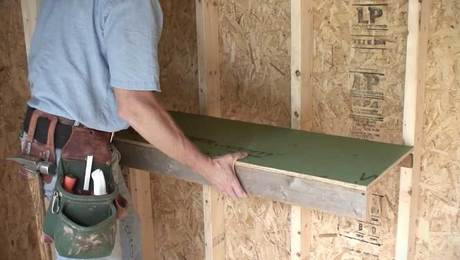
Build a Tool Shed Series: Shelving and Storage Options
-
Build a Tool Shed Series: Landscaping Completes the Look
-
 Shortcuts to a Shed









View Comments
Disappointed that it didn't show the roof and a final photo. Rick made it seem very easy which is an encouragement. Thanks for sharing.