How to Hang Drywall
A good finished look starts with properly hung panels, which reduces the work of taping, mudding, and sanding
I love working with drywall. That’s not normally the sentiment you hear because, let’s face it, hanging drywall is hard, dusty work. But there are ways to make it easier.
A good finished look starts with properly hung panels, which reduces the work of taping, mudding, and sanding. I try to use the biggest sheets possible to limit the number of seams I have to cover. If I’m working by myself, I can use 4-ft. by 12-ft. sheets. When I have a helper, I use 16-ft.-long sheets, if they are available at the supply store.
After I finish hanging the ceiling in a room (see Handling Big Sheets of Drywall from Fine Homebuilding issue #106), I hang the walls. I start where I can hang a full sheet without cutting it. Then I move to abutting walls where smaller pieces are required. This method limits the number of seams, which saves time and reduces waste. If my fastener misses a stud and finds nothing but air while I’m securing a sheet, I remove the fastener right then so there is no chance it will create a blemish on the finished wall.
Even if you are hanging just a few sheets, invest in a heavy-duty T-square to guide your cuts and a stiff-bladed keyhole saw to cut holes for outlet boxes and plumbing penetrations. Also, I use a fixed-blade utility knife called the Rasp-N-Knife that has a useful rasp built into the handle (www.warnertool.com).
Hang from the top down
(Upper Sheet)
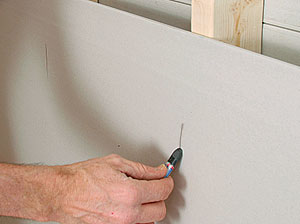
Mark the studs before you lift. Position the drywall directly below where it will be installed. With a builder’s crayon or pencil, mark each stud’s location 7 in. down from the top edge.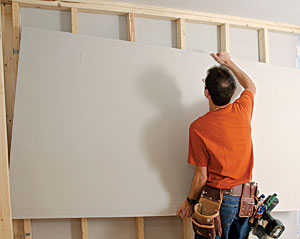
Raise the top sheet into place. I use my left hand to lift and my right hand to stabilize. This way, my free hand can grab the cordless screwdriver when the sheet is in place.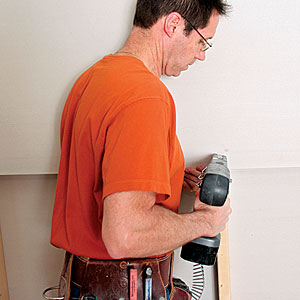
The crucial moment. When working alone, lifting and fastening a sheet at the same time can be awkward. I hold up the sheet with my left hand and brace it with my shoulder while I drive the first screw.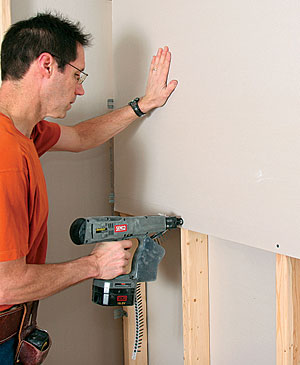
Secure from the center out. I drive the bottom center screw first and then move out, first along the bottom edge, then up each stud at 16 in. on center. I use 11/4-in. fasteners for drywall thicknesses of 5/8 in. or less.
Tip: Avoid problems later. Most settling happens where the top plate meets the studs. To prevent cracks and fastener pops, I start my screw pattern 7 in. down from the top edge.
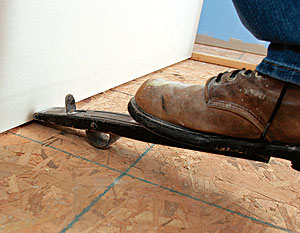
(Lower Sheet)
Lift the lower panel into place. I lever the lower panel up against the upper panel’s bottom edge with a drywall-lifting tool (www.hydetools.com).
Driving Solo
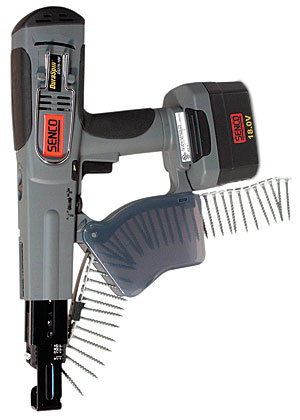 Courtesy of Senco Products
I used to hang drywall by lifting the sheet and securing the perimeter with nails. Then, to secure the field, I had two free hands: one to hold the screw and one to hold the driver. Of course, I needed a third hand to manage the cord.
That all changed when I bought a cordless driver with collated fasteners. Senco’s 18v DuraSpin driver (www.senco.com) hangs on my belt within easy reach. It weighs about the same as a corded driver, but it doesn’t have a cord to contend with.
As on my corded driver, the internal clutch releases before the screw is overdriven and can break the drywall board’s surface. The best feature is the collated strip of fasteners that enables me to drive screws with one hand while my other hand holds or braces the drywall. The strip holds enough 11/4-in. screws to secure one sheet.
The DuraSpin costs $260 and also comes in a 14v model.
Use a T-square to cut a full sheet
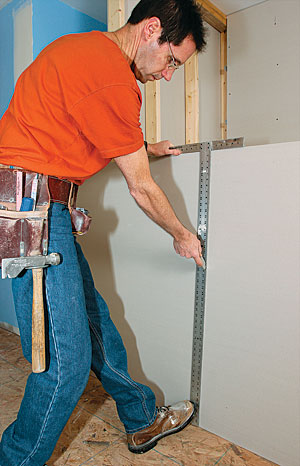
Hold the T-square in place while you cut. Make the cut in the panel’s good side. For safety, keep your top hand well off to the side and out of the path of the cutting blade. I use my foot to keep the bottom of the T-square in place. I start at the bottom and make the score in one motion.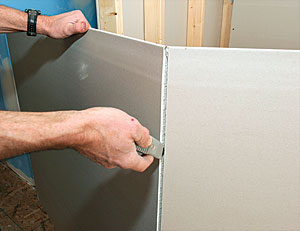
Finish the cut. I snap the board by lifting the center and pulling the board toward me. Then I insert my utility knife in the break and cut the paper on the back.
Cut the drywall in place to save time
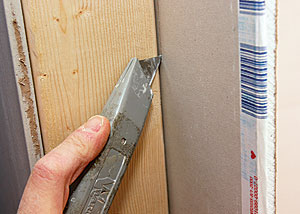
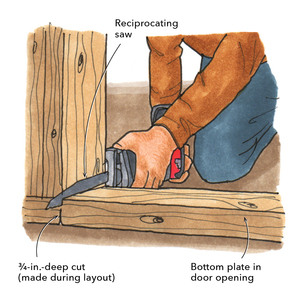
Score the back first. If there is scrap left in door and window openings, score the back of the sheet flush with the opening. Then break the scrap to the inside.
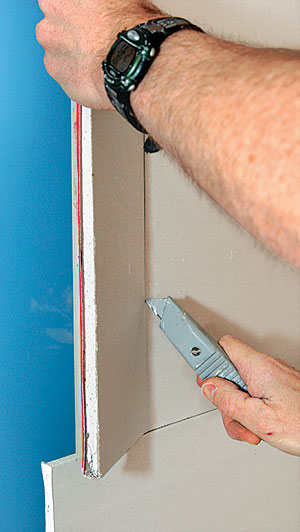
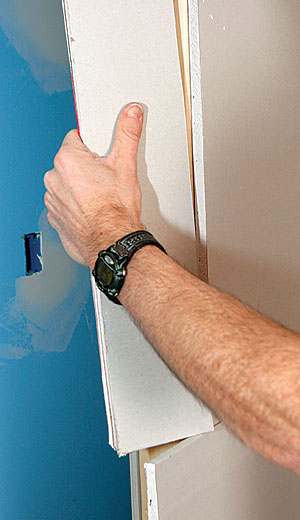
Work from the smooth side to complete the cut. With the scrap pulled toward me to create a crease, I score the paper the full length. To ensure a clean edge, I push the scrap away from me to break the paper.
Photos by: John Ross, except where noted.
For information on finishing drywall, check out these two articles.
How to Finish Drywall and Not Make a Total Mess
Flawless Drywall Finish (excerpt below for nonmembers)
If your drywall is to be wallpapered, textured, or painted with flat paint, a Level 4 finish is perfectly acceptable. But at this level of finish, any joints and imperfections can show when they’re under a coat of glossy paint or flooded with bright light.
Another problem with a Level 4 finish occurs when sanding: The compound becomes smooth, but the drywall’s paper facing gets rough. If that weren’t enough, there are areas of the drywall that don’t get sanded, so every sheet ends up with three different textures and porosities. Each reflects light differently, which produces an inconsistent wall surface.
You can solve these problems by moving up to a Level 5 finish, which the Gypsum Association recommends for areas with severe lighting or glossy paint. A Level 5 finish has an additional skim coat of compound spread over the entire wall to give the wall a uniform surface and to make joints disappear.
There are several ways to get to a Level 5 finish, but perhaps the simplest is to skimcoat over a Level 4 finish with watered-down joint compound. The compound can be applied either by trowel or with a 1⁄2-in.-nap paint roller. The compound is then immediately removed with a wide knife.
There are also primer surfacers made by several drywall and paint companies. These superthick coatings are applied in a single heavy layer (typically 15 mils to 20 mils wet) over a sanded Level 4 finish.
These primer surfacers offer both a Level 5 finish and a primed, ready-for-paint surface. While a product like USG’s Sheetrock Tuff- Hide (www.usg.com) is more expensive than conventional primer, it costs less than a handapplied Level 5 finish and one coat of primer.






View Comments
Just to let people know, my local CT. inspector tells me in no uncertain terms that walls must be back nailed or screwed every 12". He actually made me go back and add more when I had used less. Who knew???