Window Installation Done Right
Doing everything to ensure a leakproof job? If you don’t include the housewrap, use a sill pan, and flash the flanges, the work is far from watertight.
Synopsis: Installing windows properly involves several key factors, but has one crucial goal: keeping moisture away from the wall cavity to prevent decay from occurring. Builder Rob Moody and his crew use an installation procedure that requires a bit more time and a little extra money for materials, but they believe their process is cheap insurance for a big investment. By using housewrap and pan flashing, then integrating the window with the proper substrate materials, Moody is able to get windows installed and feel secure that they won’t allow water into the house.
Given the fact that windows create large holes in a house’s exterior, I’m always shocked to see how many builders in our area don’t install them correctly. In the nine years that I’ve been building and renovating homes, I’ve seen windows that haven’t been integrated with the housewrap, improperly flashed installations, and even windows with no flashing at all. Not only does improper installation affect the durability and warranty of the windows, but it also exposes the wall cavity to moisture problems.
Like any builders, my crew and I want to use efficient practices that won’t negatively affect the quality of our work. For us, that means using a pragmatic approach to installing windows with worst-case scenarios and long-term durability in mind.
Water gets behind siding
Based on conversations with subcontractors and local building officials, we’ve concluded that the reasons windows aren’t installed correctly often stem from an unrealistic expectation about the effectiveness of siding in keeping moisture out of the wall cavity. What many window installers don’t realize is that no matter how well siding is installed, moisture finds its way between it and the housewrap.
When moisture ends up on a layer as slick as housewrap, it does a logical thing: It slides down the wall. Once that moisture reaches the window, it easily finds its way into the rough opening through even the tiniest holes. Moisture that leaks into a wall cavity causes mould to grow. Mould is bad, for materials and for humans. That’s why we do everything we can to keep water moving out and away from the window by integrating it with the housewrap.
Read the window manufacturer’s guidelines
Most window manufacturers recognize the disastrous effect improper installation of their products can have on a home, including significant energy loss. That’s why they provide detailed installation instructions for their products. Following these instructions helps to keep the wall cavity dry and fulfills the window manufacturer’s warranty.
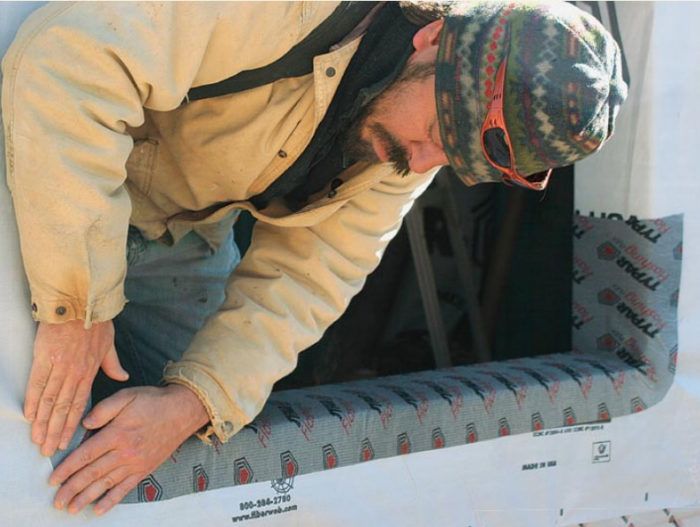
Although the photos in the PDF below show my crew installing metal-clad windows with integral flanges, the steps outlined here offer a look at fundamental elements found in most manufacturers’ installation guidelines. They address forming the waterproof sill pan, shimming the window so that it works properly, and flashing the flanges to shed water. These steps will receive LEED points as well.
When guidelines conflict
These days, every housewrap, flashing-tape, and window manufacturer has a specific set of installation guidelines that must be followed to uphold each respective product’s warranty. So what do you do when they contradict one another?
We follow Mike Guertin’s advice and use the most-restrictive protocol. For instance, when the window manufacturer shows no flashing details, we follow the tape or housewrap instructions. When one set of instructions calls for a simple flat sill pan and another calls for a sloped pan, create a sloped pan. It’s unlikely someone will claim you didn’t follow the instructions by doing more than is called for.
When in doubt, though, follow the window manufacturer’s instructions. The International Residential Code (R613.1) requires windows to be “installed and flashed according to manufacturers’ instructions.” If there’s ever a problem, you’ve done what was required by the building code.
For more photos and details on how to prepare the rough opening with housewrap, click the View PDF button below.


