Matching a Finish
Although never an easy task, these techniques help simplify a tough job
Every so often, I’m asked to make new cabinets for an existing kitchen. Because clear finishes change with age, I often have to do detective work to match a new finish to the old. Figuring out the wood species, the type of stain and lacquer, and the way to tweak colors for the match can be time-consuming and frustrating. Over the years, I’ve developed some techniques for simplifying this procedure.
First, identify the wood
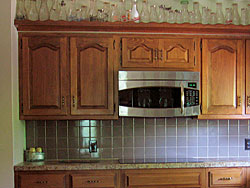
Here in the Midwest, most kitchens I’ve had to match are made of woods native to this region: pine, oak, maple, cherry, and birch. When I’m stumped, I turn to books such as What Wood Is That? by Herbert L. Edlin (Stobart Davies Ltd., 1977) or Identifying Wood by R. Bruce Hoadley (The Taunton Press, 1990). The former book has detailed information about 40 different trees, clues to identifying wood, and even 40 wood samples.
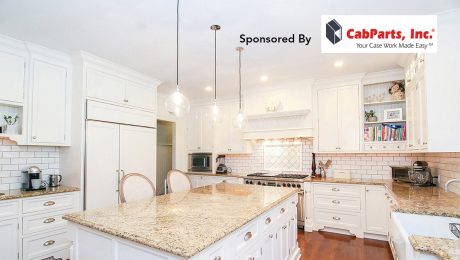
Initially, I thought the kitchen shown above was pine, but when I removed a cabinet door, it seemed heavier. I stripped back a small area of finish and discovered the wood was beech. When I ordered stock to make the new cabinets, I made sure to have extra for staintest samples.
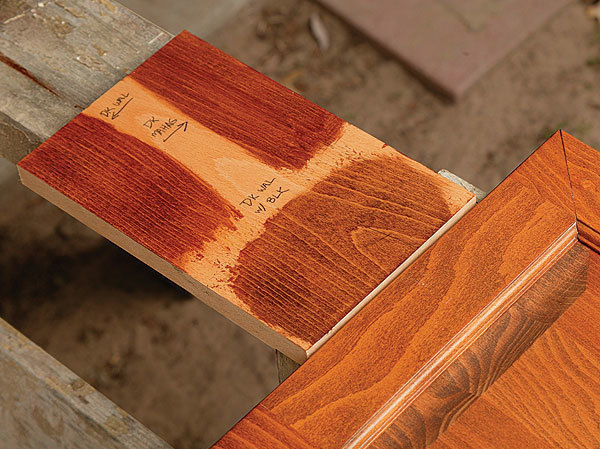
Using raw-wood samples as well as a door from the kitchen can help with the beginning stages of determining the stain color, especially when I have to contend with both heartwood and sapwood. A new cabinet that blends in. Integrating a microwave oven into 30-year-old kitchen cabinetry meant adding a new double-door wall cabinet. I matched the wood and the style of the original cabinets, then set about matching the finish.
I sand the samples with 120-grit paper to remove the mill marks, then take an old cabinet door and some raw-wood samples to my local paint store. I experiment with stains on samples in the store. (It’s a small town.) When it looks like I’m in the tonal ballpark, I buy a couple of stains in that color range, in both pigment and penetrating varieties.
Penetrating stains are dyes with an oil carrier that permeates the wood’s surface. They bring out a color and clarity that can look so natural, the piece often doesn’t look stained. I found that Early American, a Minwax Wood Finish (www.minwax.com), best matched the heartwood.
Pigment stains can be oil- or water-based; they lie on top of the wood’s surface without totally penetrating it. I added black and yellow universal colors (see “Trick of the Trade,” p. 108) to some pigment Wiping Stain by Old Masters (www.oldmastrs.com), and it was a dead ringer for matching most of the lighter beech. I mixed both vigorously and applied them to the backs of several sanded cabinet doors and other beech samples. Overall, I thought the color needed warming up, but I knew I could fix that with lacquer.
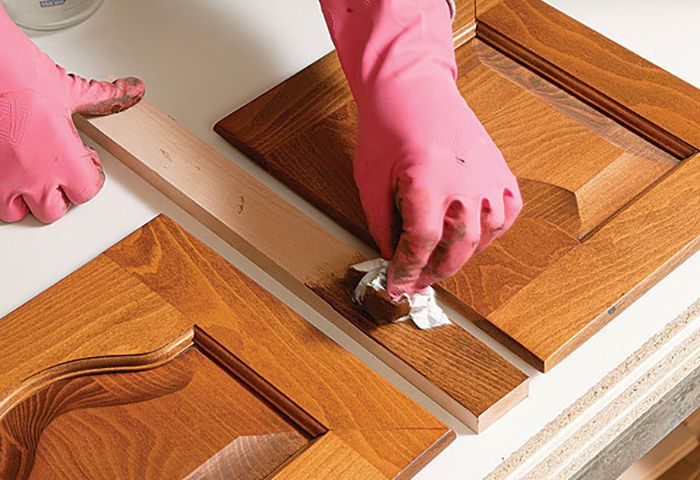
Trial, error, and lots of samples are the way to go. Starting with a base color close to the original, I mix tiny amounts of universal tints with the stain and apply it to samples until the match is close. I keep track of the mixes by labeling samples as I go. The lacquer finish coat also adds color and should be included on the samples.
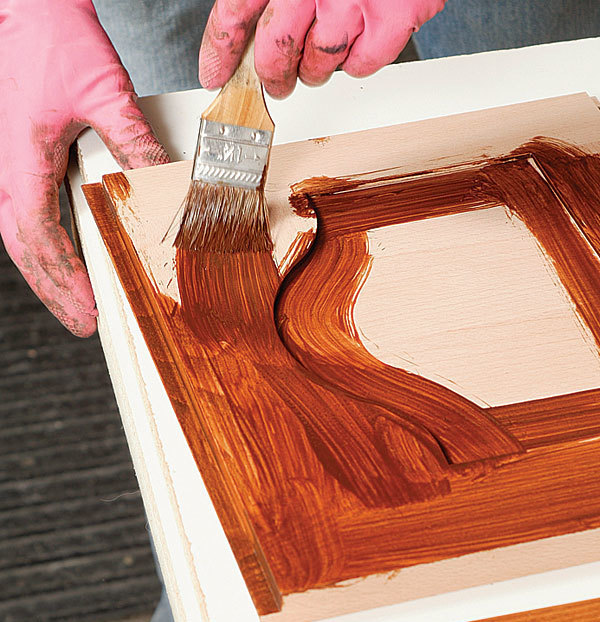
Brush on, wipe off. I’ve found that if I brush on the initial coat of stain, let it sit for a minute, then wipe it off, the stain is absorbed evenly into the raw wood.
Universal tints
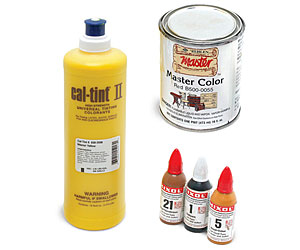
Called universal colors or tints, these concentrated colors are pigments reduced to a fine powder and mixed into a glycol-and-water medium. Commonly found in primary colors, black, and burnt umber, they’re used in gauged dispenser carousels to tint house paint. They’re also sold in most woodworking catalogs that carry finish supplies. Some of the better-known brands are Master Colors (H. Behlen, www.hbehlen.com); Mixol Universal tints (www.mixol.de/com); and Cal-Tint. They’re made to mix with almost any finish: water-, oil-, or lacquerbased materials. You can even mix them with glazing compound to tint putty. I bought quarts of different colors years ago and am still using them. In a pinch, if I need just a small amount, I take my own jar and buy some from my local paint store’s carousel.
The right light is key to the match
The beauty of wood is that it is all different colors, whether stained or not, so the shading you add can make or break a match. Throughout the process, I tried to work in the same basic lighting as the client’s kitchen so that the colors would be accurate. To make sure, I took all the completed samples back to the kitchen and checked them against the original cabinets.
You can almost bet that a kitchen built 30 years ago was topcoated with lacquer that has a tendency to turn amber or yellow as it ages. Although my stain matched the tone, the lacquer needed to be tinted to achieve the proper shade. Back in the shop, I added small amounts of yellow, red, and burnt-umber universal color to the lacquer in a liquid measuring cup, then transferred the lacquer mixture to a container and blended them. (Be judicious. Universal color is very concentrated; a little goes a long way in lacquer.)
I use a DeVilbiss HVLP gravity-feed spray gun with a #2000 millennium air cap at just less than 30 psi of pressure. It has a screw setting to gauge paint flow, and I set it so that only a small amount would be dispersed. I sprayed the samples at the same time, then took them back to the client’s kitchen to check the color before applying the final coat.
The finish is a catalyzed lacquer by Sherwin-Williams (www.sherwin-williams.com). Although nasty-smelling, the stuff is quick to use and extremely durable. The catalyst is added when you buy the finish, and the lacquer has a six-month pot life.
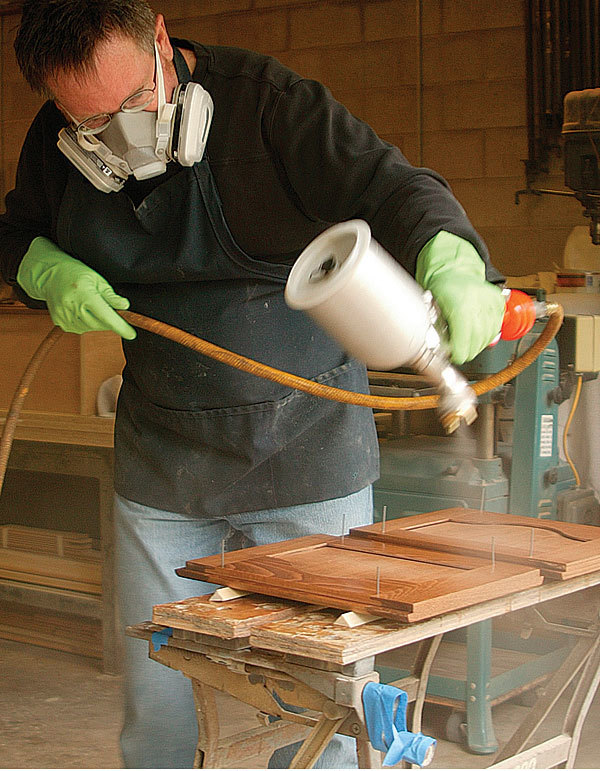
Spraying two wet coats within an hour and a half is usually all it takes for a good-looking, dust-free finish, perfect for a kitchen job. After the homeowner approved the final tint, I strained the lacquer into the gun, donned my dual-cartridge organic vapor respirator, and began to spray a regular pattern to apply it (photo right). After the first coat dried, I lightly sanded the piece with 320-grit paper before spraying two additional coats of lacquer.
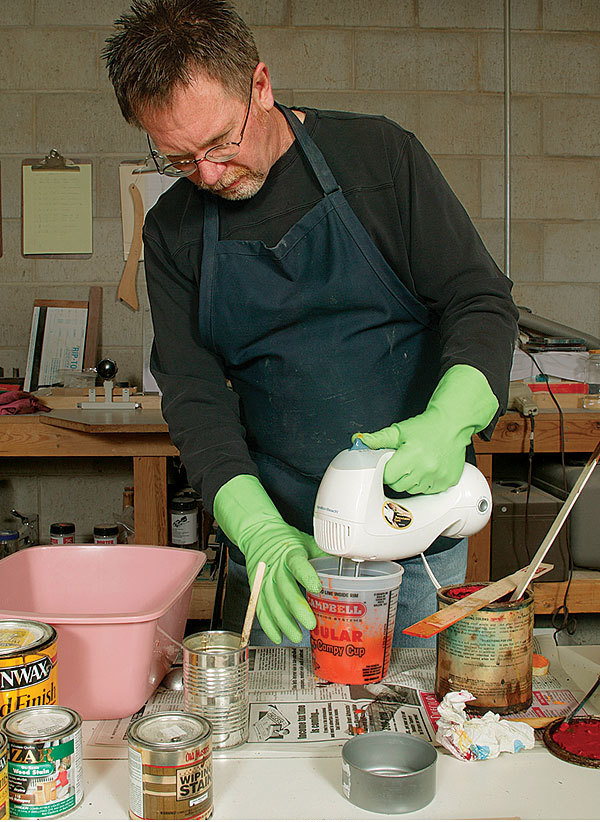
Cooking up a finish. If and when I tint the lacquer, I’ve found that an electric hand mixer is a great tool for combining the pigment and catalyzed lacquer. I run the mixer until any trace of pigment solids disappears, usually about five minutes.
Spray until it’s right. When tinting with lacquer, I start by lightly spraying the rails, stiles, and then the panel, checking the color until I feel comfortable with the match. If the color goes wrong, I wait until the spray dries, lightly sand it, and retint the lacquer.
Photos by: Charles Bickford
