Dress up cabinet face frames with a mitered integral bead
For consistent results, rotate the stock, not the saw, and cut opposing pieces at the same time
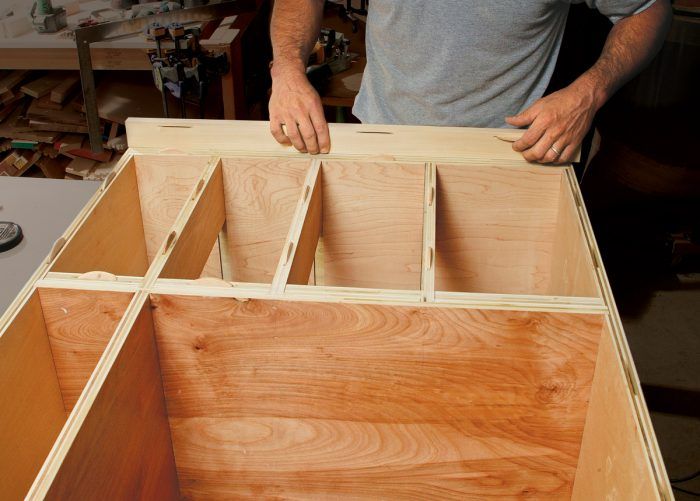
I was lucky to begin my woodworking career by apprenticing in two small New England cabinet shops. Each cabinetmaker had his own style, but they had one thing in common. If their shop was going to produce quality pieces efficiently and turn a profit, then accuracy and craftsmanship were key. One detail we used was the bead that ran along the perimeter of a door or a face frame. This detail softens the edge but creates a sharp shadowline.
There are two types of bead. An applied bead is typically shaped on the edge of a board, ripped off, then applied with glue and brads. An integral bead is shaped on the face-frame stock itself.
Both processes have advantages. I use an applied bead when I’m adding a bead to arched or curved stock. An applied bead is also the way to go if a drawer front rather than a face frame needs a bead. Any other time, I can work more efficiently by milling an integral bead. There are no nail holes to fill, which is important when working with stain-grade materials, and it’s easier to flush the face frame and the interior of the cabinet.
I profile the stock on the flat with a horizontal router setup and featherboards; it seems to produce more consistent results than a vertical setup. For most cabinet face frames, I use a 1.4-in.-dia. Jesada edge-beading bit (www.jesada.com) with the guide bearing removed.
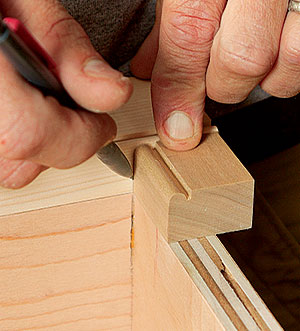
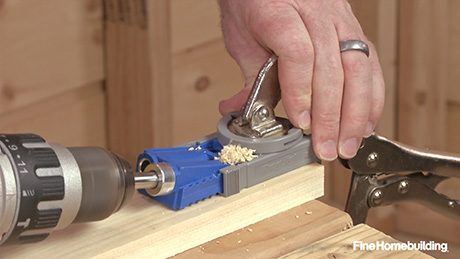
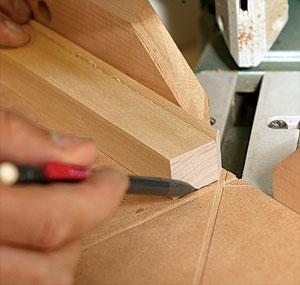
After cutting the rails and stiles to length, I biscuit (dry, no glue yet) the pieces to the cabinet boxes and work the mitered cuts in place. I start with the two outside stiles, marking and cutting the miter locations with a scrap and marking knife or fine pencil (photo bottom left, p. 118). Then I mark, cut, and place the interior rails (and stiles, if any). Once I’ve gotten everything to fit, I remove the pieces and pocketscrew the frame together. Then I biscuit, glue, and clamp the face frame to the cabinet.
Dry biscuits help layout
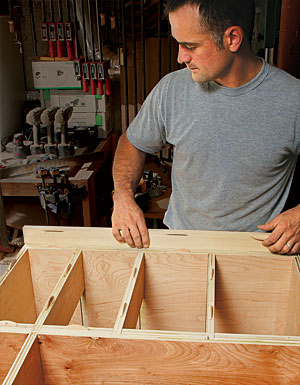
I cut the face-frame rails and stiles to length, then start the layout with the outside stiles. I use dry biscuits to align them with the inside edge of the carcase (photo left), then use a scrap piece to mark the bead miter locations (photo right).
Use an auxiliary table to judge the cuts
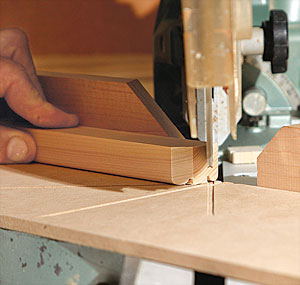
I cut a piece of 1/4-in. MDF as an overlay on the miter-saw table, notched to wrap tightly around the fence so that there’s no side-to-side play. I set the saw’s depth of cut to just below the surface and make one 90° and two opposing 45° cuts. They serve as cut indicators; I can match the pencil line on the stock with the kerf and see exactly where the blade will go.
When making two mitered cuts on the same piece, I rotate the stock and keep the saw in the same position so that the angle stays consistent.
Cut multiples for accurate alignment
If two opposing pieces (the outer stiles, for example) share the same rail, I cut the miters at the same time for consistent results.
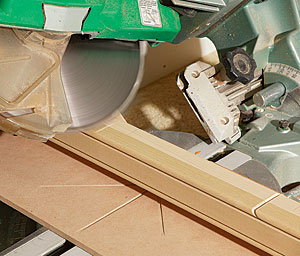
I use double-stick tape to bind the two stiles together, then stand the pair on edge against the fence and miter the beads.
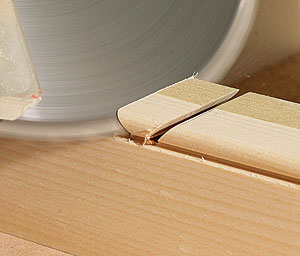
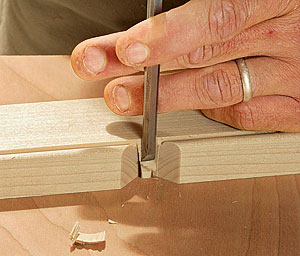
Afterward, I pare down the waste to the shadowline with a sharp chisel.
Double-stick tape
I can’t remember where I first found this type of double-stick tape, but life after double stick has certainly been a lot easier. I buy a 1/2-in.-wide Scotch-brand product (www.3m.com) called Double Sided Tape. It’s very thin, like one-sided Scotch tape, but it has great adhesion and is easy to peel off after I’m finished. It costs about $5 a roll at most stationery stores.
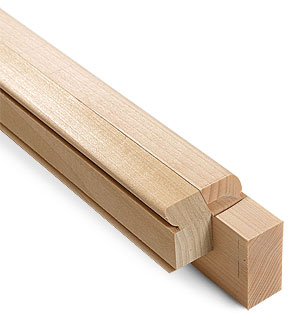
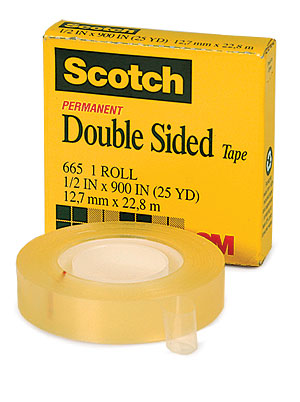 Photo by: Krysta S. Doerfler
Magazine extra: Watch a video of Brent milling an integral bead for the cabinet featured here.
Photos by: Charles Bickford, except where noted
