Build a Sturdy Stone Sitting Wall
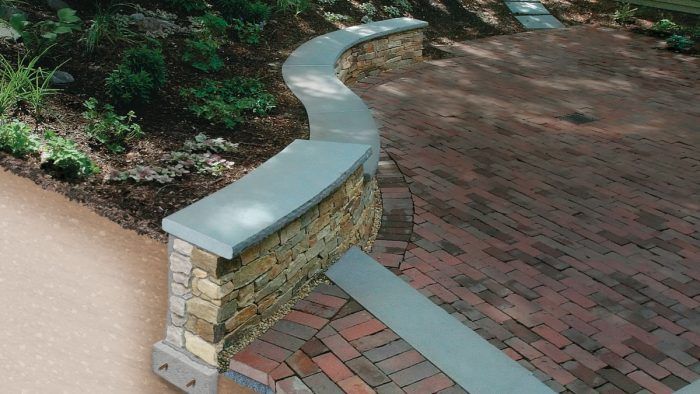
Keep the look of a traditional dry-stack stone wall, but strengthen the core with mortar and finish with a bluestone cap.

Synopsis: A stone wall is an appealing feature for any yard, but building a sturdy wall requires patience and skill, especially when selecting stones to be placed in the right location. Mason Brendan Mostecki shares his lessons about the best techniques for building a wall with a classic dry-stack appearance but that uses mortar to make sure that the wall holds up over time. A good wall starts with a solid base, proper drainage, and a poured footing. The first course goes on top of the cured footing, and stones are then stacked in layers. While Brendan looks for stones that are appropriate for the face of the wall, he also does improvements when necessary with his bricklayer’s hammer. After the first course is set, he places a layer of mortar and continues building the wall. This article includes sidebars about customizing a wall cap with a “rock and thermal” finish, creating appropriate drainage for a stone wall, and mixing mortar.
I used to get annoyed when I heard people compare building a stone wall to assembling a jigsaw puzzle. Stone walls have no precut pieces, and they certainly don’t come with a picture. Then one day I sat down with my two sons to put together a jigsaw puzzle. As these things often go, they quickly ran off with the box, and I was left with a pile of pieces but no road map. That’s when I realized that a stone wall wasn’t so different from a puzzle after all. I start each wall by emptying and sorting a pallet of stone into four categories: base pieces, face pieces, cornerstones, and caps. I lay out the first row, establish the corners, then work in toward the middle, just like a puzzle but without the picture, of course.
I could write an entire article about different ways to build stone walls. They can be dry-stack or wet-stack (set in mortar with or without visible joints), and built either freestanding or with stone applied to the face of concrete blocks. The stones can be round or flat, natural or chiseled, rough or smooth, and random or uniform.
For this project, my crew and I built a small retaining wall that doubles as extra seating around the perimeter of a patio. Sitting walls can be topped with large flat stones that match the face of the wall, but they don’t make for comfortable seating. I prefer to cap these walls with custom slabs, in this case bluestone.
Size the base, and consider the drainage
Stone walls can be built atop a well-compacted gravel base or atop a poured concrete footing. Personally, the only time I choose a gravel base is if I’m building a dry–stack farmer’s wall.
For most situations, substituting the gravel base with a rebar-reinforced concrete pad allows you to cut the base depth in half. A concrete pad also helps to unify the assembly, allowing the wall to rise and fall as one unit when the ground freezes and thaws.

of mortar.
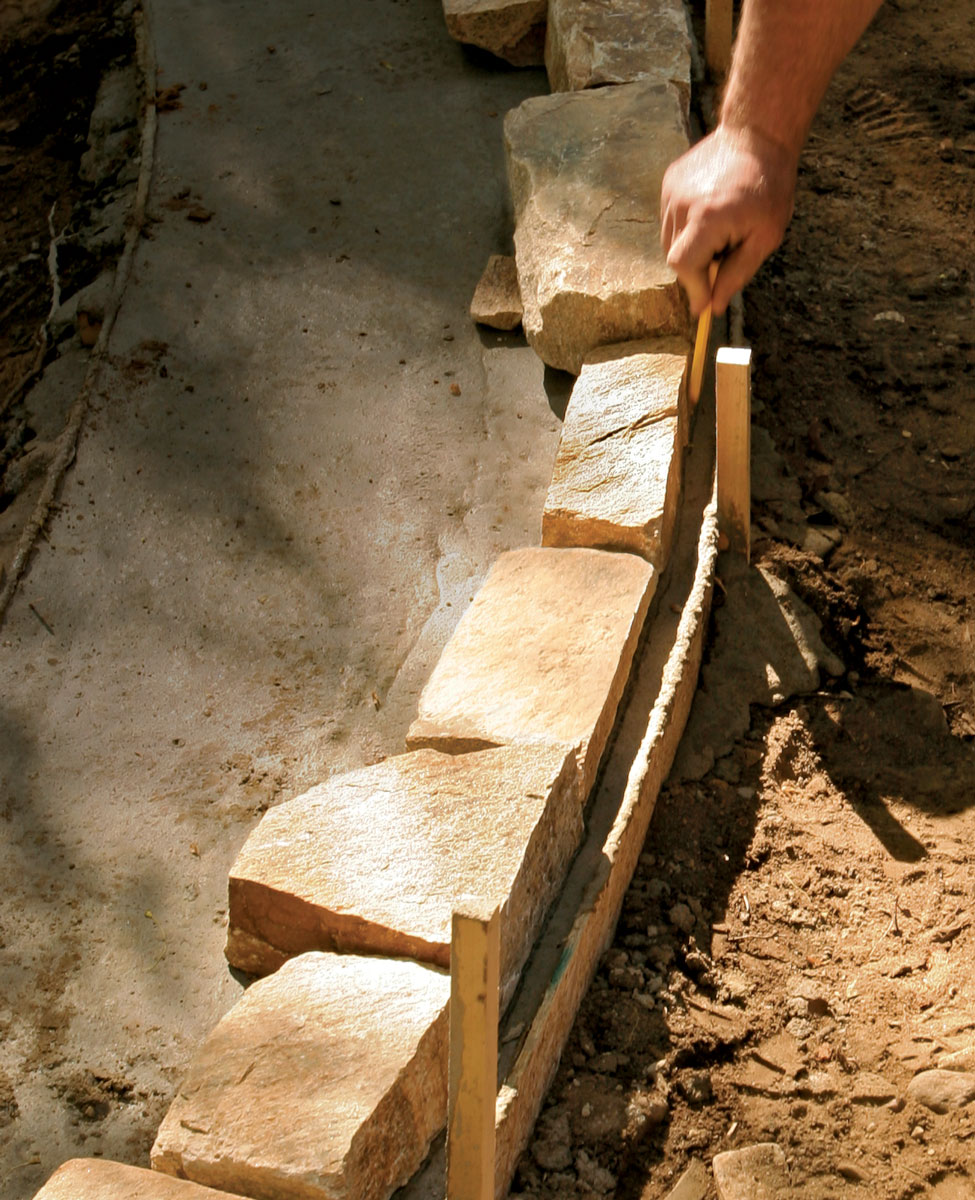
In most cases, a poured footing can be formed just by digging a trench, adding rebar, pouring the concrete, and letting everything set. Straight footings are the easiest, but curved footings aren’t much extra work. Once I have the area cleared and leveled, I scribe the curve in the dirt, playing around with the layout until I’m happy with the shape and the flow of the wall. Then digging can begin.
If patio pavers are going to abut the stone wall, I like to form the edges of the footing with 1 ⁄4-in. or 1 ⁄2-in. plywood, which I remove once the wall is built. This creates a smoother surface so that in winter months, the patio pavers will be less likely to collide with the wall footing and heave; it’s the same principle as using cardboard Sonotubes for pier footings.
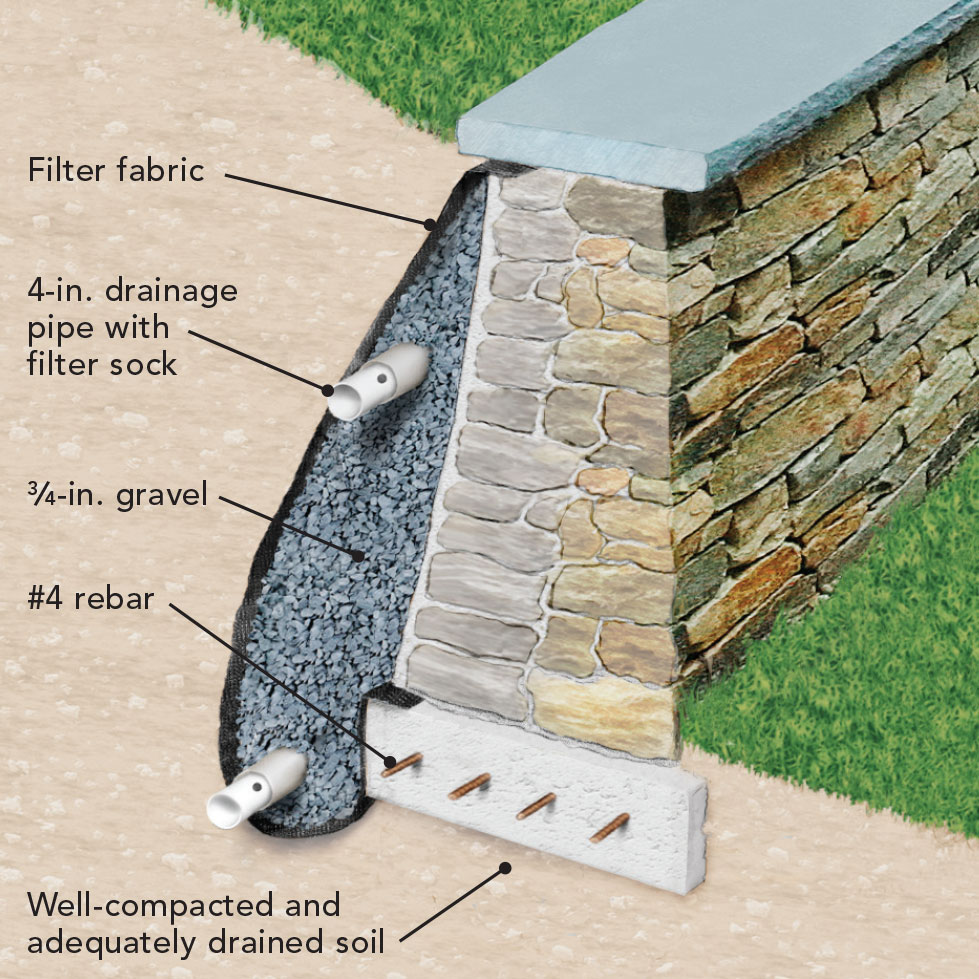
Drainage and hydraulic pressure are also concerns when I’m designing a wall. I wish there were a rule of thumb for this issue, but every
installation is different. The stone wall featured here was set at the foot of a short hill; the soil both below it and behind it had lots of gravel mixed in to provide excellent natural drainage. In this case, no other drainpipes were necessary, but if a retaining wall is at the bottom of a long downward-sloping hill and doesn’t have at least a perforated drainpipe set similar to a typical footing drain on a house, the buildup of water behind the stone will force the wall forward. It’s also sometimes necessary to install small-diameter PVC pipes through the wall to allow water to drain from behind the stones. If you are unsure of your site conditions, I suggest calling a qualified contractor to help you assess the soil, drainage, and other factors. The same is true if you are building a wall that will be taller than 4 ft. or that will support a structure or a driveway; consult a structural engineer. These walls often need additional reinforcement and are best left to professionals.

Brendan Mostecki is a mason in Leominster, Mass. His Web site is www.culturedmasonry.com. Photos by Justin Fink.
Drawings: Toby Welles/WowHouse
From Fine Homebuilding #204
For more photos and details, click the View PDF button below:


