Trim Adjustor Screw Review
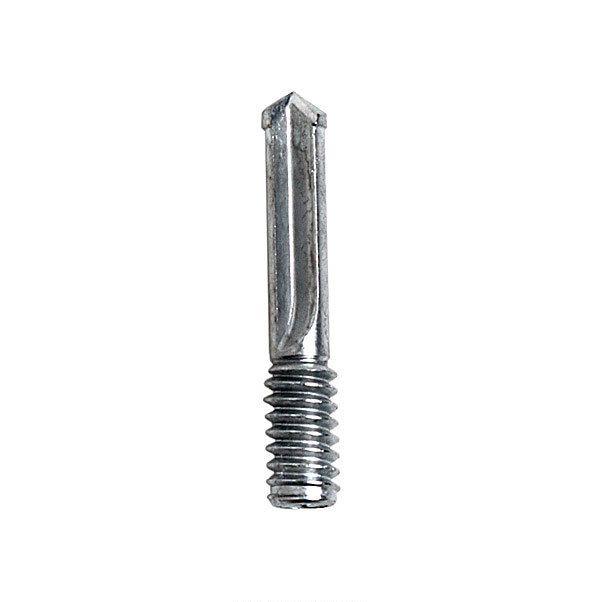
The Copemaster Trim Adjuster is a two-part screw: After drilling the Trim Adjustor into the bottom edge of the baseboard, the drill is switched to reverse, and the baseboard rides out along the threads to close the gap in the coped joint

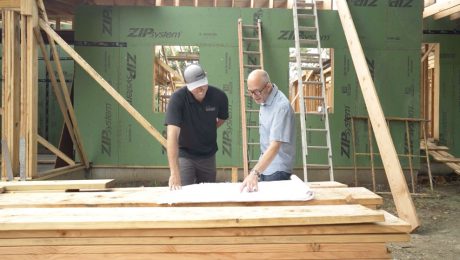
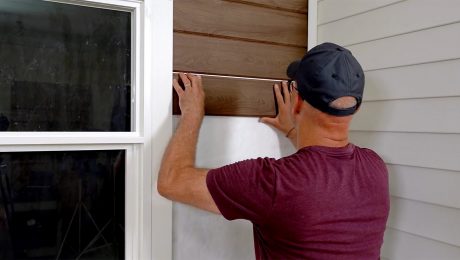
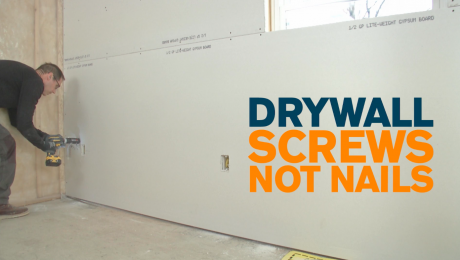
A few years ago, I learned the trick of running a drywall screw into the bottom plate of the wall before installing baseboard. Using a square or a short piece of baseboard, you can adjust the screw in or out until the head is in the right spot to support the back of the trim, making the finished baseboard square to the floor. Lots of times, though, you don’t know if the corner needs shimming or if you got that screw in the right position until the baseboard is in place. Then you have to pull the baseboard out of the way to adjust the screw. With a Trim Adjustor screw, that headache is past tense. Just run the Trim Adjustor in at the bottom of the first piece of baseboard, tight to the corner. If possible, I like to place the screw where shoe molding or the adjoining piece of coped trim will cover it. Drive the screw clockwise until the threads are flush with the baseboard, then switch the drill into reverse. As shown in the photos above, the point of the Trim Adjustor screw spins against the bottom plate, but the baseboard rides along the screw threads, moving out until you get a tight fit for the coped joint. Whether you cope or (heaven forbid) miter inside corners on baseboard, the Trim Adjustor will make your workdays easier.


Comments are closed.