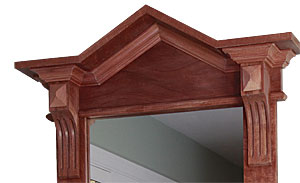
Traveling around the country for carpentry clinics, I’ve taken photos of historic homes and used the results to inspire many Greek-revival-style trim projects. However, the one thing that has always stopped me from tackling a high-style Italianate pediment is finding the right corbels. Some of them are plain S-curves or ogee shapes, many are too ornamental, and most are just too big. Eventually, I figured out a way to make corbels that I like. Using this same technique, I can make a variety of corbel designs whose features range from chamfered to coved to rabbeted flutes.
The trick is to laminate the corbels
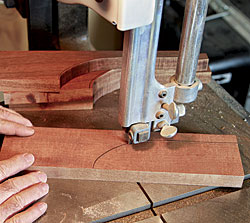
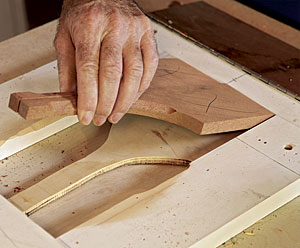
First, create a template on a piece of 1/2-in. Baltic-birch plywood. Then trace the profile on each workpiece—in this case, 3/4-in. by 4-in. Honduras mahogany. Next, cut just outside the line with a bandsaw. To make sure the flutes are centered and the overall width is less than 3-1/2 in. wide (narrow, elongated corbels are more handsome), resaw the stock for the two outside pieces of each corbel.
Stack the stock and rout
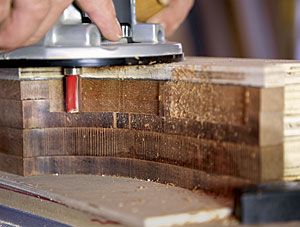
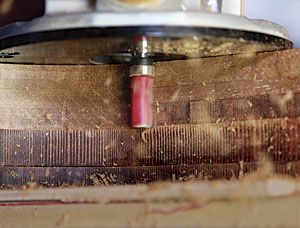
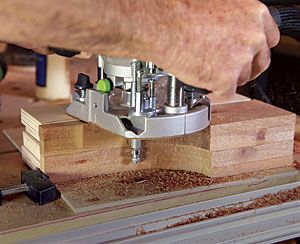
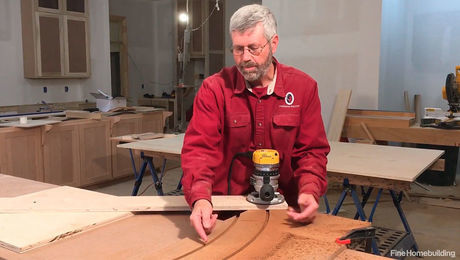
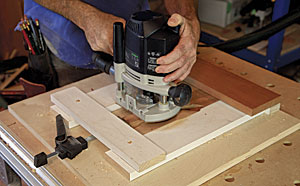
Temporarily stick the four pieces together with small drops of cyanoacrylate adhesive or double-sided tape. To make sure the router doesn’t tip, build up a platform of equal height next to the stock. Use 1/2-in. plywood for the top layer so that it’s easy to adjust the platform flush after the template is removed. Glue the template on one side of the corbel, then use a router and a pattern bit to shape the corbels in three passes.
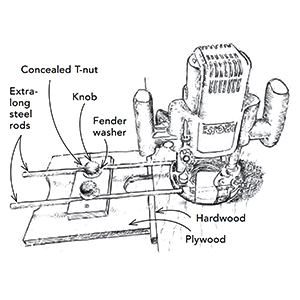
Rout two flutes in one jig
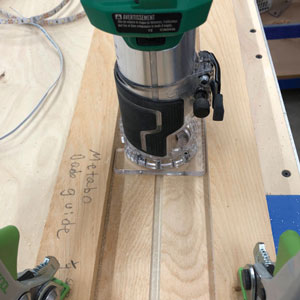
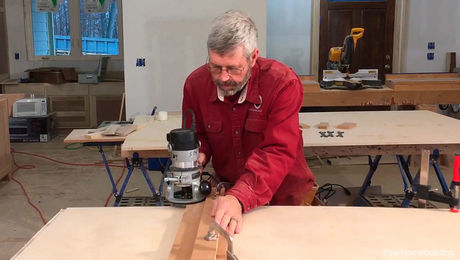
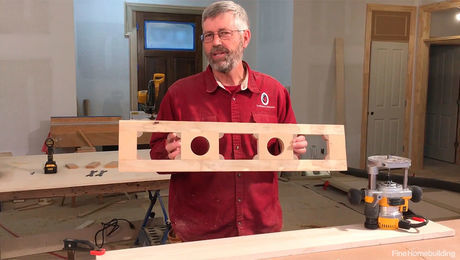
This corbel has stopped flutes, which require a special router jig. Make the jig wide enough so that two pieces can be profiled together. Two router stops, one at the bottom of the jig and one at the top, make it easy to cut the flutes symmetrically with a 1/2-in. chamfer bit. The stop near the clamp is stationary, although it can be adjusted by removing the screws. The stop opposite is hinged so that the pieces can be inserted and removed from the jig. After the flutes are cut, glue all four pieces together, then give the corbel a final sanding.
Gemlike trimwork
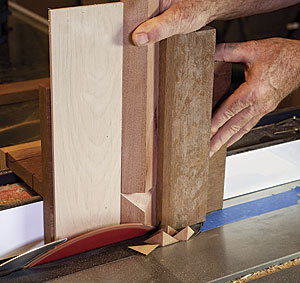
The face of the corbel shown here is punctuated by a decorative diamond. First, rip 45° chamfers on both edges of 3/4-in. stock. Leave about 3/16 in. of the chamfer edge intact to make the sawing process more stable and to minimize splintering. A homemade tenoning jig rides on a rip fence, and a second stop traps the small diamond-shaped offcuts. Fasten to the corbel with glue and brads.

Tool of the Trade: Festool bench clamp
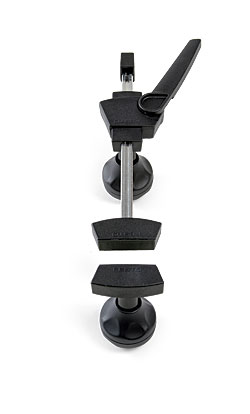
To prevent movement and to ensure that the flutes start and stop at precisely the same locations, I use a Festool bench clamp (#488030) to secure both pieces in the jig. The clamp’s stops are screwed to the worksurface, and the clamp operates horizontally and with a low profile that doesn’t get in the way (www.festool.com; $94 for two).
For a closer look at the jig the author made, go to www.garymkatz.com/trimtechniques/greekrevivaltrim.html to view the SketchUp drawing he used to build it.
Photos by Gary M. Katz, except where noted.
