Prep Before You Paint
When the paint dries, these 10 steps will go unnoticed, but skipping one can blow a perfect finish.
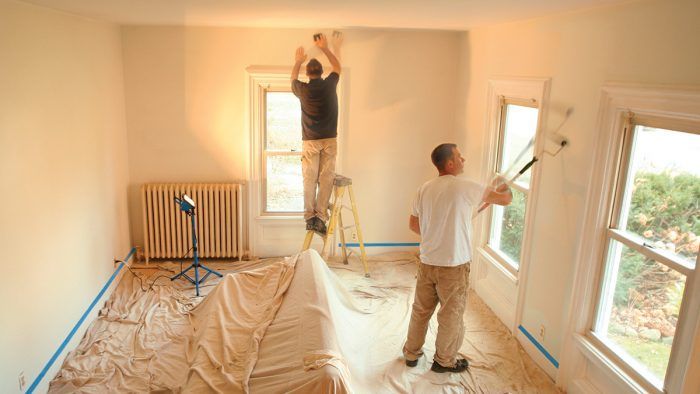
Synopsis: People often end up with less-than-satisfying results following a painting job because they failed to do the necessary prep work before they put brush to wall. Professional painter Jim Lacey notes the evidence of such jobs — peeling paint, mildew, and bleeding spots—and then lists 10 steps to take before starting to paint: Drop the entire room, organize and stage essential tools, light the space, remove wall and ceiling obstructions, wash down everything, assess the existing paint, repair any damage and fill any gaps, mask conservatively, prime walls but not ceilings, and give the wall a final sanding and cleaning. He also provides a list of 23 “must-have materials” for prepping a room to paint, from canvas drop cloths to auxiliary lighting.
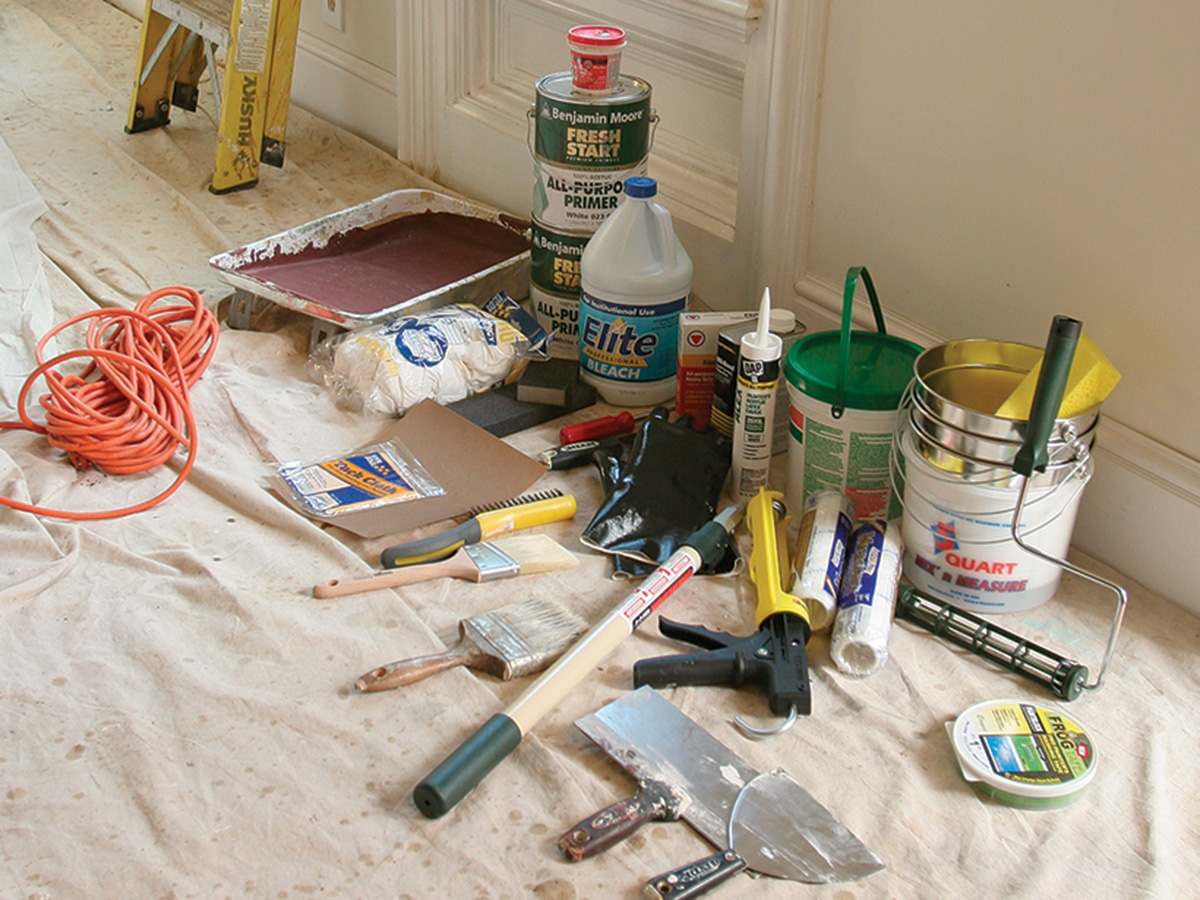
Must-have materials
|
For a lot of people, painting is dreadful. They complain that it’s messy and fussy, and that they don’t always get the results they hoped for. The truth is that most people end up with less-than-desirable results because they ignore the importance of proper preparation.
In the 20 years that I’ve been painting houses, I’ve learned how to size up quickly the results of poor prep work. The signs include paint peeling in sheets off doors and trim, mildew seeping through layers of paint, and bleeding spots on walls and ceilings — paint failures that easily could have been avoided.
At each job, I follow a basic routine that ensures a long-lasting, attractive paint job. I start by removing items from the room. Large items, such as couches, can be moved to the center of the space and covered with drop cloths. With a fresh canvas, I can begin the real prep work.
1. Drop the entire room
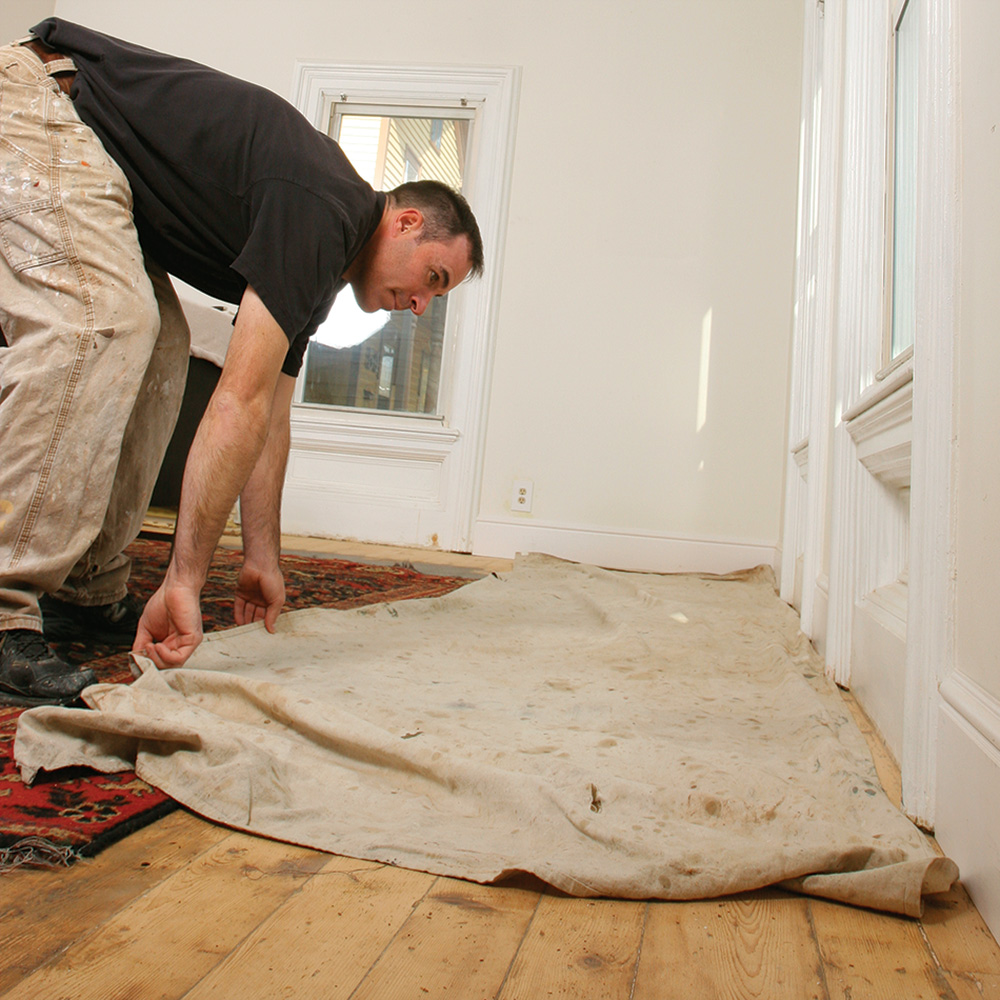
After the furniture is covered or removed, cover the floor with heavy-duty canvas drop cloths. Use 9-ft. by 12-ft. drop cloths near walls, 4-ft. by 5-ft. cloths under tools and paint, and a 12-ft. by 15-ft. cloth to cover a large area of flooring or furniture. Don’t skimp on the drop cloths. Cheap products can allow paint to seep through, and plastic drop cloths can be slippery, especially on hardwood floors.
2. Organize and stage essential tools
Keep all commonly used tools close at hand. This helps the work to go smoothly. Place these tools on their own drop cloth in an easily accessible but out-of-the-way area. Large items, such as step ladders and vacuums, also should be kept close by.
3. Light the space
Set up halogen lamps on a stand, and clamp circular incandescent lamps wherever possible. Set the lights in a position that eliminates shadows and works best with the natural light coming into the room. Adjust the lights as conditions change.
4. Remove wall and ceiling obstructions
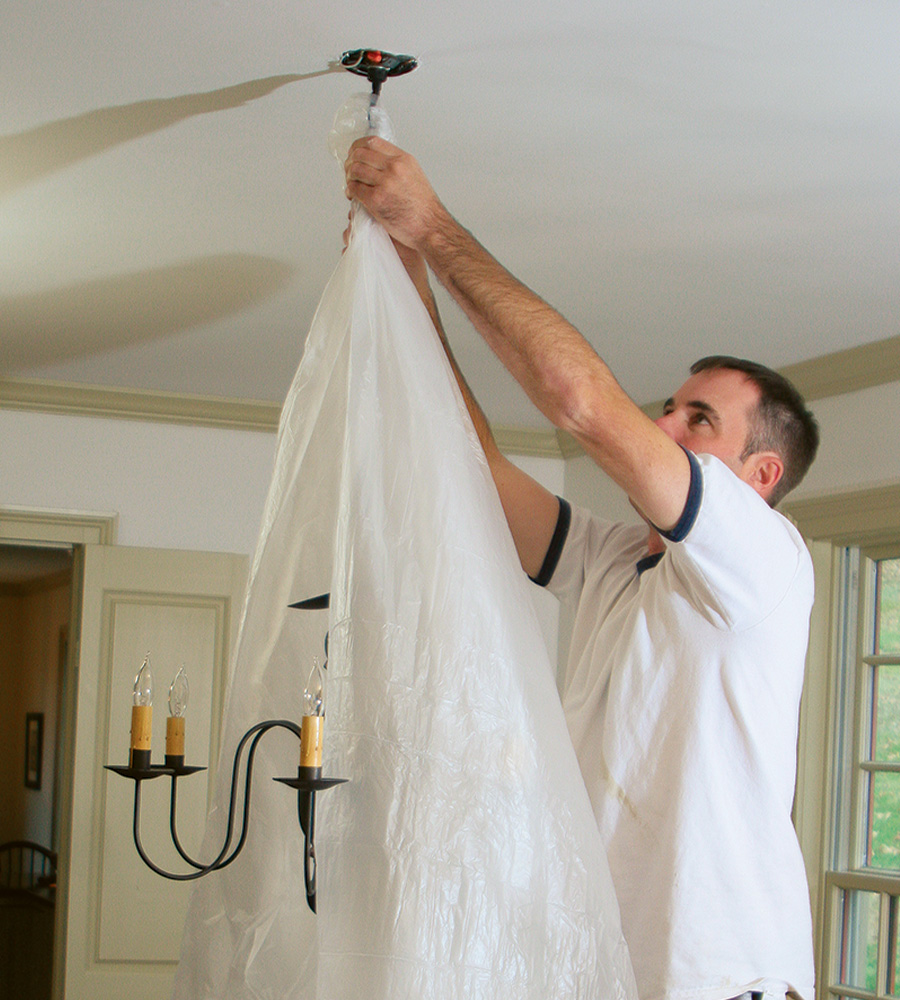
Don’t try to paint around easily removable elements such as window treatments, sconces, outlet covers, switch covers, thermostats, and recessed-light trim rings. Large fixtures, such as chandeliers, can be covered with plastic instead of being removed. The escutcheons can be unscrewed and lowered.
5. Wash down everything
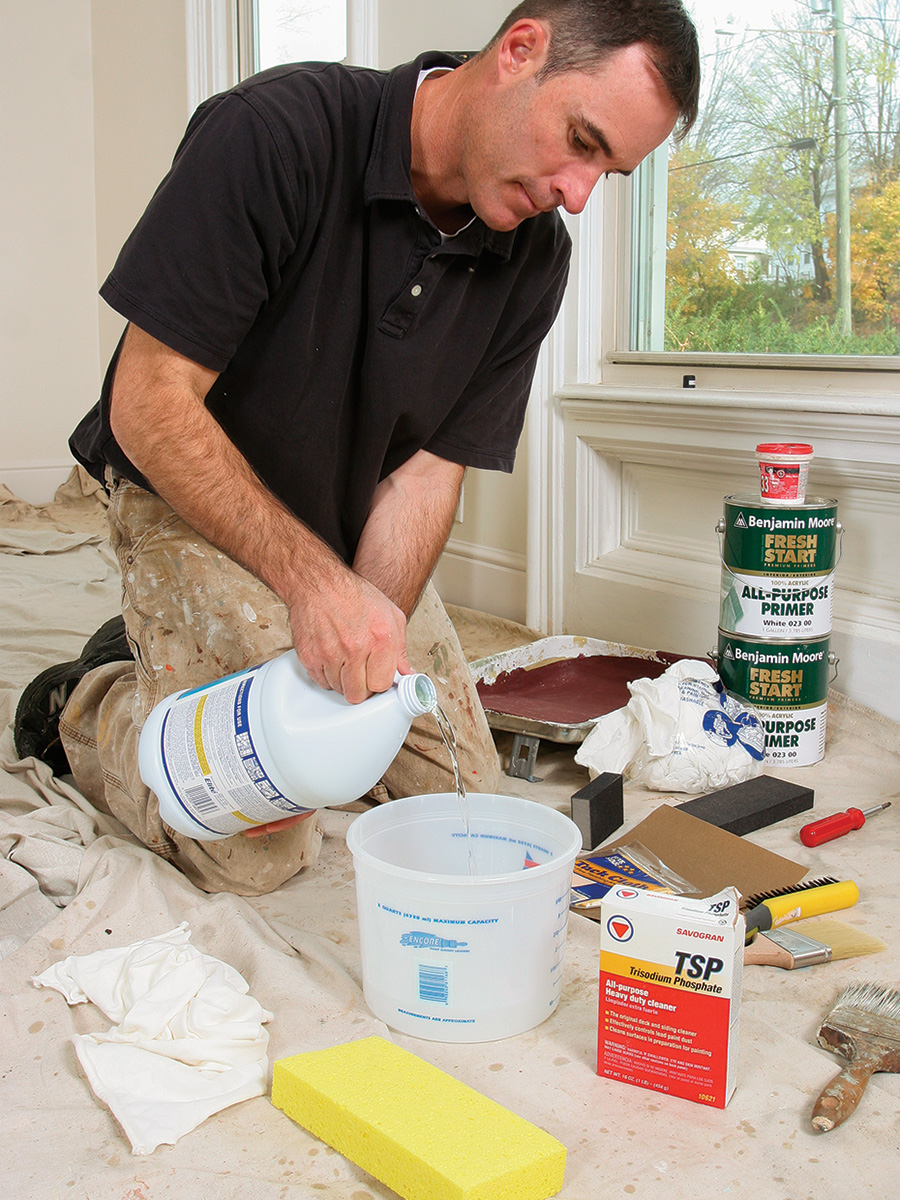
One-quarter cup of trisodium phosphate (TSP) per 2 gallons of water will remove dirt, smudges, smoke residue, and most surface grime. Pay particular attention to high-touch areas such as door jambs and areas around light switches. Bleach and TSP work best on mildew stains. Use a light hand when washing; you don’t want to soak the wall. Also, wear heavy-duty rubber gloves. Allow the walls and ceiling to dry completely before moving on.
Tackle the bulk of the surface prep in the final five steps
6. Assess the existing paint
Glossy finishes need to be sanded with 120-grit sandpaper, while moderate-gloss paint can be sanded with 120- to 150-grit sandpaper. Very hard surfaces may need to be prepped with a palm sander, but most often, you can get away with using a sanding sponge or sandpaper. Remove dust from the wall with a brush and a tack cloth.
7. Repair any damage, and fill any gaps
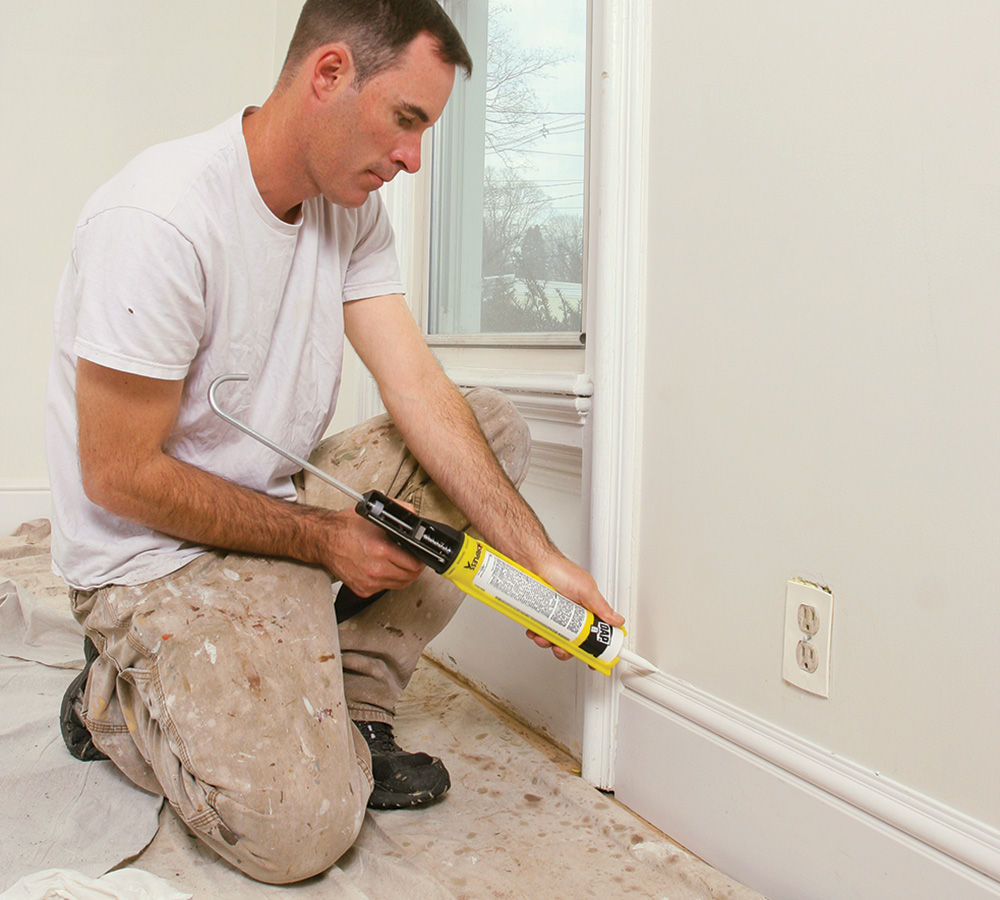
Joint compound is ideal for repairing cracks, holes, or dents in both drywall and plaster walls. Use a high-quality wood filler for repairs on wood trim and doors. Sand the repairs, and remove dust from the wall with a tack cloth, a brush, and a vacuum. Any gaps that have developed between the trim and the wall or ceiling should be caulked. Acrylic caulk performs well in most applications. However, in damp areas such as bathrooms or kitchens, consider a vinyl adhesive-based caulk, such as Phenoseal (phenoseal.com), for greater longevity.
8. Mask conservatively
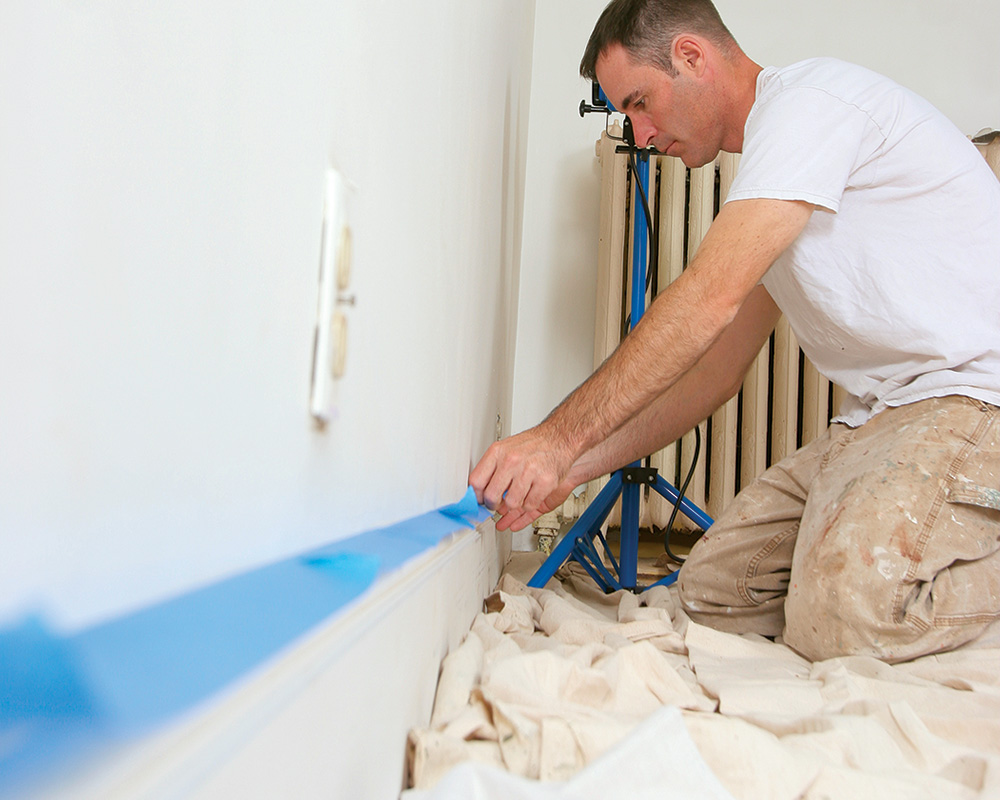
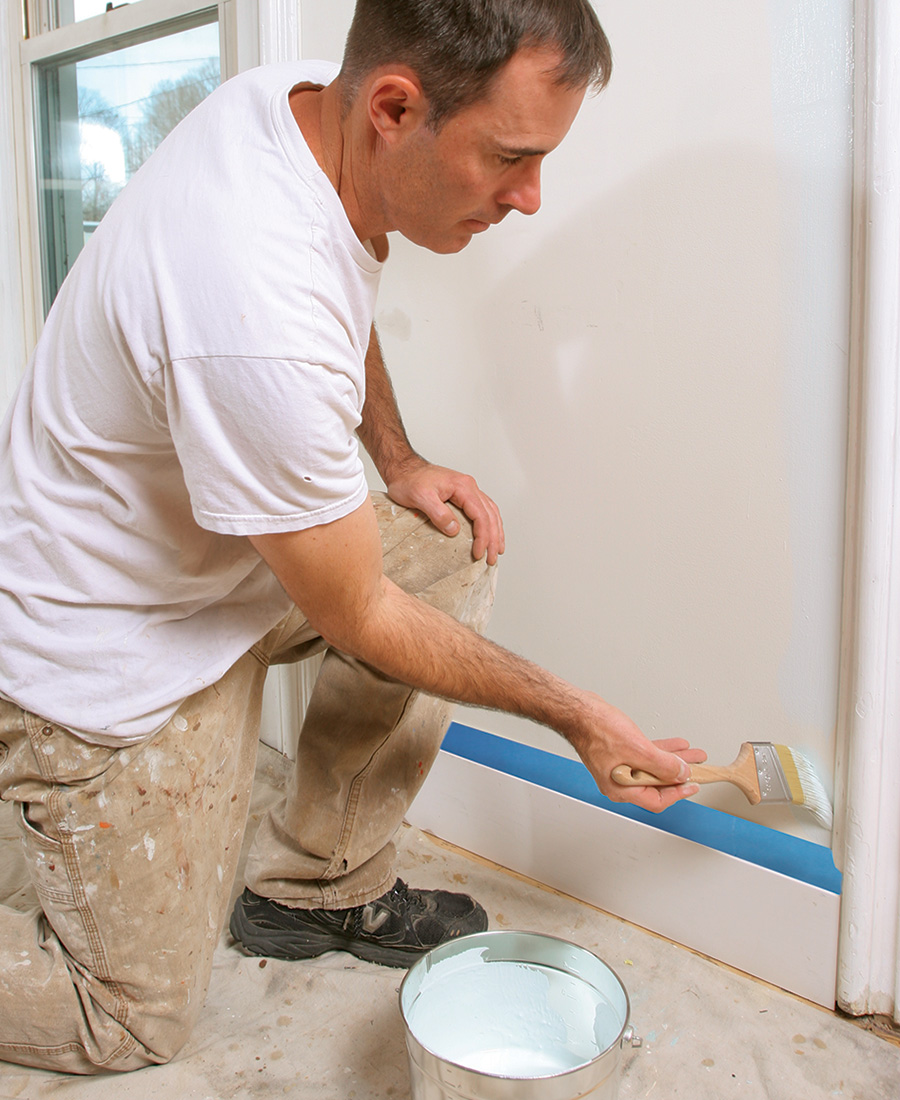
Mask only those horizontal areas that are most vulnerable to paint splatter, like the tops of chair rails and the tops of baseboards if they’re not going to be repainted. If baseboards are going to be repainted, mask the area where the wood flooring meets the baseboard.
9. Always prime walls, but not ceilings
Roll primer on walls to give paint a flat, uniform base to adhere to. Ceilings don’t always have to be primed because they’re often in good shape and are typically painted with flat paint. Recoating flat paint is less demanding than recoating glossy paint. You should, however, spot-prime areas with repairs, such as places that had water leaks or drywall cracks. Tinting the primer to the finish color helps to improve coverage and gives a better sense of how the room will look when it’s done—much better than small paint swatches, which can bleed through subsequent coats of paint and ruin the final finish. Universal acrylic primers perform better than ever and have little odor.
10. Give the wall a final sanding and cleaning
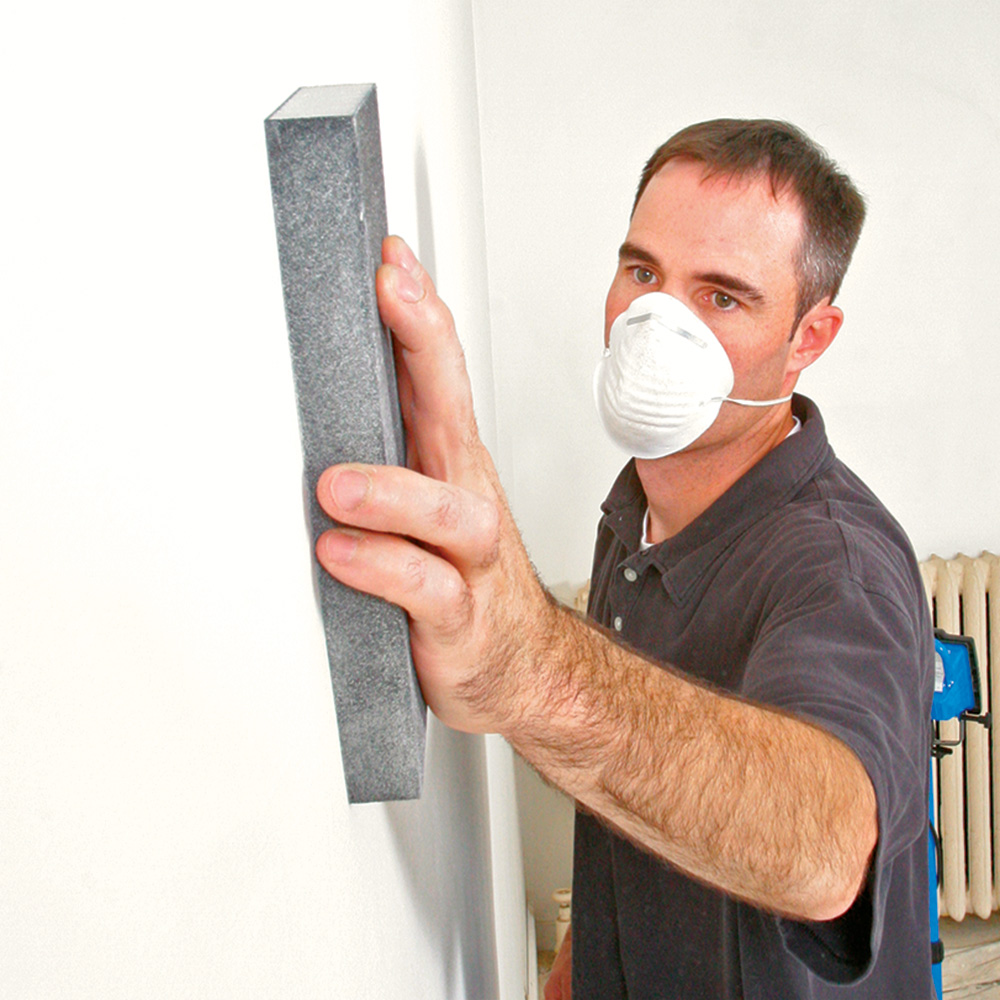
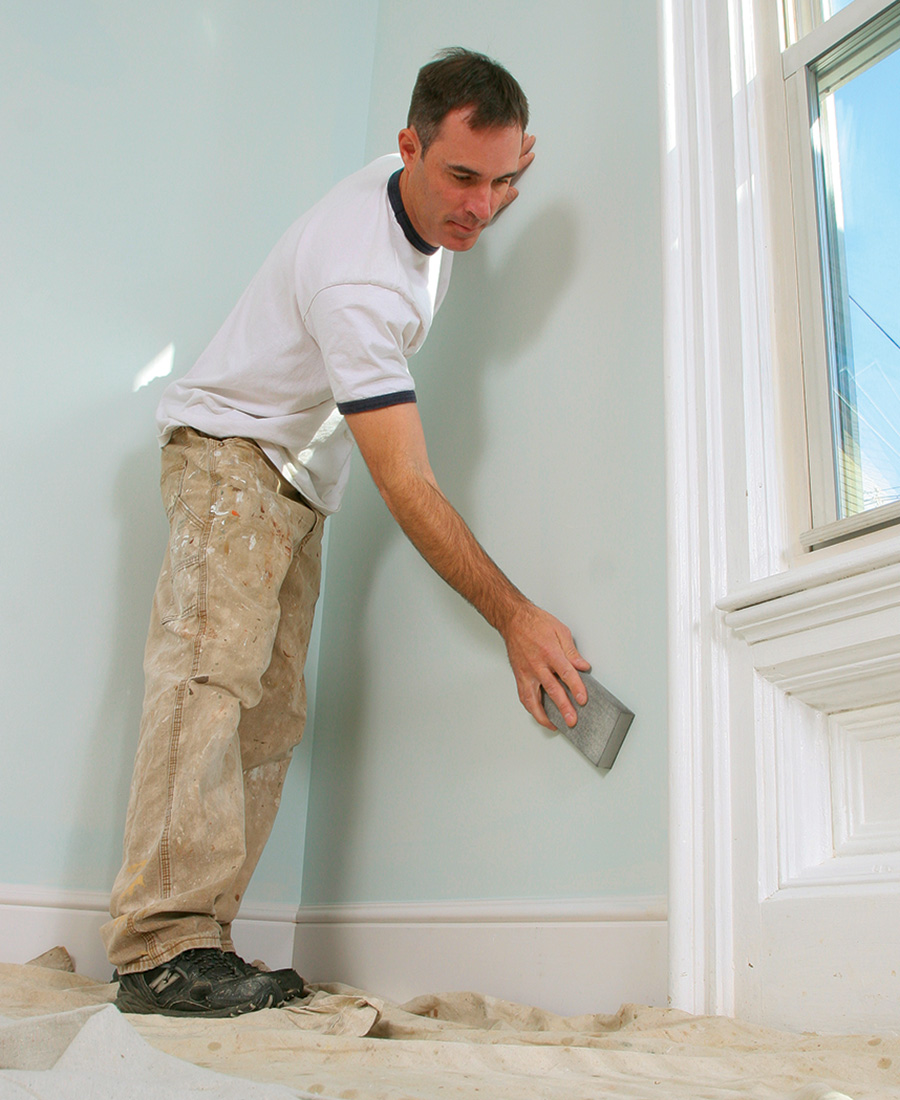
Sand all wall and ceiling surfaces with a medium-grit sanding sponge, and inspect the surface for any irregularities, such as hardened paint or primer drips. This is an ideal time to make any final touch-ups or repairs prior to painting. If you make a repair, remove the dust, and be sure to spot prime the area before starting to paint.


View Comments
These guidelines are not for stripping painted wood but only for repainting drywall.
Over the years of being a landlord and repainting every now and then my husband and I have found that drop cloths, even the ones bought at the paint store can be too thin. Our solution; flannel backed vinyl table cloths on top the drop cloth. The flannel pile grabs the canvas; they don't slip and the vinyl stops leak through. My best ones have come from Bed Bath and Beyond as I can get the right size for my kitchen table. Old table cloths go to the paint locker, new ones go on the table.