Cleaning Paintbrushes and Roller Covers
Any craftsman is only as good as his tools. Learn how to clean and maintain your brushes and roller covers and ensure professional results.
As a professional painter, I have one rule for purchasing paintbrushes and roller covers: Buy the best ones available. These high-quality tools are the first step to ensuring a professional finish. However, higher-quality tools come with a higher price tag and should be considered an investment. To get the best and longest performance from brushes and roller covers, you have to clean them properly after each use. The process is not difficult or time-consuming, and with proper and regular cleanings, you can expect to get close to a lifetime of service from a paintbrush, and two or three uses out of each roller cover.
Cleaning brushes and roller covers in a sink is a lot easier than cleaning them in a bucket, but both options work. Keep in mind that while the cleaning process is the same no matter the type of finish you’ve been applying—primer, paint, or stain—you have to substitute paint thinner for water when cleaning oil-based products from your tools. Paint thinner shouldn’t be dumped down the drain. Dispose of it properly, or store it for future use.
Also, I recommend cleaning brushes more than once a day. This may seem excessive, but depending on several factors, including humidity, the type of work you’re doing, and the type of paint you’re using, it’s often necessary. This practice keeps brush bristles fresh and ultimately makes your work easier and more pleasant.
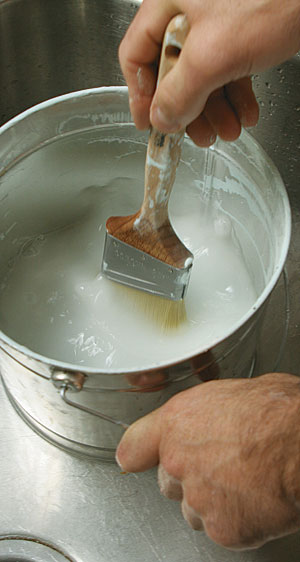
1. Wash out the liquid paint. Half-fill a clean bucket with warm water or paint thinner (for rinsing oil-based paints), or use a sink if one is available. Dip the brush into the water, and flare its bristles against the bottom of the bucket or sink. Dab the brush several times to allow the water or thinner to penetrate the bristles.
2. Brush out any dry paint. After a rinse, brush the bristles with a steel brush, moving from the handle toward the tip of the bristles. This helps to loosen any dry paint that has hardened in the brush, especially just below the ferrule. Rinse the brush again. Repeat this process until the water or thinner coming out of the brush runs clear.
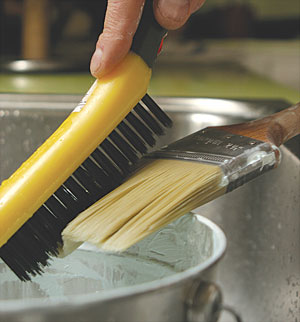
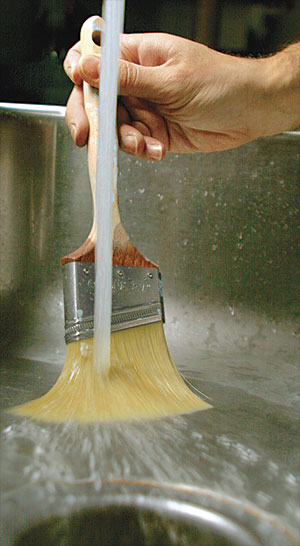
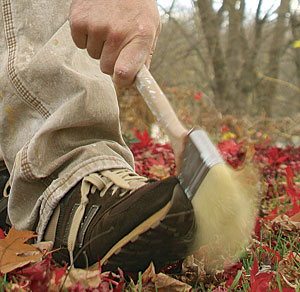
3. Tap and stow. Once clean, extract as much water or thinner as you can from the bristles, either by spinning the brush between your hands or by tapping the brush on the toe of your shoe. Give the bristles a final brushing with a steel brush or a brush comb to restore their shape, and return the brush to its wrapper or case.
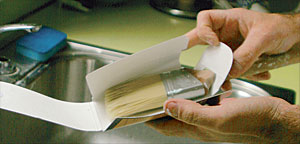
The 5-in-1 Tool Shines When Cleaning Roller Covers
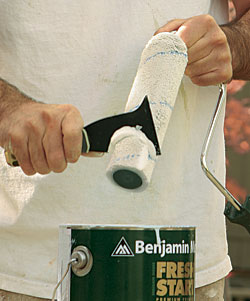
1. Remove excess paint. With a 5-in-1 tool, scrape any excess paint out of the roller into a paint can.
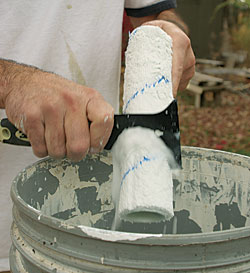
2. Wash the roller. Work the roller under warm water—either in a sink or in a bucket—with the 5-in-1 tool until the water runs clear. If the roller was used on oilbased products, simply discard it. It’s not cost-effective to clean this tool with paint thinner.
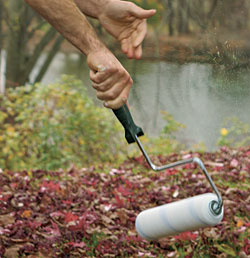
3. Spin to dry. Return the roller to the roller handle, and spin it until most of the water has been removed. Place the roller cover in its plastic wrapper, and store it flat.
Photos: Rob Yagid except where noted


View Comments
Instead of disposing the paint thinner (that's getting more expensive) put the 'used' solvent in a container and let the solids settle for a day or two ... the solvent can then be reused as the initial cleaning for the next time.
Roller covers are easily cleaned outside with a hose and strong stream (miniature fire nozzle) of water, get the cover to spin in both directions (on the roller handle), and repeat the cycle. This can be done with/without an extension pole, then suspend the roller handle by its frame until the cover is dry. I like using lambswool covers and they have lasted years.
Finally, when the brush is cleaned I will wrap it tightly in a paper towel until it's dry, then put it in its wrapper. This helps keep its form (instead of splayed bristles).