A Complete Guide to Building Your Own Deck
Step-by-step guide with everything you'll need to take your deck from footings and framing to finish.
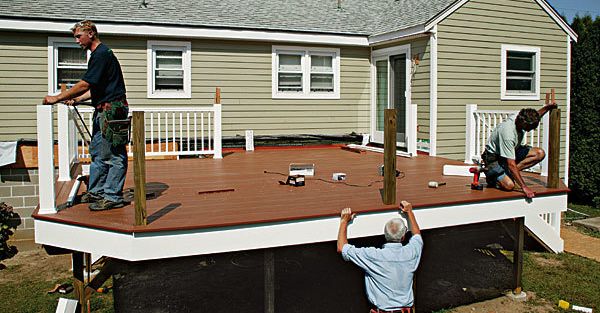
To me, deck building has always been one of the most rewarding jobs. Within just a few days, you’ve added a significant amount of finished square footage to a home. But deck building has dramatically changed since I started 25 years ago. Not only are there many more material choices, but there have been critical code changes that reflect the importance of proper design and construction. So while deck building remains one of the easier and more rewarding outdoor projects, it’s crucial to adhere to codes and manufacturers’ recommendations to ensure a safe and long-lasting deck.
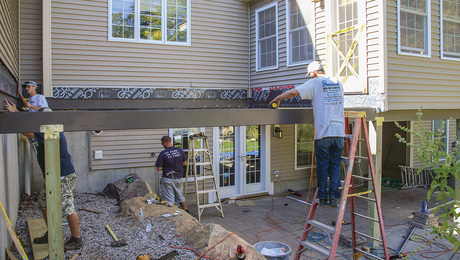
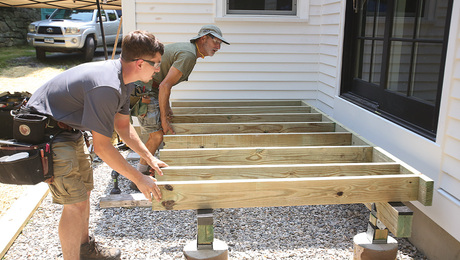
The deck I’ll describe here is medium-sized, with two sets of stairs to easily access both sides of the yard. It is framed with pressure-treated lumber, and the decking, railing, and trim are synthetic products. A double border accents the deck’s perimeter. A ledger attaches the deck to the house on two sides; its weight is supported from below by two beams resting on eight 4×4 posts centered on concrete piers.
Mark the perimeter
To start, I measure and mark the edges of the deck’s 20-ft. length on the house. Then I plumb down to the foundation, measure out the width of the deck (in this case also 20 ft.) from each point, and drive in a stake at each corner. Next, I adjust the stakes so that they are exactly 20 ft. apart. To make sure the deck perimeter is square, I take diagonal measurements in both directions. If one diagonal is longer than the other, I adjust the corner locations until the diagonals are equal, making sure to maintain the 20-ft. distance between the two. I use string to outline the perimeter of the deck from the house, around the stakes, and back to the house.
Dig the piers
Next, I string up a reference line to help me position the piers directly below where the beams will be. For this deck, I measured back exactly 3 ft. 6 in. from the perimeter to the center of the beam. To establish the center of the second beam, I measured 5 ft. from the house. To make adjustments easier, I use a batterboard, which allows me to fine-tune the string placement without moving the stakes. You can purchase metal batterboards or make them with scrap wood on site.
I mark the locations of the piers, which are 6 ft. 9 in. apart, with surveyor’s paint. I mark the center first, then roughly locate the perimeter of the hole. Now the strings can be removed and the holes dug.
Position and pour the piers
Builder’s tubes, or pier forms, come in diameters from 8 in. to 24 in. or more. The cardboard forms can be cut with a circular saw or a handsaw. Once the holes are dug, the tubes can be set in place and filled with concrete.
The top of the piers need to be only roughly the same height. After the concrete is poured, level and smooth it with a block of wood until the “cream” comes to the top and the aggregate settles. As the concrete sets, I backfill the holes and rake away any lumps.
For more photos, drawings, and details, click the View PDF button below:
Fine Homebuilding Recommended Products
Fine Homebuilding receives a commission for items purchased through links on this site, including Amazon Associates and other affiliate advertising programs.

N95 Respirator

Drill Driver/Impact Driver

Flashing and Joist Tape


