How to Install Cabinets in Tight Spots
Squeezing a cabinet between two walls means careful scribing, fitting, and accurate measurements.
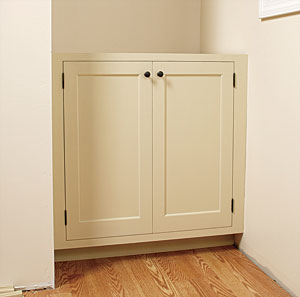
One of the more enjoyable aspects of my work as a cabinetmaker is solving problems, especially those concerned with creating or maximizing space. Designing and building cabinets in the rectilinear worlds of computers and workshops is the simple part. Installing cabinets in the real world is usually a straightforward exercise, too, but in a confined space like a pantry or a wet bar, it can be a challenge. The following is a procedure I’ve developed that reduces the frustrations.
To begin, I design the cabinet with three discrete parts: a base, a cabinet case, and a face frame. I use Festool’s Domino system or biscuits to register the face frame to the cabinet so that I can check the fit without having to move the entire cabinet. After the base is set, I drop in the cabinet, scribe the face frame to match the walls, and then permanently attach the face frame.
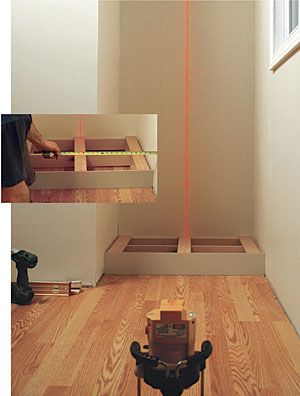
To scribe the face frame, I set up a plumb laser line centered in the opening. At vertical increments of a few inches, I take measurements from the laser line to the walls on each side at the point where the face frame will land. I transfer the measurements to the face frame, back-bevel the cuts, and leave the line. Then I test-fit and fine-tune with a handplane.
After the face frame is scribed, I glue and clamp it to the cabinet. When I’m installing stock cabinets whose face frames are already attached, the process is the same, except that I have to jockey the entire unit in and out of position.
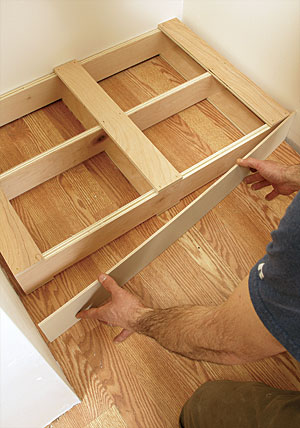
Separate is better. Especially in an enclosed space, a separate base makes the job of setting the cabinet much easier. Once the base is leveled and attached to the floor, it’s a good time to install the finished toe kick.
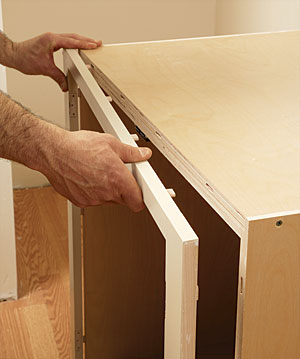
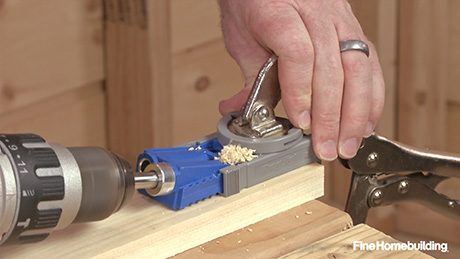
The plug-and-play face frame. Before scribing, dry-fit the face frame to the case with biscuits or Festool’s Domino system (shown here). After the carcase is on the base, the face frame can be scribed, test-fit, and still register accurately against the box’s inside edge.
A reference line in space. Set up a laser level so that it casts a vertical plumb line through the exact center of the space. Next, mark the approximate depth of the cabinet on both walls, as measured from the back. Now measure from the centerline (photo) to each side at vertical intervals of 4 in. to 6 in., and record the measurements.
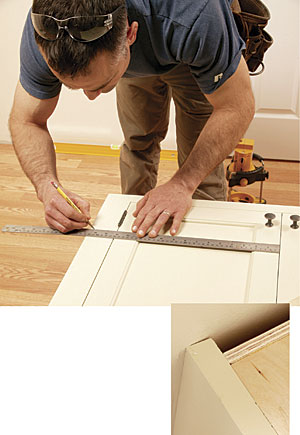
Transfer the numbers. At the same intervals used to measure the space, transfer the measurements to both sides of the face frame. Connect the dots and cut to the line, making sure to back-bevel the cut (photo). Check the fit, and fine-tune with a block plane.
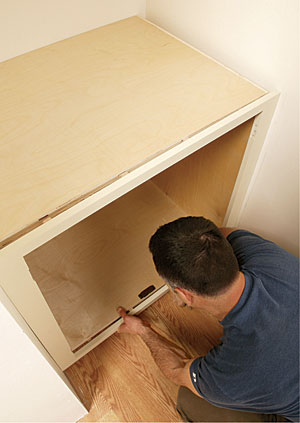
Reunite face frame and carcase. When the fit is satisfactory, install the cabinet case, and attach the face frame in place with biscuits and glue.
Perfect Lines Every Time
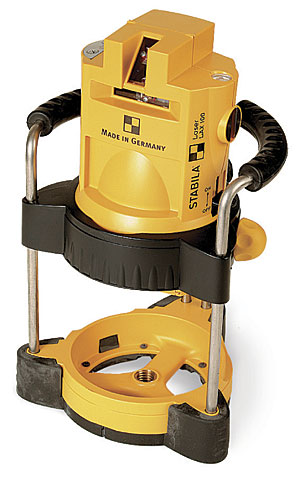
Laser levels have a wide variety of uses, but I’ve found a use that’s not as common. When I’m installing cabinets, a laser can set a level reference line quickly, but its best feature is the ability to create a reference line in space. Where I would typically have to hold a plumb level with one hand and a tape measure with the other, a laser allows accurate repeatable measurements. The best models are self-leveling and accurate to approximately 1/4 in. at 100 ft.
