How to Make an Arched Cabinet Face Frame
Two simple jigs and a standard router bit give style to a plain frame
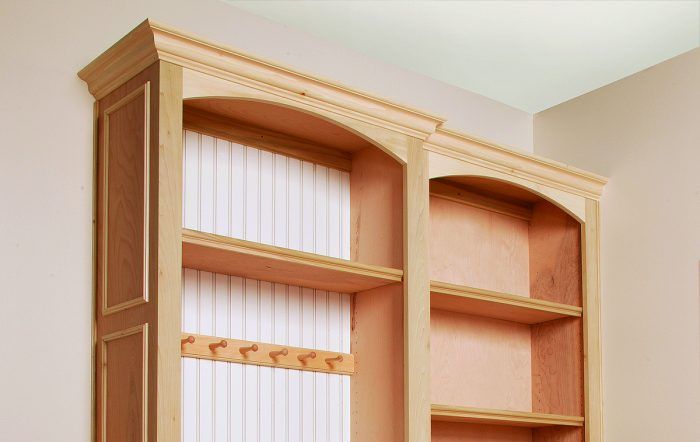
In my article in FHB #212, Built-ins, Anywhere, one detail I incorporated into the cabinet design was a curved rail across the top. I like this face-frame feature because the curve gives the cabinet a nice visual uplift. It’s also fairly easy to make. The hardest work is drawing the design; the rest of the job is just cutting stock.
I start with a full sheet of medium-density fiberboard (MDF) or plywood laid on a pair of sawhorses. The sheet becomes a chalkboard on which I draw the cabinet’s face frame in full scale. I use a set of trammel points to establish the radius. Because I’m only drawing, I can fool with the radius until I get something that looks good. Because the curve forms the cabinet’s top rail, I also need to leave enough room for crown molding.
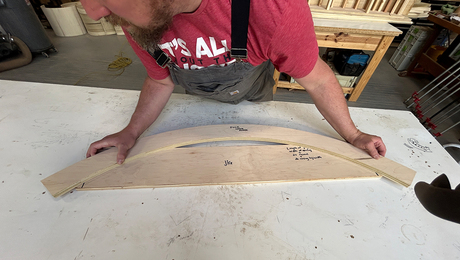
When the arc looks right, I mount a router base on a narrow piece of plywood that acts as a trammel, clamp the upper-rail blank on the table, and cut a shallow arc. I then rough out the curve with a jigsaw and finish the cut with a flush-trim bit. A couple of quick passes over the cut with a random orbital sander readies the rail for installation.
Plotting a Radius
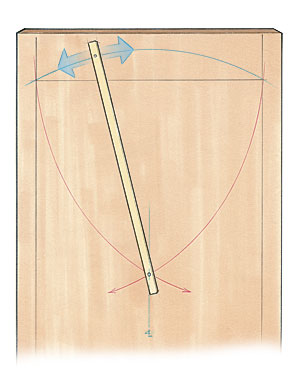
To determine the radius for a curved rail, draw the cabinet’s face frame in full scale on a sheet of MDF, plywood, or cardboard. Start with a set of trammel points set to the distance between the stiles.
1. Anchor one trammel end at the intersection of the stile and top rail. Then draw a center mark below.
2. Repeat from the opposite side to create a center mark that determines the new anchor point for the trammel.
3. Without changing the trammel points, draw an arc from this centerpoint that connects the two stiles. If the arc has too deep or too shallow a radius, lengthen or shorten the distance between the trammel points, and repeat the process.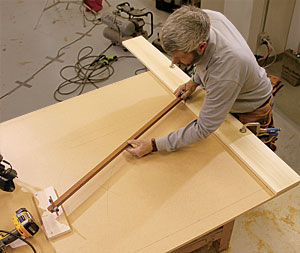
Block up the pivot point. When the arc’s proportion is right, attach a small plywood block at the centerpoint. Redraw the centerpoint on the block, then drill a small pilot hole to mark the pivot point for the router trammel.
Three cuts for a clean curve
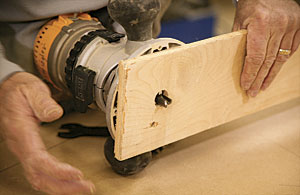
Put a router on the trammel. Attach a router base to the end of a 6-in.-wide strip of plywood that’s a bit longer than the radius.
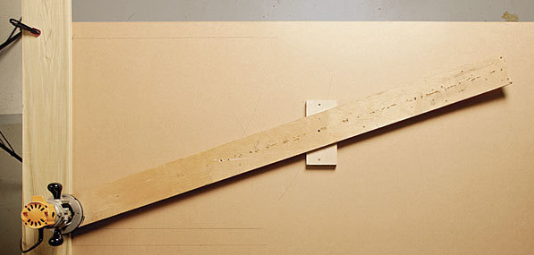
Clamp the face frame’s top-rail stock to the MDF, and align it to the drawing.
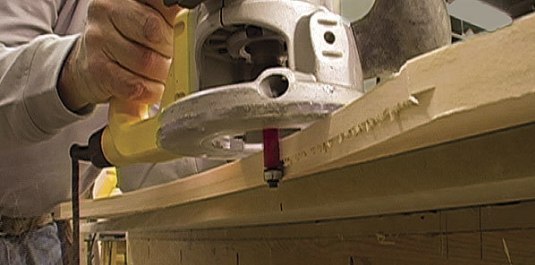
Use a 1/2-in.-dia. or 3/4-in.-dia. straight bit in the router, and attach the router trammel to the plywood block with a single screw so that the outer edge of the bit cuts the radius. Set the bit depth to 1/4 in., and make the cut, moving left to right.
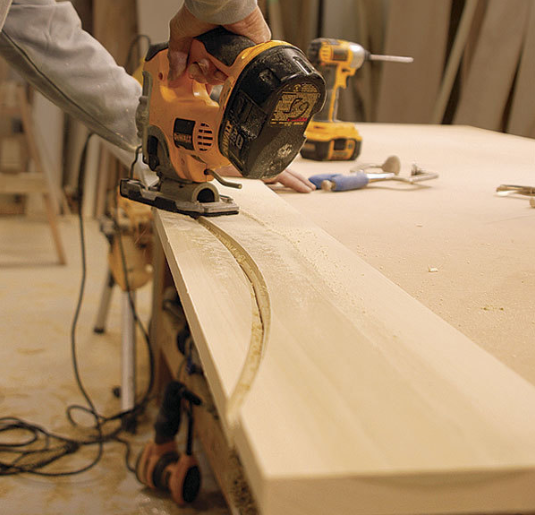
A rough cut works. Next, remove most of the waste with a jigsaw, making sure to stay 1/8 in. or so away from the finished line.
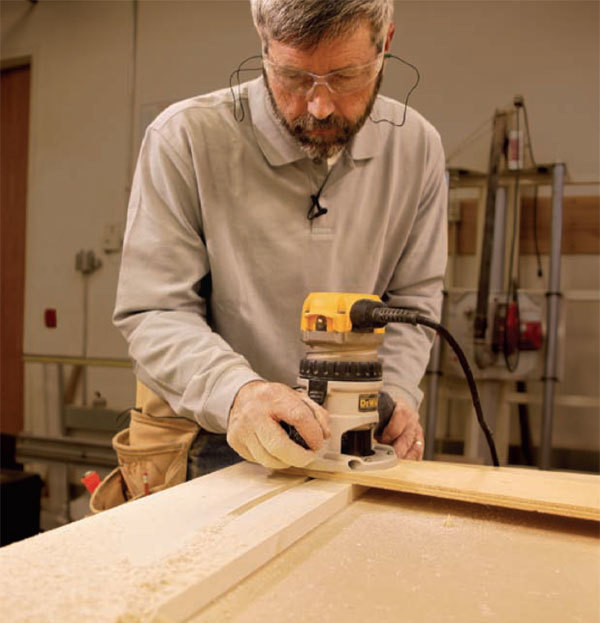
Clean it up. Exchange the straight bit for a flush-trim bit. Flip over the rail, and clamp it down so that the radius is hanging over the edge of the work surface. The bit’s bearing should be riding on the first router cut. The radius can be dressed with a final router pass and sanded.
An essential design tool
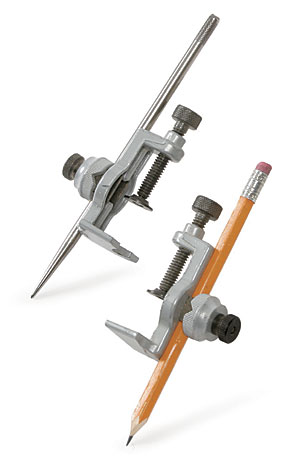
An essential design tool I use is a set of adjustable trammel points to determine and draw radii. The points can be fastened to any length of material 3/4 in. thick or less. Each set is equipped with two steel pins, one of which can be replaced with a pencil. Trammel points can be found in most lumberyards and home centers. The pair I use are manufactured by General and cost about $30, but you can find them for as little as $10. You also can make a trammel by driving a screw into one end of a length of board and fastening a pencil to the other end.
Fine Homebuilding Recommended Products
Fine Homebuilding receives a commission for items purchased through links on this site, including Amazon Associates and other affiliate advertising programs.

Affordable IR Camera

8067 All-Weather Flashing Tape

Reliable Crimp Connectors
