Add Storage to Your Stair Rail
A long cabinet with traditional joinery and improvised details replaces a traditional stairwell railing.
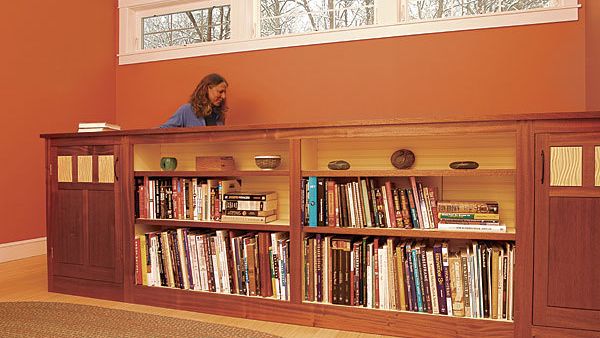
Synopsis: Instead of a traditional railing, contributing writer Scott Gibson chose to enclose the open side of his wife’s home-office stairwell with a long bookcase. At 36 in. high, it meets code requirements, increases the room’s storage capacity, and adds a new level of style. Gibson built the unit in his shop as two plywood boxes joined together with front and back face frames. He used mortise-and-tenon joinery on the face frames and doors, and added nine decorative panels on the front and back, painted the same color as the MDF beadboard back. Cantilevered over the stairs, the bookcase occupies little floor space. A ledger and corbels provide decorative support.
My friend Kevin took a long look at the makeshift railing at the top of the stairs and hesitated only slightly before asking, “Have you thought about turning that into a bookcase?” It was not so much a question but rather a suggestion I recognized immediately as requiring a ton of extra work. But it was also too good to ignore. My wife’s home office is right next to the stairwell, and by substituting a bookcase for a traditional balustrade, I could provide lots of storage for books and office supplies.
I sketched some ideas until I arrived at one I liked. Facing my wife’s work area, the cabinet would have two sections of open shelves for books flanked by cabinets concealed with doors. A frame-and-panel back would face the stairs. To save a few inches of floor space, the case would overhang the stairwell, resting on a ledger and a series of brackets.
The bookcase gives us 18 running ft. of shelf space, plus two cabinets nearly 2 ft. wide, while taking up about 6 1⁄2 sq. ft. of floor space.
Make a long built-in manageable
The bookcase is only 1 ft. deep, but it’s 10 ft. long. That posed some problems. I couldn’t assemble and finish the project in place, and in my small shop, it wasn’t practical to build the case as a single unit. So I divided it into two 5-ft.-long plywood boxes joined in the middle. Face frames on the front and back of the case, along with an MDF beadboard back, span the seam and give the case structural rigidity. The plywood cases are straightforward, assembled with #20 biscuits and 2-in. screws.
The only nonstandard detail is at the bottom of the bookcase, and it is something that normally would never be seen. Because this bookcase cantilevers into the stairwell, a strip of the finish wood several inches wide had to be let into the bottom of the case.
Before assembling the boxes, I cut the holes for shelf pins, and with help from my wife, Susan, painted all interior surfaces. Painter’s tape kept biscuit slots free of paint.
With the cases clamped together temporarily, I took all the measurements I needed for the face frames. Then I pushed the cases out of the way and got to work on the face frames.
Add interest with small, textured, decorative panels
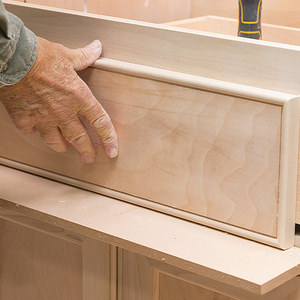
Like the carcase, the face frames were built in sections. To join the boxes, the front and back of the case got a 6-ft.-wide face frame in the center. Then each end got a smaller face frame, roughly 2 ft. wide on the ends.
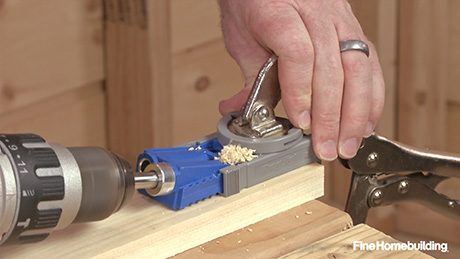
Cutting mortises and tenons is an antiquated approach in the era of the Kreg pocket-hole jig, but the joinery is reliable and strong. The wood is utile, a West African hardwood often used as a substitute for South American mahogany. It has some attractive ribbon stripping, machines well, and sands and finishes nicely. It cost me about $5.50 per bd. ft.
For more photos, drawings, and details, click the View PDF button below:
