Getting Appliances to Fit: Part 2
Planning pays off with trouble-free installations.
Synopsis: Getting kitchen appliances to fit properly ensures a space that functions well, looks good, and operates safely. Cabinetmaker and designer David Getts has installed dozens of appliances, and in this article he shares specific information on installing island ventilation hoods; dishwasher drawers; built-in refrigerators; under-counter refrigerators, wine coolers, and icemakers; and warming drawers. For each, he provides a list of mistakes to avoid. He also includes a list of tips for the seamless installation of any appliance. Even with all of this information, Getts recommends developing a good relationship with a local appliance distributor, who will be able to provide installation-specific information in the ever-evolving market of kitchen design.
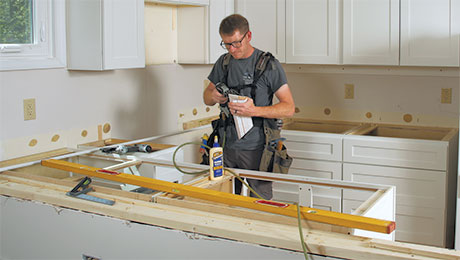
Ten years ago, I wrote an article for Fine Homebuilding (see FHB #143) on getting appliances to fit kitchen cabinetry. The basics of installation have remained the same since that time, but appliance options, configurations, and trends have changed. This has greatly affected kitchen design and the way cabinets should be constructed.
Getting appliances to fit properly ensures a space that functions well, looks good, and operates safely. What you’ll learn here is invaluable, but don’t stop with this information. I’ve installed dozens of appliances through the years and still encounter new issues, even on appliances I’ve worked with before. Develop a good relationship with a local appliance distributor, especially if you are part of a kitchen design or installation team. A distributor will become one of your best sources for installation-specific information in the ever-evolving market of kitchen design.
Island ventilation hoods
Island hoods hang independent of cabinetry and must be located directly over the cooktop for best performance. To line things up properly, you’ll need to use a plumb bob or, preferably, a laser level. The hood is suspended and fully supported from the ceiling, so solid blocking needs to be installed between the joists above the island for the steel support framework to be bolted to. The rigid vent pipe, which is commonly 8 in. dia. but is sized according to the manufacturer’s specifications, fits inside the frame support. Because the motor is located on the hood itself, simply run the nonmetallic sheathed cable—which will be hard-wired into a 120v dedicated circuit—down the same shaft. The finish material, usually a stainless-steel flue, is attached to cover up the frame.
Avoid these mistakes
Poor duct layout. It’s easy enough to vent a hood straight through the roof, but that’s not always an option. Wall exits require careful manipulation through joist bays that may or may not be filled with electrical and plumbing utilities. Take the time to consider duct routing well before installation time.
Not enough wire. Make sure the electrician leaves enough wire in the ceiling to reach the appliance. Take care not to pinch the wire when attaching the framework.
Unhealthful ventilation. Seal and insulate all the ductwork in unconditioned spaces to reduce condensation and the potential for mold growth.
Using flexible pipe. Always specify rigid-metal vent pipe, which is more durable and performs better.
For diagrams and information on how to properly install different kitchen appliances, click the View PDF button below.


