Working Hard or Working Smart (and FREE!)
The Digital Jobsite blog post #5 gave some ideas on how to create components for SketchUp models from “scratch” which is a great way to make truly custom features for 3D modelling but is arguably “hard work”. Hard work in the “lots of mouse clicks” sense, not in the “we’re pouring 23 yards of concrete on a hot sunny day” sense. Nevertheless, when given the choice, I’d much rather work smart than hard, so if your SketchUp model needs components like doors, windows, plumbing fixtures, appliances or the like, its “smart” to browse the Google component warehouse to see if what you need is in stock. Best of all, anything in the entire inventory is FREE!!
Window Shopping, Anyone?
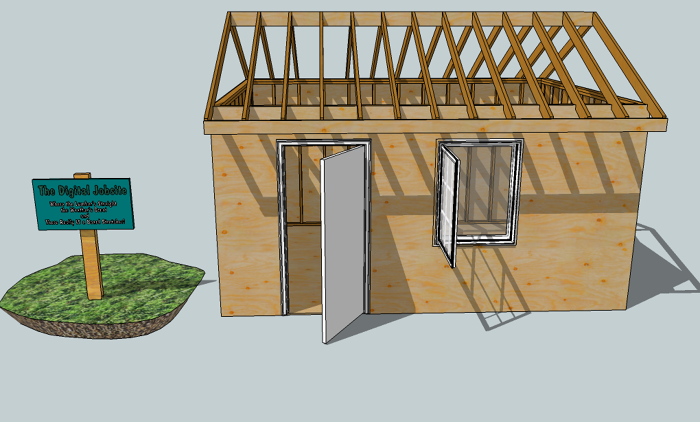
This screen capture video gives a quick run-through of using SketchUp’s online component warehouse. See how simple it is to access warehouse inventory, search and download a fully functional 3D model of a Marvin casement window component. With only a few clicks we get a window “delivered” to The Digital Jobsite, and best of all, it is a “dynamic component” who’s attributes allow it to open and close with a mouse click. When’s the last time you went window shopping without a checkbook?!
Window Pain
With the downloaded window component to work with its a simple process to determine the proper rough opening size using the Offset tool. Working with the rough opening dimensions and the Tape Measure tool, location layout for the window component is easy, and cutting the sheathing out isn’t much trouble either. So, on The Digital Jobsite, there is very little window pain to deal with as you can see in this video:
Placement Process
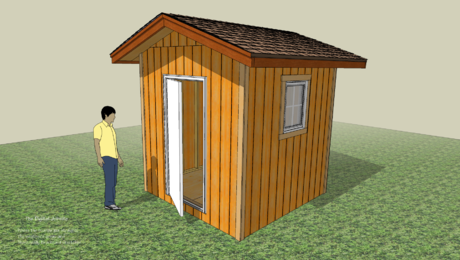
The steps for re-working wall framing of the shed model to create the rough opening for our new window are very similar to the ones shown in Blog Post #??? so I’ve spared veiwers from a repeat performance of the process. After covering a few details of the process that the framing crew overlooked guide lines are created with the tape measure tool to aid in placing the window component in the shed wall. Any of you that are following along as the shed develops might notice a common theme here. Modelling is made simpler and less frustrating when you create a “target” to show SketchUp how you expect it to behave, in this case that target is created with the tape measure tool which aids in placing the corner of the window jamb. Hopefully all my yattering becomes understandable when you watch the video.
Dynamic Finale
For the full benefit of using the dynamic window component, grab the little “Magic Hand” tool and click on the window sash which will pivot open and closed. Shazaam, how cool is that? There are more features, uses and benefits of using Dynamic Components which I’m not covering here for practical reasons. The most practical of those reasons is that I really don’t know what those additional features are, but I’m sure they’re cool, whatever they are.
Unless an inspirational lightning bolt of something else that the shed model needs hits soon, the next Digital Jobsite post will take a new direction and demonstrate some other feature(s) SketchUp has to offer Finehomebuilding.com readers. BTW, has anyone seen my framing square laying around? I seem to have lost it somewhere on The Digital Jobsite, so let me know if you come across it. Thanks. You can search through the shed model by downloading the SketchUp file here:
Fine Homebuilding Recommended Products
Fine Homebuilding receives a commission for items purchased through links on this site, including Amazon Associates and other affiliate advertising programs.

All New Bathroom Ideas that Work

The New Carbon Architecture: Building to Cool the Climate

Code Check 10th Edition: An Illustrated Guide to Building a Safe House






View Comments
My favorite app is Warehouse Manager FREE is an app for Android devices. This will allow me to control the warehouse management https://innovecs.com/blog/warehouse-management-software/ process anywhere and anytime. I advise him to everyone