Building a Tight House
A construction engineer on the path to energy efficiency describes his strategy for air-sealing the envelope of his own home.
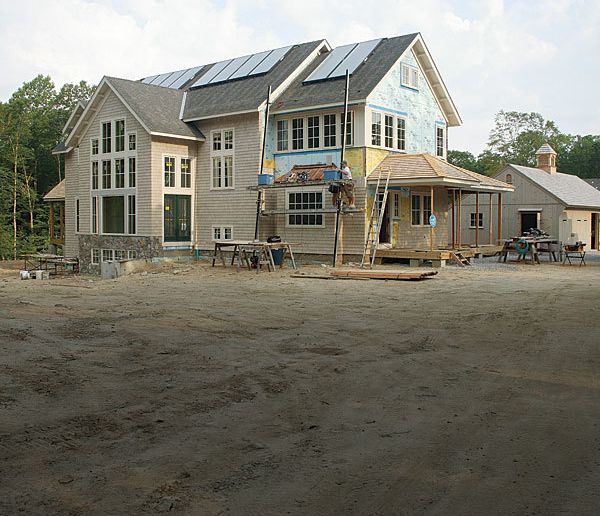
Synopsis: George Keithan Jr. makes a living teaching others how to build energy-efficient structures, so when he started planning his own home, he wanted to be sure that the house would be as energy efficient as possible. Keithan’s key to an efficient house was making the shell as airtight as possible. Over the course of the project, three blower-door tests helped Keithan and his crew to stay on target with the goal. Keithan says there are three lines of defense in the battle against air leaks: sealing the framing and sheathing; applying rigid foam to the exterior of the sheathing; and using spray foam to air-seal all exterior framing cavities. This article includes sidebars on defining the tightness of a house and also how to keep fresh air circulating in an airtight house.
I recently built a net-zero-energy house for my family; it’s the first one in our area. Because I’m in the business of teaching others how to build energy-efficient houses, I naturally wanted my own house to be as energy efficient as possible. Any house—especially one meant to use as little energy as possible—is an assembly of closely linked components, and one of the most important details is an airtight shell. During the construction, we used a blower-door test at three separate times to evaluate our progress.
When a house leaks air, the amount of energy needed to make it comfortable is enormous. Heating and cooling systems are not capable of reacting fast enough to overcome the quick change in air temperature caused by wind blowing into the structure. Through the use of blower-door tests, my company constantly evaluates houses only to find air leakage that’s two to ten times the amount mandated by the 2009 International Energy Conservation Code (IECC).
When I started building this house, I knew from experience that the job of minimizing air leaks had to be a team effort that started with training all the tradespeople working on the project. I required that each contractor attend a one-hour seminar on the techniques and benefits of air-sealing. At first, contractors were hesitant to spend time discussing this topic, but by the end of the seminar, they had enthusiastically embraced the concept. They realized that air-sealing was achievable with simple techniques and commercially available products. They also realized that this was a marketable skill that could give them an edge over their competition.
Blower-door tests find where the house leaks
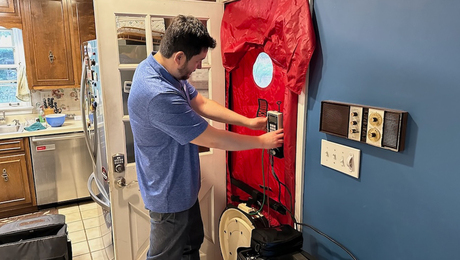
In a house that hasn’t been air-sealed, energy efficiency is compromised by the amount of air that leaks in and out of the structure. One of the best ways to see where a house leaks is to perform a blower-door test. A calibrated fan placed in an exterior-door opening depressurizes the house (sucks the air out of the house) at a set pressure. The amount of air that passes through the fan is then measured. While the fan is running, air leaks can be discovered using smoke candles and visual inspection.
Air-sealing isn’t difficult, but it must be done carefully. The process has a relatively low materials cost, but requires additional labor. On a 2000-sq.-ft. house, a contractor can spend an extra $500 to $1000 in materials and two weeks of labor to seal the home tightly beyond the 7 ACH (air changes per hour) required by the IECC. This effort could translate into an annual savings of 10% to 15% in energy bills. At today’s high energy costs, that could pay back in five to eight years, and continue to pay for itself for the life of the building. There are also other air-sealing benefits that don’t have a payback but increase comfort for the homeowner. With proper air-sealing, drafts are eliminated in the house, and the house has more consistent room-to-room temperatures. Also, noise from outside is minimized because proper air-sealing blocks travel paths for sound.
For more photos and details, click the View PDF button below:


