Contractor’s Guide: Retrofitting a Foundation
Lift the house safely with massive beams and get the proper subs involved to ensure the new foundation will last.
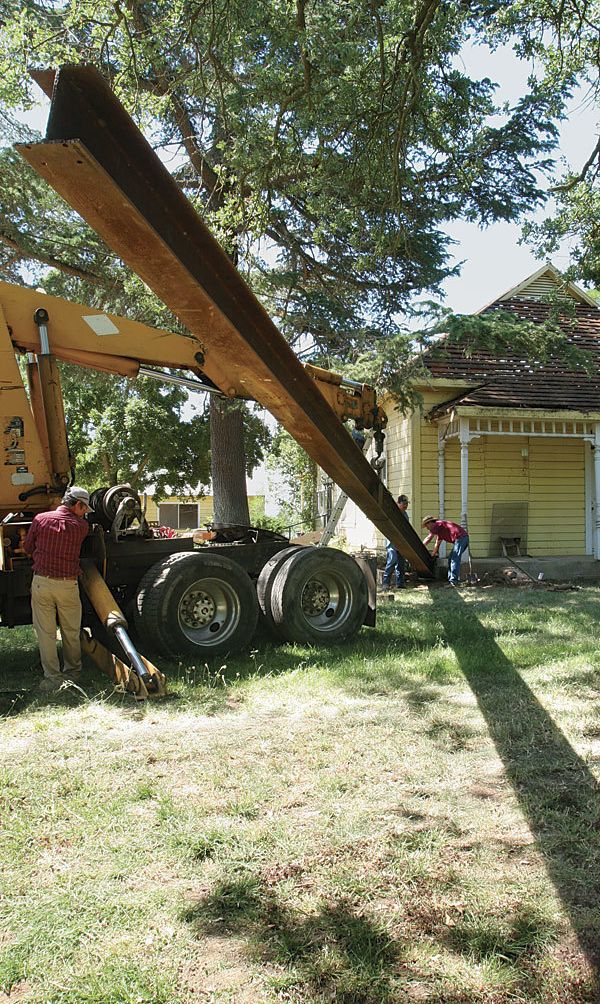
Synopsis: In builder Brian Brophy’s experience, foundations fail mostly because they were not engineered properly for the soil conditions around the house. Replacing a house’s foundation is no easy task, but when done properly, it can restore the house’s structural integrity and make it last for another century or more. In this article, Brophy describes the steps he took each day of a 15-day project to retrofit a foundation for a century-old farmhouse in Northern California. The brick in the original foundation was in good shape, but the mortar had disintegrated. Brophy replaced the brick with concrete. Beginning with disconnecting ductwork and electrical and plumbing runs, Brophy and his team proceeded to build cribbing, excavate around the house, remove the old foundation, pour new footings, build the foundation stemwalls, reconnect the ductwork and electrical and plumbing runs, and compact and regrade the surrounding soil.
Replacing a house’s foundation can be a daunting task, but the work can restore a home’s structural integrity and make it last for another century or more. After having retrofitted several foundations, I’ve settled on doing as much of the work as I can. I’ve found the work to be easier than expected, and the more I do myself, the more I profit. That said, when the work exceeds my expertise or comfort level, I sub it out. In the end, a handful of subs work on each project, including an engineer, an HVAC contractor, and a house-lifting company. The contractor’s job is to keep the job site safe and the work moving by hiring quality subs and communicating clearly with them.
Make the choice to retrofit
Most people would rather repair a foundation than replace it. However, certain situations call for a complete retrofit. In my experience, foundations fail mostly because they were not engineered properly for the soil conditions around the house. Common sources of failure include weak bearing soil, which is not capable of properly supporting the weight of the house, or poor soil compaction, which creates voids. (For more on soil problems and solutions, see “Soil: The Other Half of the Foundation”).
It is also important to pay attention to the foundation material itself. For instance, brick can deteriorate through a process known as spalling, and concrete can suffer sulfate attack, which can reduce its cohesion and strength.
Most of these failures can be detected visually, but I find it best to consult with an engineer whenever possible. An engineer can provide critical feedback that will steer the course of the work.
Project Journal
My greatest strengths as a contractor are my own crew and the relationships I have with my subs. Here is an outline of who completed each step of the project and when they were on site. A job of this scale hinges on a variety of site-specific factors, but by implementing a similar schedule in your own foundation-retrofit project, you will be more apt to stay on deadline and within your budget.
DAY 1
Disconnect all the ductwork tied to the furnace and air-conditioning units. After the job is complete, the ductwork must be reconnected and the system recharged.
Who’s responsible: HVAC subcontractor
What to look for: Be sure that the subcontractor temporarily seals all the ductwork openings prior to demo. This will keep the ducts—and the house—free of dirt, dust, and debris. In older homes, this is also a good opportunity to analyze the performance of the heating and cooling elements, and to replace them with more efficient models, if possible.
For more photos and details, click the View PDF button below:
