Making Common Siding Repairs
Whether you’re replacing wood, fiber cement, or vinyl, choose the right tools and minimize the collateral damage.

Synopsis: Over time, the siding of a house takes a beating. When it becomes damaged, the key to extracting the damaged parts is determining how the siding is attached and either cutting or removing the fasteners without damaging anything else. In this article, editorial adviser Mike Guertin shows how to repair damaged clapboards, shingles, fiber-cement planks, and vinyl panels. He explains the techniques and tools to use, and for each type of siding, he provides an optional repair method. In a sidebar, he shares his method of repairing housewrap after cellulose or fiberglass insulation has been blown into wall cavities from the exterior.
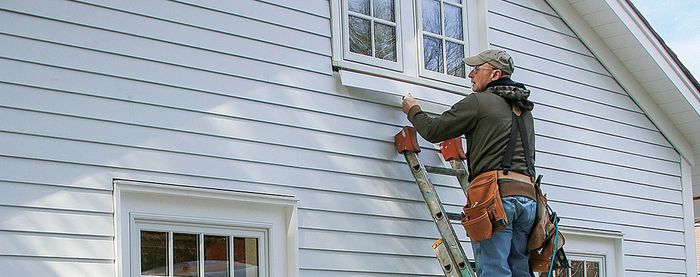
No matter where you live, the siding of your house takes a beating from sun, wind, water, and the occasional mis-thrown baseball. After a while, the abuse starts to show. The good news is that siding gone bad can be replaced without too much trouble. The key to extracting siding is determining how it’s attached and either cutting or removing the fasteners without damaging anything else. Be aware that the weather-resistive barrier (that is, housewrap) can be damaged when old siding is removed. During normal repairs, a piece of housewrap tape is sufficient to seal small nail holes. Cover large tears with a piece of housewrap lapped into a horizontal cut that is at or slightly above the damaged area, and then tape it in place.
Another thing to keep in mind is that damaged wood and fiber-cement siding don’t always need to be replaced. Pieces with gouges, splits, and rot can sometimes be repaired in place.
Finally, while the EPA’s renovation, repair, and painting rule doesn’t kick in until you disturb 20 sq. ft. of exterior painted surface, it’s still good practice to follow lead-safe practices when repairing siding on homes built before 1978.
Clapboard repair involves two courses
A clapboard should be fastened so that the face nails are positioned above the top of the underlying board, which makes it easy to remove. In the real world, however, the nails often penetrate the top of the clapboard beneath. To remove one clapboard, pull or cut the nails holding it in place as well as the nails in the overlying course. Be sure to use a sharp knife to score through the paint along the bottom, top, and butt edges of the damaged clapboard. Remember to back up butt joints with a piece of housewrap or flashing before placing the new board.
A surgical option
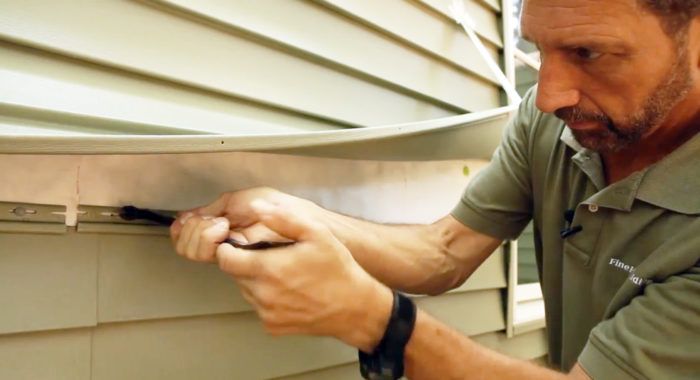
When a long clapboard has just a small amount of damage, it’s possible to cut out only the bad section. Starting from a butt joint, pry out the nails in the section of the board to be removed and from the overlying clapboard about 2 ft. to each side of the damage. Bend a 1-in.- to 2-in.-wide strip of metal-coil stock to wrap and protect the bottom of the overlying clapboard at the cut site. A long strip of vinyl or aluminum beneath the damaged clapboard protects the face of the course beneath and the housewrap.
For more photos and details, click the View PDF button below:


