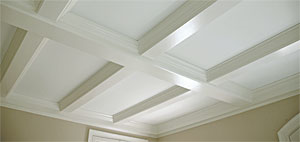
As part of a yearlong renovation and addition project, the new owners of a 1920s Connecticut house wanted to upgrade an enclosed sun porch with a paint-grade coffered ceiling. Subcontracting for Fox Hill Builders of Darien, Conn., Hobart Builders of nearby Fairfield had to puzzle out the challenge of the concrete ceiling, which was neither flat nor level.
Hobart’s Joe Milicia had veteran carpenters Don Carlson and Bill Broome do the work. They started by snapping lines to establish the locations of the beams for the coffered ceiling; then they screwed and glued 3-1⁄2-in.-wide strips of plywood to the lines. After using a laser to establish the perimeter blocking, they shimmed a second layer of plywood to level over the first. The idea was to establish a flat reference plane for the big beams and to work back toward the ceiling, rather than from the ceiling down.
After setting the perimeter, Don and Bill built the two large cross beams in place, then measured and built the smaller intermediate beams, each of which was installed in one piece. New drywall panels above the crown in each bay concealed the cosmetically challenged original ceiling. The takeaway here is not the job itself, but the ways that the carpenters approached and executed the various parts of it.
Build the long beams in place
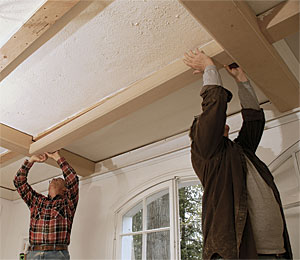
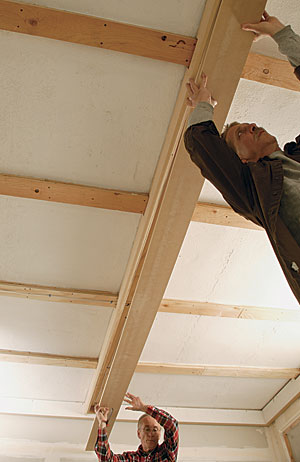
Because the main beams were so long, the easiest way to install them and get tight joints at each end was to build them in place. A stringline stretched across the span became the reference for the beams, which in turn determined the rest of the room’s layout.
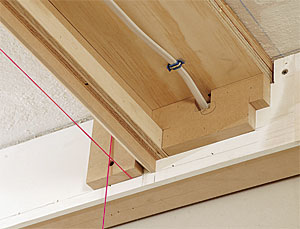
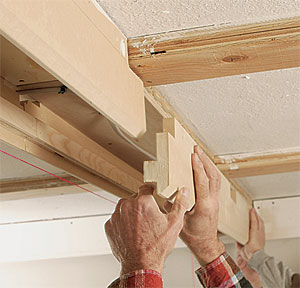
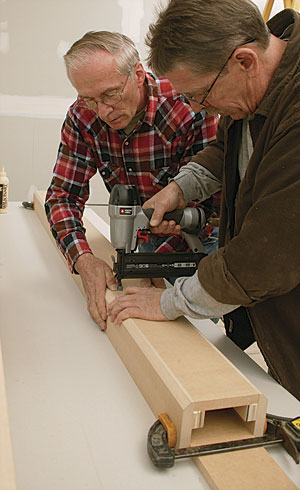
End block holds the shape. To establish the width for the bottom of the beam, the builders notched blocks on each end for the cleats and for nailing at the end of the beam. The sides were installed with a center scarf joint that later was concealed by crown. Carpenter’s glue, construction adhesive, and screws fastened the pieces.
One piece where it shows. Once the sides were in place, the bottom piece of the beam was measured and cut so that a seam wouldn’t be visible. Bar clamps held the sides tight until the bottom could be nailed off.
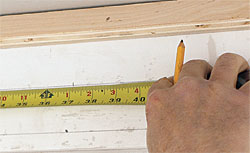
No guesswork here. For crown molding, Bill first measured four sides of each box. Instead of bending his tape into the corner, here he marked 40 in. from the right, then measured from the left to the mark and added the two measurements.
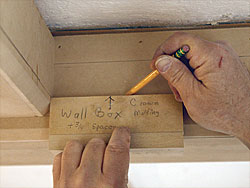
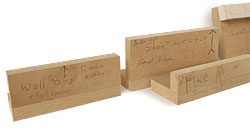
Simple jigs rule. Rather than use a tape or combination square to measure and mark each cleat or molding location, Don made a number of MDF spacer jigs.
A jig for all. Each consistently established a specific distance or reveal on one part of the assembly, no matter who performed the measurement.
Two ways to measure consistently and quickly
In a room that’s not square, flat, or parallel, all measurements are based on establishing a reference point (in this case, the large cross beams). Cleats, moldings, and intersecting members all need exact reveals, so the trick is to measure and mark without wasting time.
Fill in the short beams
Once the two cross beams were up, the next step was to build and install the smaller intermediate beams, followed by the drywall panels and crown.
Temporary blocks assist in assembly. The shallower intermediate beams were built on a bench. After using a spacer jig to position and fasten the cleats, Don clamped the sides to a spacer the same width as the bottom, then attached the bottom to the cleats with glue and nails. A 2° back cut across the face of the sides provided enough wiggle room for Don and Bill to slide the beam in place and still have the joint at the bottom remain tight.
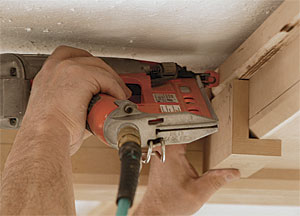
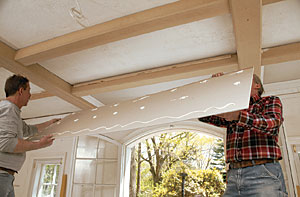
Dual-purpose cleats. With the beams in place, the next step was to cover the ceiling with a fresh piece of drywall. Don and Bill used a perimeter of beveled cleats both to support the drywall above and to act as a backer for the crown molding below. Once one long cleat was in place, they applied dollops of construction adhesive on the back of the drywall, raised it in place, then installed the remaining cleats below the drywall.
Trick of the Trade
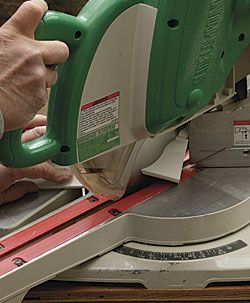
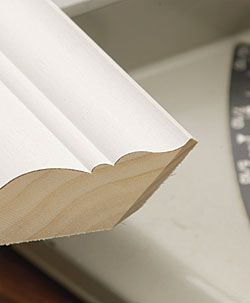
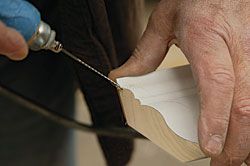
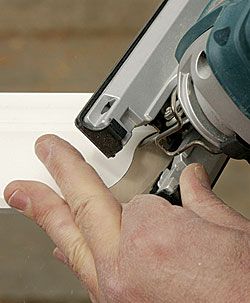
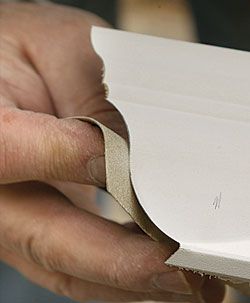
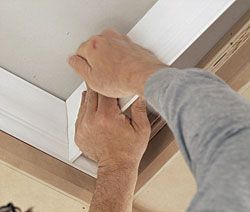
Five steps to a perfect cope Installing crown is a task that can eat up your day if your techniques aren’t well honed. Bill has the process down to a science.
Photos by Charles Bickford
RELATED ARTICLES
The Craft of Coffered Ceilings
