Work Smart with PVC Trim
For good results with this rotproof material, you have to understand how PVC trim moves.

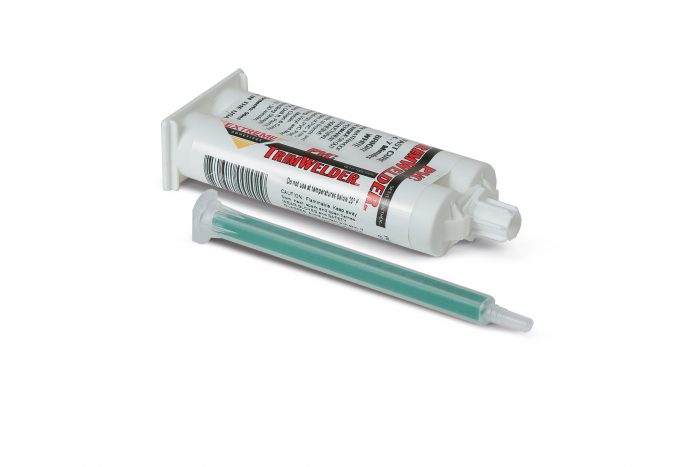
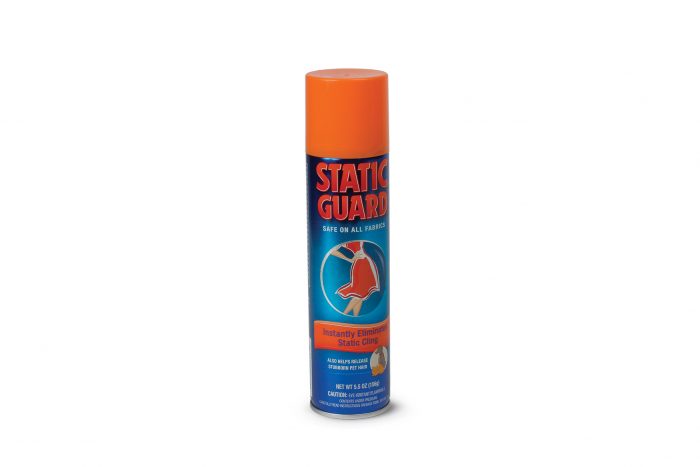
Synopsis: PVC trim has many assets, not least of which is that it is rotproof. Contributing editor Rick Arnold offers his advice on the best ways to work smart with PVC trim. The first steps involve the proper handling, cutting, and storage of PVC trim, keeping in mind that heat can cause the material to warp. It’s important to use the right number of fasteners; nailing schedules can differ from wood trim. Control movement in running trim by using the appropriate connection: shiplap joints, mitered corners, butt joints, or scarf joints. Casings are assembled either with pocket screws or biscuits. This article also includes a sidebar on additional gear for the PVC tool kit, including sealant, filler, PVC cement, antistatic spray, and cleanser.
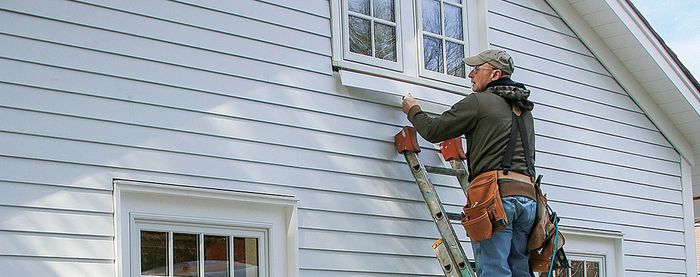
Here in New England, it seems like we’re installing more and more PVC trim every year. And why not? It doesn’t rot or need paint, although paint is not a bad idea (more on that later). I typically recommend PVC trim for two particular applications. First, it’s the perfect material for a customer who wants white trim and never wants to paint. Second, it’s the best choice when there are unavoidable moisture problems resulting from the location of the house or the weather.
Installing PVC trim close to the ground, a deck, a roof, or a driveway doesn’t carry the same risks as doing so with wood or fiber-cement trim. When PVC is painted, the paint will last longer than when it’s applied to wood installed in moisture-prone areas.
PVC trim is available in many thicknesses, lengths, and profiles, and for the most part, it cuts and shapes like wood. Like other building materials, PVC expands and contracts with the ambient temperature. It’s important to know how to work with that movement. With proper joinery and fastening, PVC trim can be virtually trouble-free. However, I’ve seen carpenters try to install it like wood and then find themselves revisiting the job for repairs. Here’s why: In contrast to wood, PVC moves along its length, not its width.
When I have to install lengths over 12 ft., I pay attention to the temperature and plan for its effect on the material’s movement. This is especially important because the standard stock length is 16 ft. to 18 ft., so it’s always tempting to use one board instead of two.
The ideal temperature range for installing PVC trim is 60°F to 70°F. That’s about midstream for board movement. When the temperature cools, the boards shrink. When it gets warmer, they expand. If I’m installing long PVC boards and it’s 90°F in the shade, I make the joints tight because I know there could be a 3⁄16-in. gap by the time midwinter rolls around. Of course, the reverse is true for winter installations.
The key to minimizing seasonal movement is to employ a strategy involving the right joints, fasteners, and adhesives. I can arrange and install a sequence of joints and choose which end of the board will remain stable. The other aspect of this strategy is a recognition that the material has to move, and that the installer’s job is to pick the best place for the movement, then compensate for it with a combination of joinery and flexible gap fillers that will look good while protecting the underlying structure for many years to come.
Storage

Handling

Cutting

Control movement in running trim
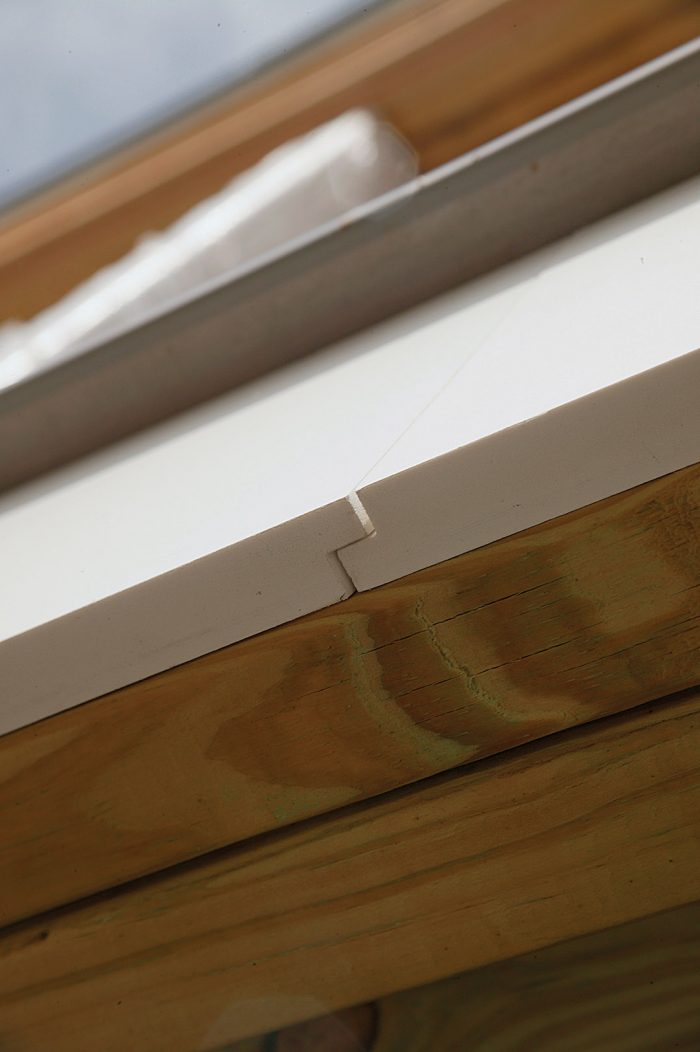
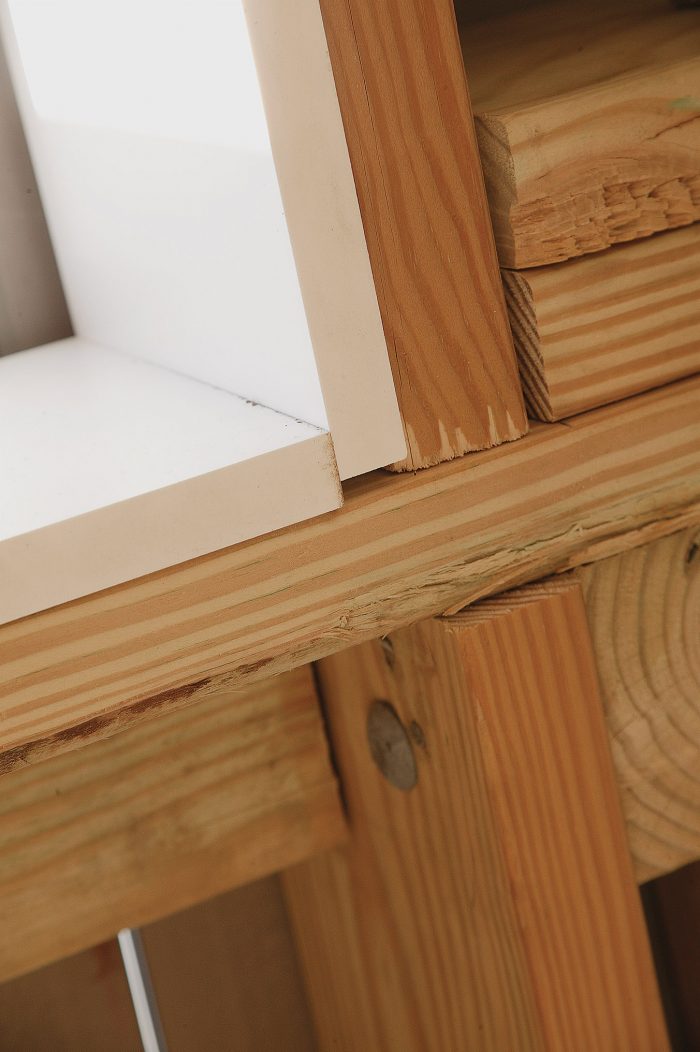
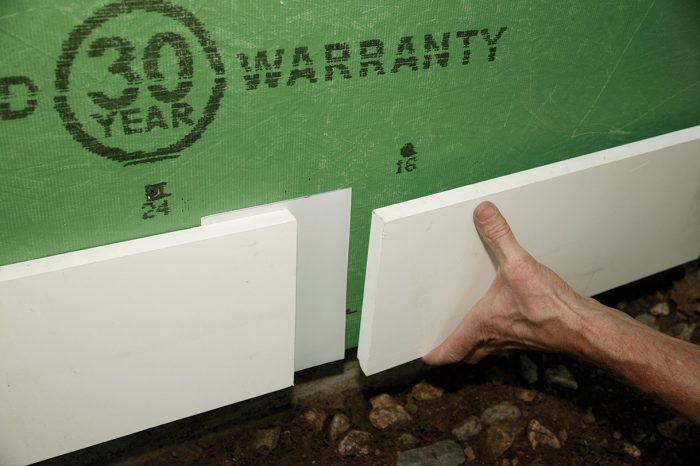
The key to success with PVC trim is to plan for lengthwise movement in boards longer than 12 ft. If not properly detailed, the plastic trim can buckle or develop unsightly gaps. The author’s strategy is to choose appropriate joints to fix in place while allowing other joints to move. The movement can be concealed with a shiplap joint or by leaving room for the board to expand behind a butt joint.
Shiplap joints
Mitered corners
Butt joints
Scarf joints
Don’t skimp on fasteners
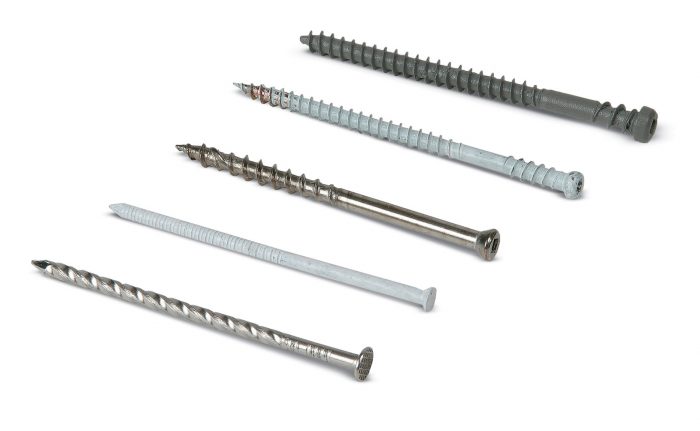
Take your pick. Manufacturers recommend using stainless-steel or hot-dipped galvanized siding nails. Spiral-shank or annular-threaded (ring-shank) are best. Painted stainless-steel nails can be less noticeable on the finished installation. Trim-head screws must be corrosion-resistant and have a #7 or larger shank. In terms of performance, nails are faster to install, but harder to conceal. Screws have more holding power.
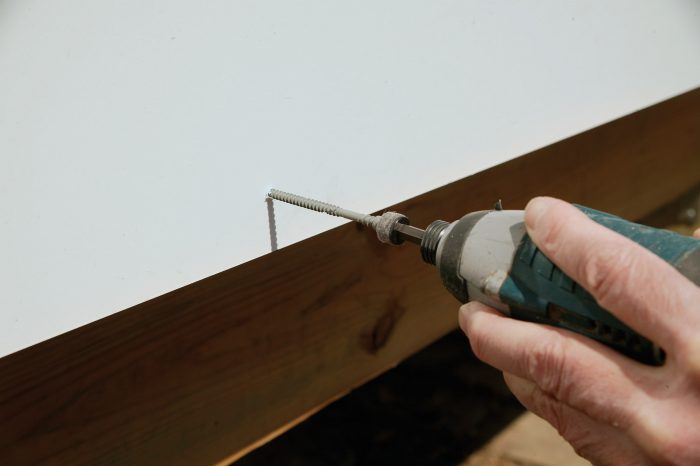
A favorite system. The author prefers a FastenMaster product that includes a bit that drills both a pilot hole for the screw and a larger hole for a proprietary plug. Made of PVC, the plugs are available in different colors and are simply pressed into place.
 |
 |
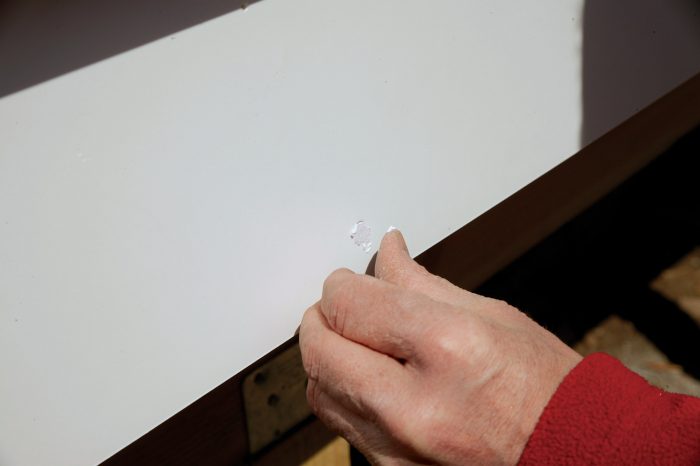
Putty works. Countersunk trim-head screws also can be concealed with a two-part epoxy putty. This works best when the trim is to be painted.
 |
 |
Two ways to assemble casings
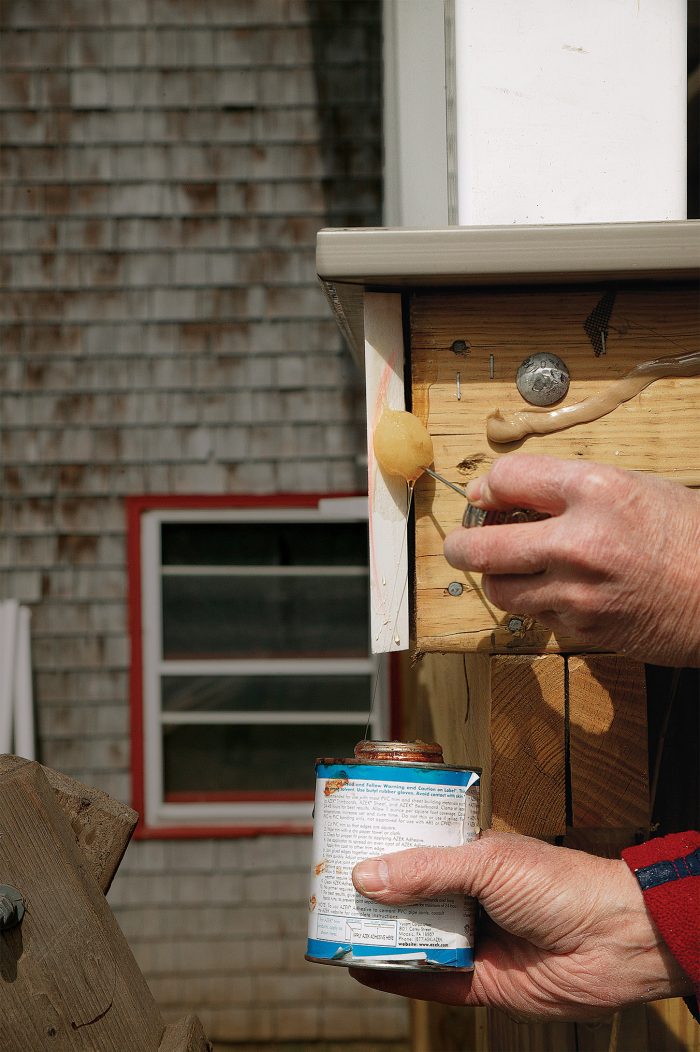
For joints that will never open, PVC door and window casings can be assembled like common wood casings. The only difference is the adhesive.
Pocket screws
 |
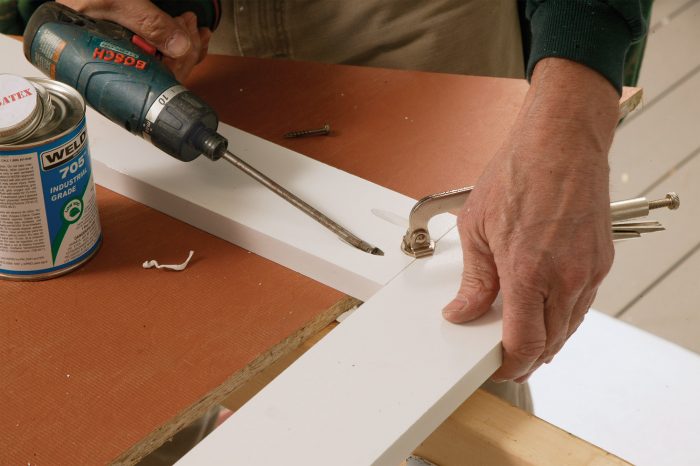 |
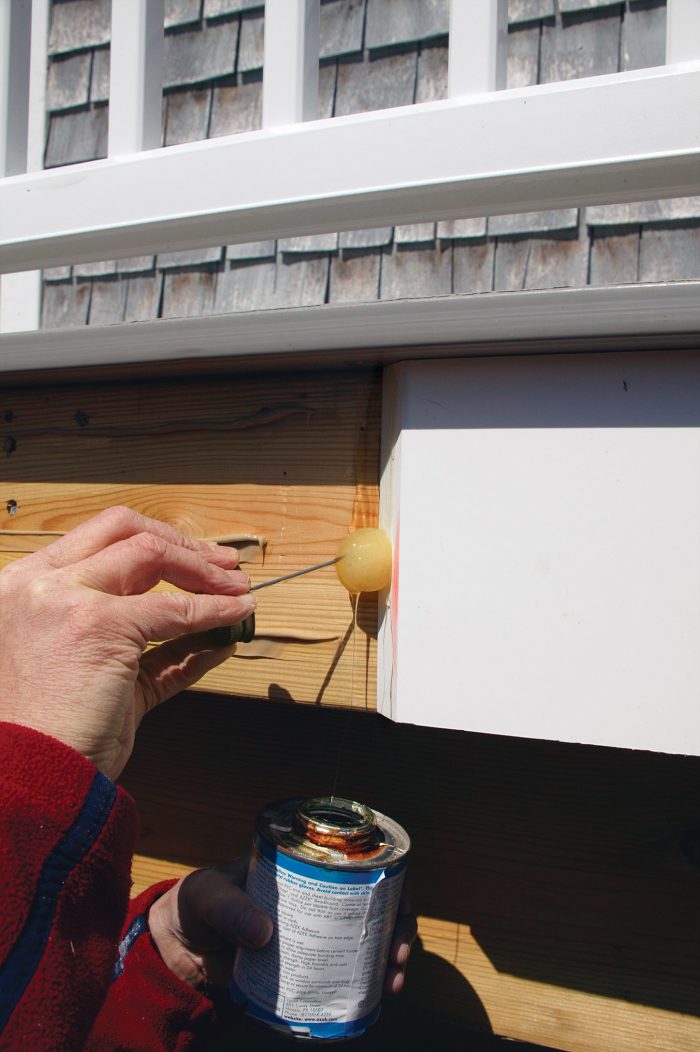
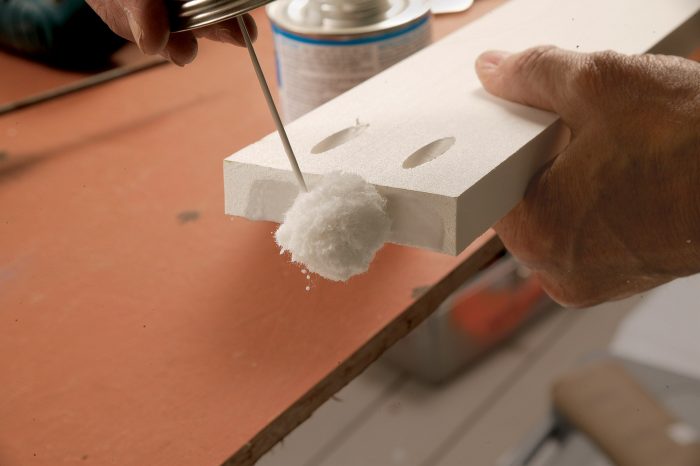
When assembling casings with butt joints, the author prefers to apply PVC cement to each joint and then to draw the joint together with pocket screws.
Biscuits
 |
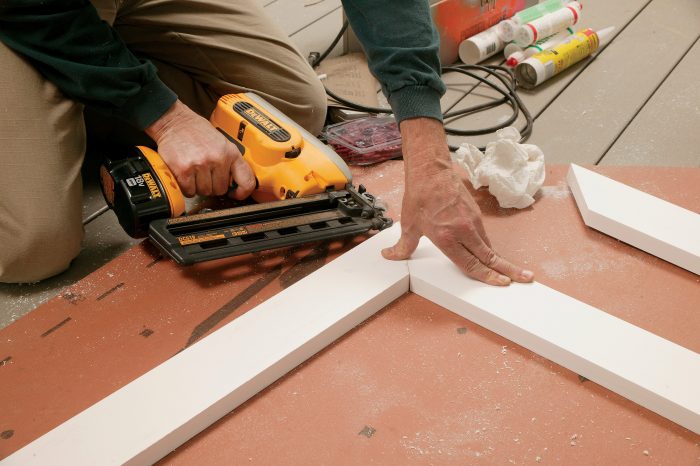 |
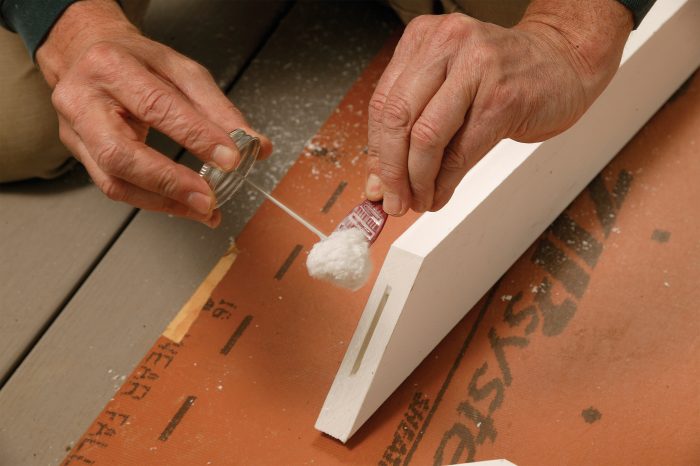
Miter joints can be joined with plastic biscuits. The author coats the biscuit and both sides of the miter with PVC cement, then assembles the joint. The corners can be tacked with a finish nail to hold the joint tight until the cement sets up.
If you’re going to paint, choose color carefully
Many people use PVC trim because it will never need to be painted. It turns out, though, that PVC provides an
excellent substrate for 100% acrylic latex paint, and paint is even recommended by some trim manufacturers to seal exposed edges that otherwise might attract dirt. However, it is important to choose color carefully. Acrylic paint colors are given a light-reflectance value (LRV) on a scale of 0 to 100: The lower the LRV, the darker the color. Any paint with an LRV of less than 55 should not be used on PVC trim. The dark color can transfer enough solar heat to the trim to cause failure. Using the wrong paint also can void the warranty. Some manufacturers, including Sherwin-Williams, provide the LRV on their paint-color cards.
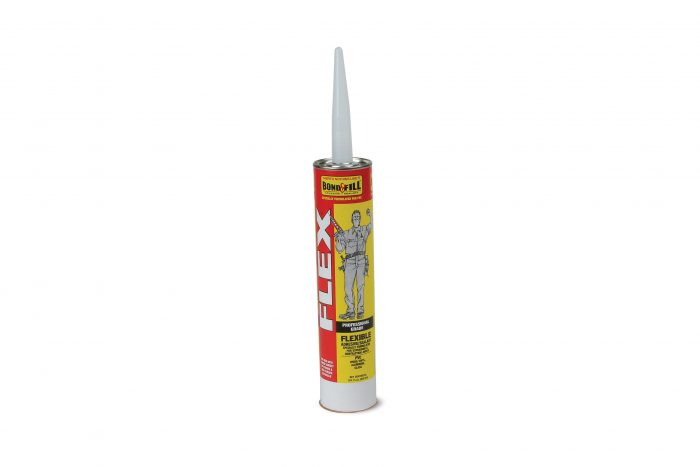
Gear for the PVC tool kit


For more photos, illustrations, and details, click the View PDF button below:



View Comments
What flexible gap filler do you use to deal with tight joints that could open to 3/16"?