OK, OK
If you’re tempted to launch into a tirade about how “real carpenters use a framing square to figure rafter lengths” you might just watch these two videos and get an idea for a few new tricks to simplify your life. Even after using the tried-and-true methods of framing square, rafter tables, and construction calculators for more years than I care to admit, I’ve found there are some benefits to letting SketchUp help with some of the math. As a reminder to keep an open mind, I remember my somewhat embarrasing reactions to the first plastic tools: clamps, Skilsaw handles, and cordless tools that I scoffed at and now I don’t know how I ever got along without them. That makes me more cautious about bashing potential new ideas when they are presented.
Simple Set up
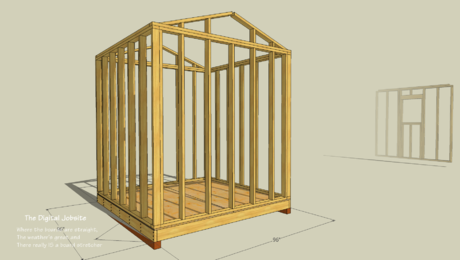
This first video is similar to the tutorials in an earlier blog post titled “The Rafter You’re After” in set up for drawing a rafter. Here I attempt to go through the steps a little differently with a focus on details for cutting an actual rafter, not just creating one for modeling purposes:
Visual Math
Here, I finish up the rafter model and then use the Dimension Tool to take common (and uncommon) measurements, and the Protractor Tool to measure various angles… in effect giving me “visual math” results. This information can then be transferred to a rafter pattern with confidence that the math is accurate. I would still use a framing square with gauges clamped to it for marking cut lines on a pattern since it’s faster than a protractor but either way would work.
In Depth
While this tutorial gives only a quick overview of using SketchUp for a simple common rafter, the benefits of using this method increase in direct proportion to the complexity of the rafter being laid out. If for instance, instead of working with a given pitch/slope the rise and run were “given” it is very simple to determine the exact pitch required to meet the rise and run figures.
If this topic would be of interest to any viewers I could cover it in a future Digtal Jobsite post.
Link Update:
While reviewing this blog post after-the-fact I noticed that I neglected to include a link to the model created for this tutorial. It’s available at the SketchUp Component Warehouse HERE and NOW… just click to download the model. You might find it a helpful starting point for working through your own rafter modeling and layout project.
Thanks for watching, stay tuned for more and take a second to hit a Thumbs Up/Down as you navigate away.
Matt AKA The Timber Tailor
Fine Homebuilding Recommended Products
Fine Homebuilding receives a commission for items purchased through links on this site, including Amazon Associates and other affiliate advertising programs.

The New Carbon Architecture: Building to Cool the Climate

Pretty Good House

Not So Big House
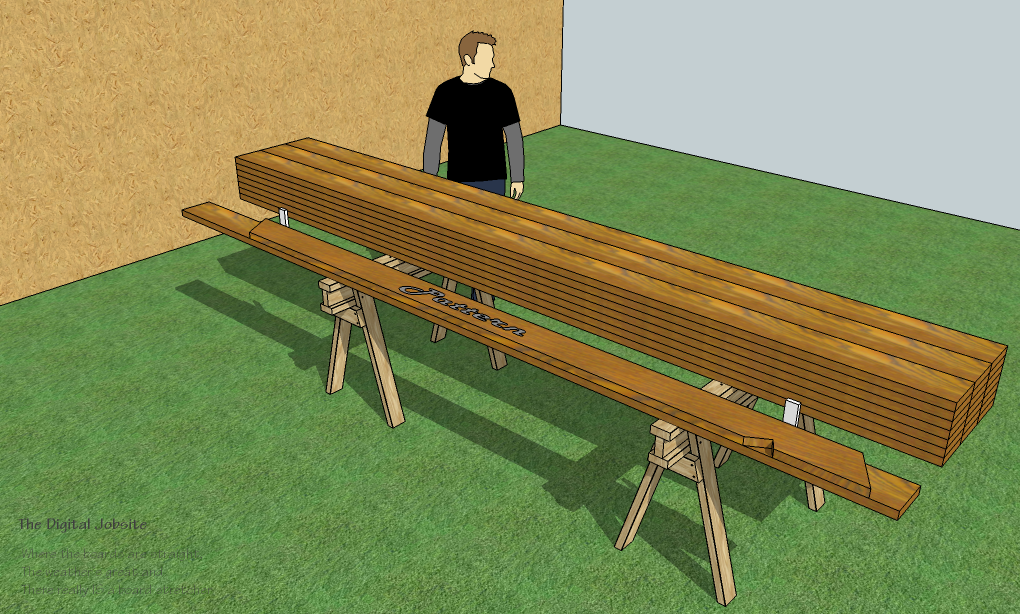
Figuring Dimensions for a Rafter Pattern the SketchUp way
