By Nathan Denson/ By the Book Builders
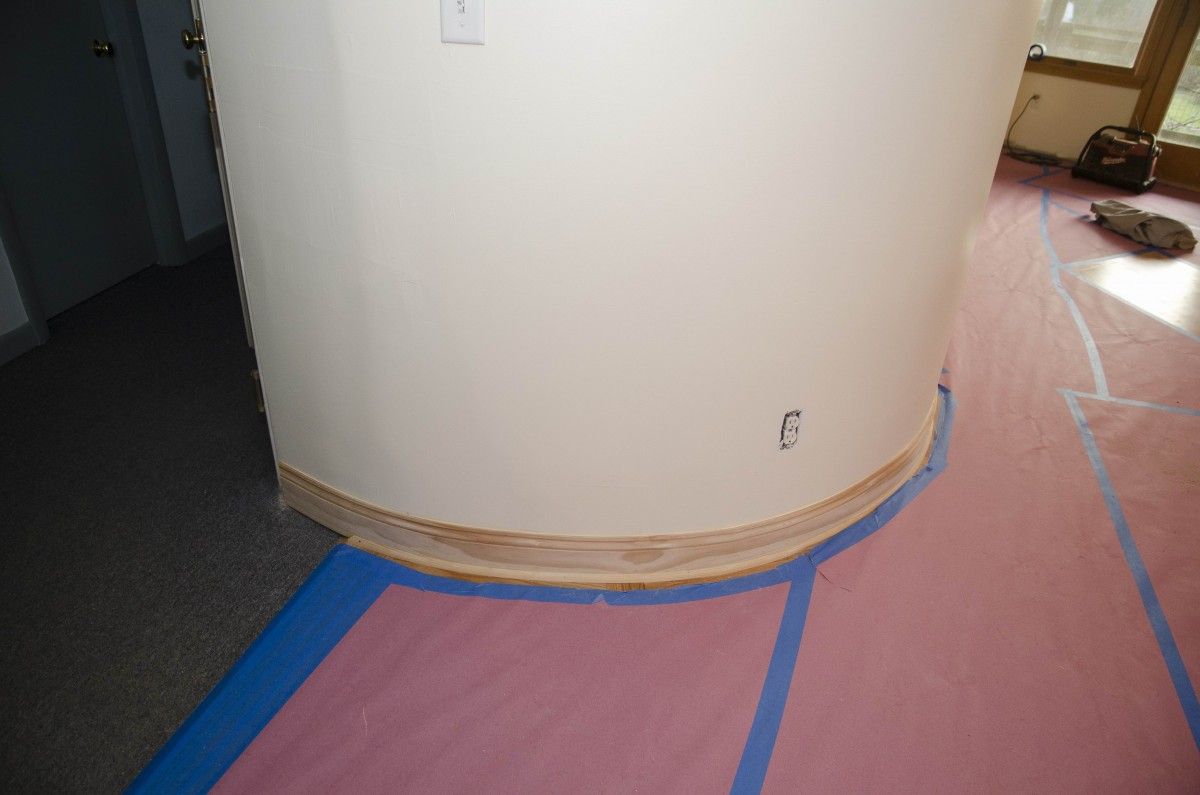
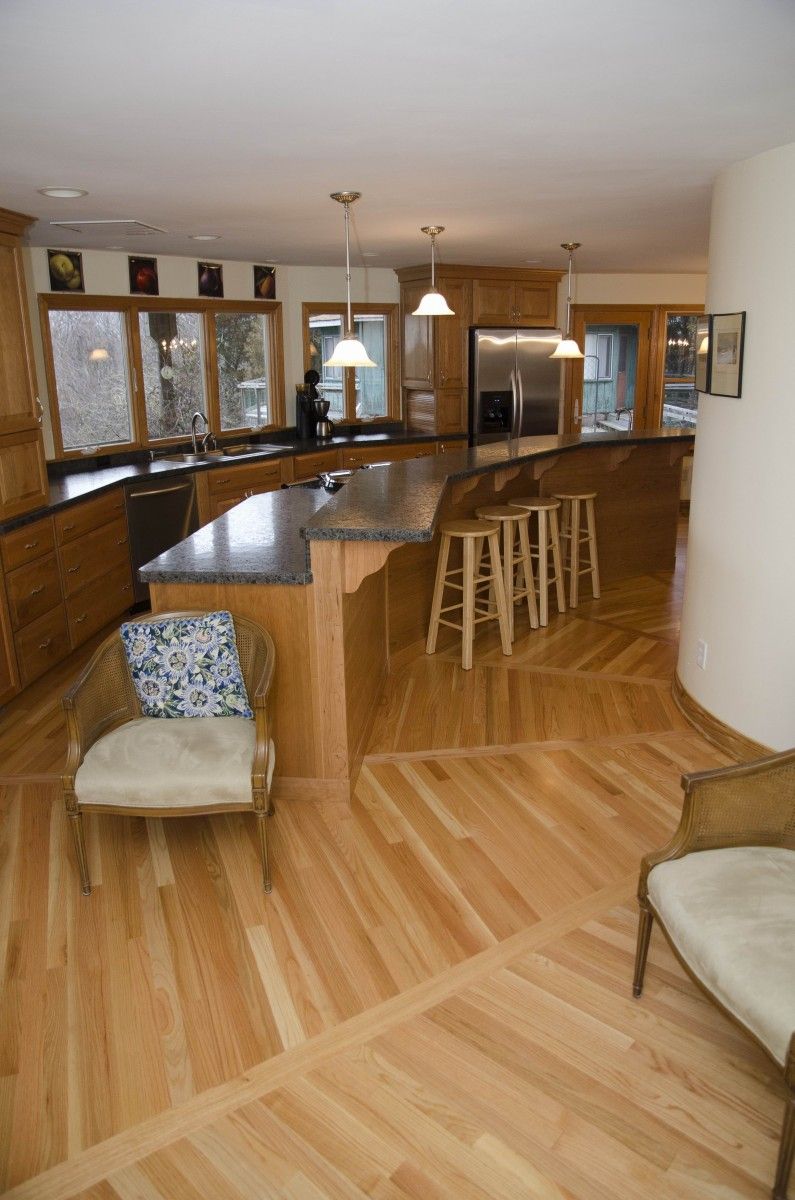
Recently, we completed a kitchen with a round floor plan, and had to figure out how to install baseboard along a curve. There are several ways to bend wood. Most techniques require special tools and significant time. However, there is one technique that, if done properly, can be a quick and simple solution that provides professional results. Any curve over an 8-ft. radius can to be bent using the following technique.
Typically, baseboard is bent by backcutting the square stock so that it becomes flexible. The molding (cove or bed, for instance) bends easier and covers the cut marks. One-piece trim can be a bit more tricky, so here are some tips to make it easier.
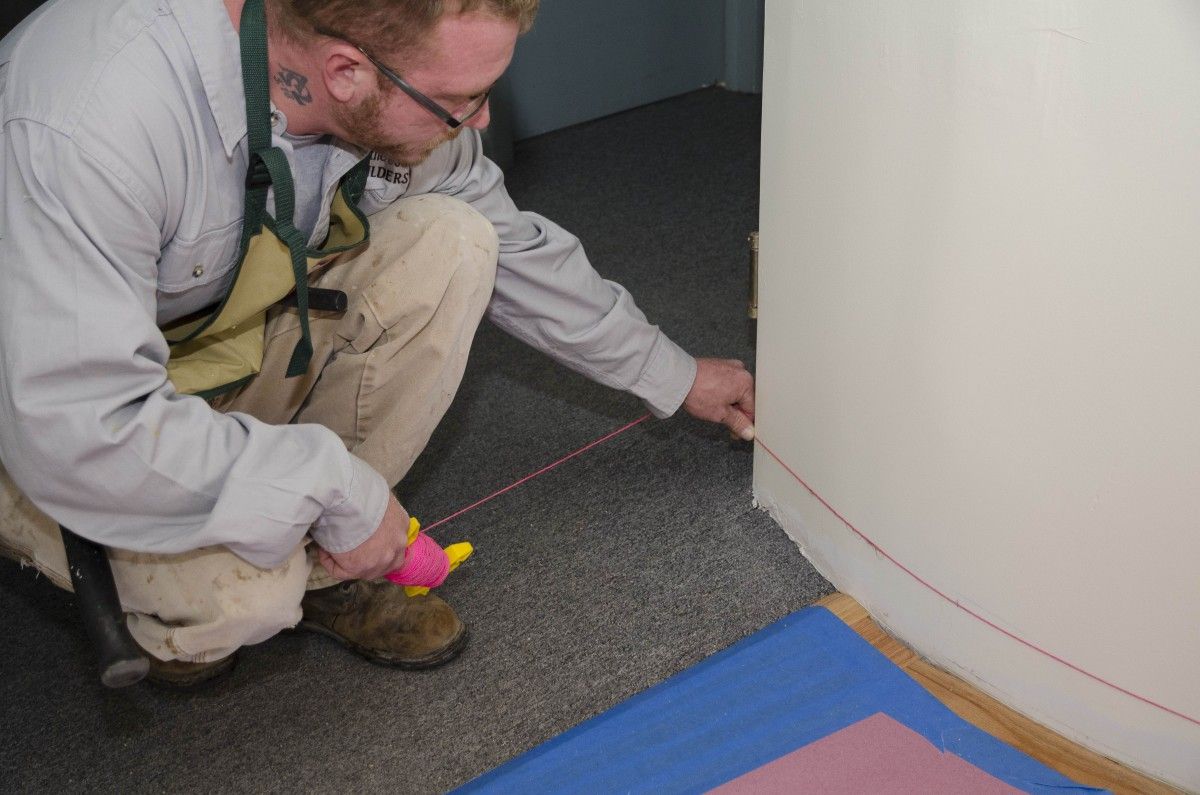
Begin by choosing the material and pre-sand. Sanding in place with curved trim will result in an uneven finish. Next, use a string to determine your rough length. A tape measure will tend to kink and give an inaccurate measurement. Mark the string where you intend to end your trim, and transfer the measurement onto the stock.
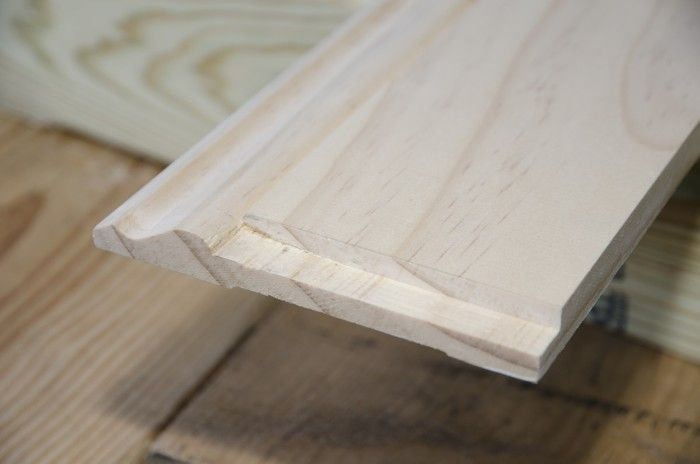
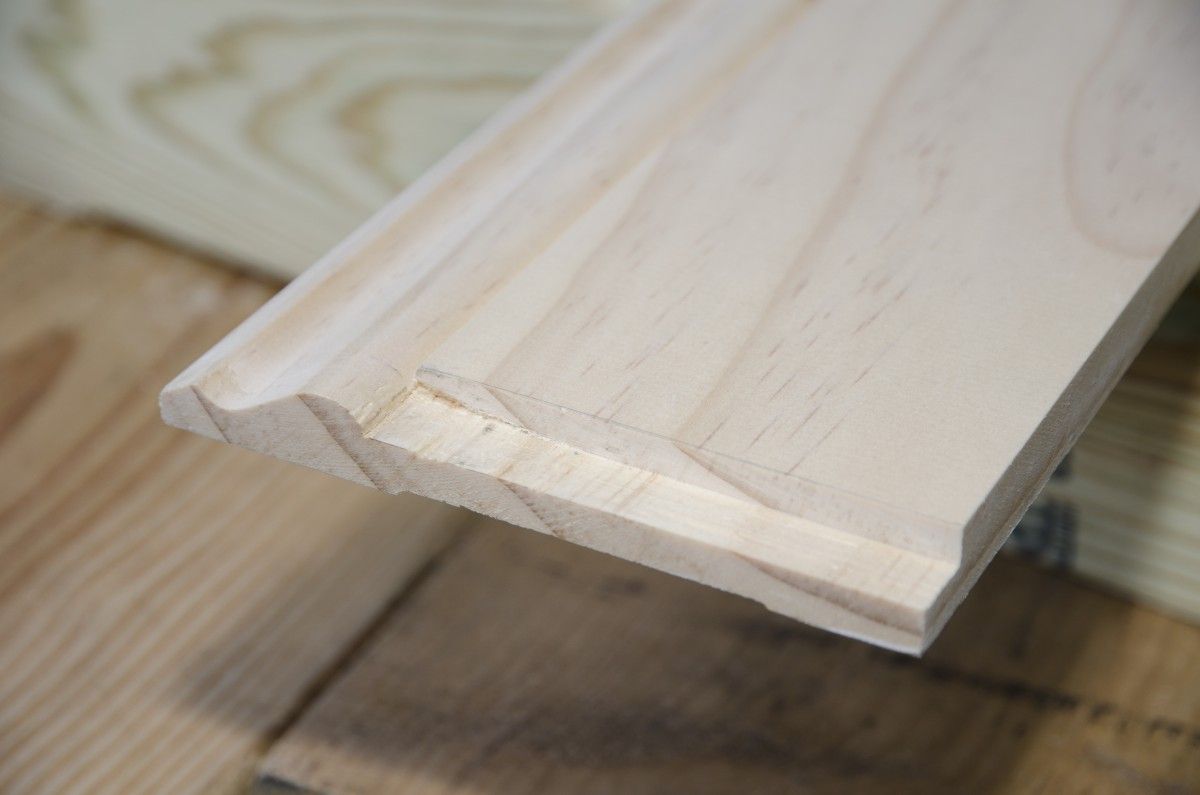
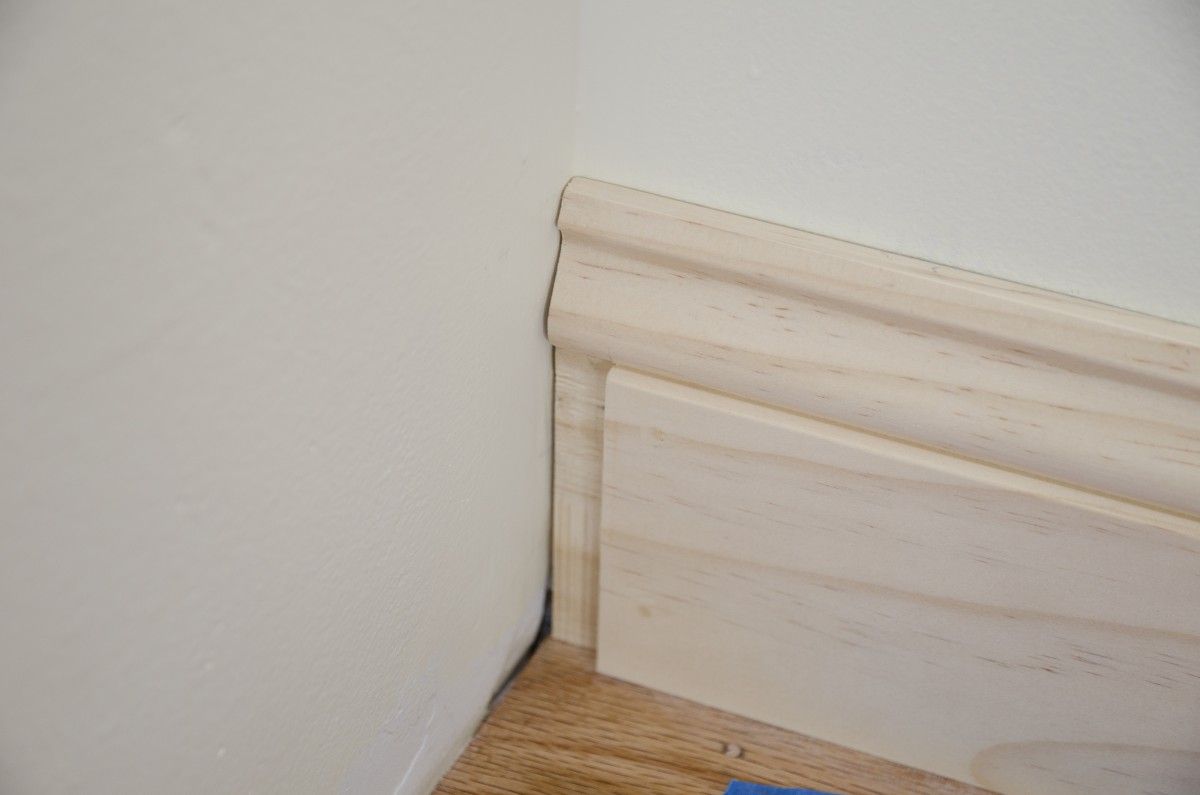
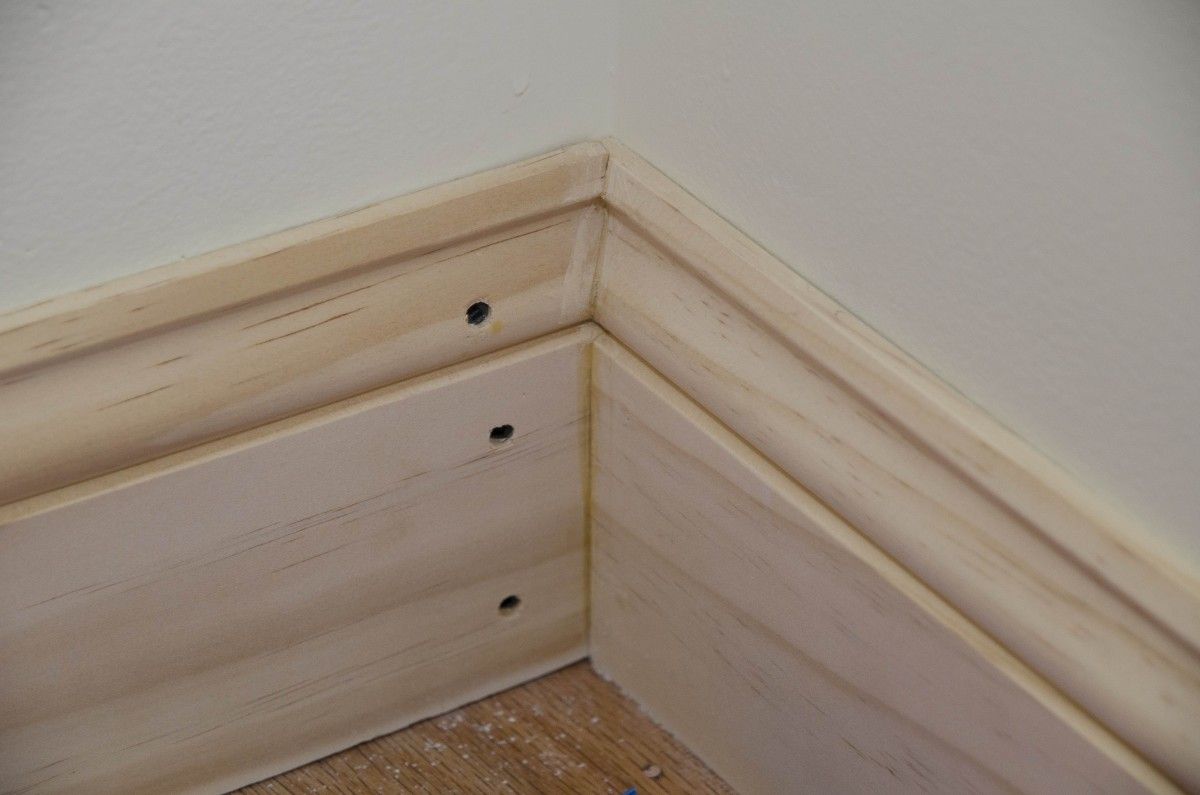
Prepare the starting point. Cut a 90° end on the baseboard that intersects the curved portion. Using a miter saw and chisel, remove 1/4 in. of the square material, the width of the baseboard thickness, without touching the band profile. This creates a stop to contain the stress of the bent trim without the use of fasteners. Now cut a 45° bevel on the mating end of the bending piece, cutting the band profile only. Cope the profile onto the right side. Now cut the square material so there’s 1/4 in. of material protruding to fit in the opposite side.
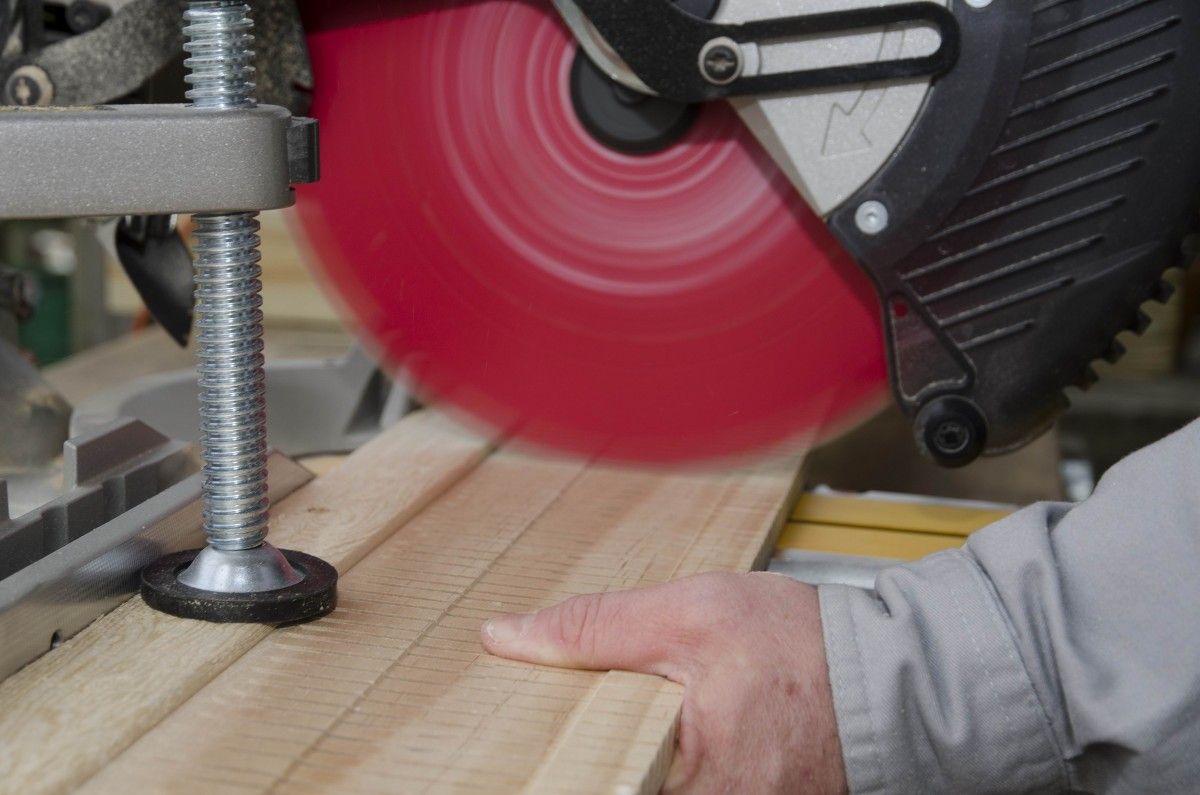
Kerf the backside. Lay a scrap of baseboard face down on the miter saw and set your saw depth stop to allow a plunge cut two-thirds into the back of the trim. Now continue the cut, stopping the blade 1/8 in. from the top of the band profile. Be sure the blade doesn’t cut through the face of the profile. A stop block will hold the trim where t you want it, and allows for quick, consistent score cuts without over or undercutting. The relief cuts will allow the trim to flex without damaging the face . Now place your finish piece face down on your saw. Starting at one end, score the back of the trim with 1/8-in. spacing in between cuts. Continue all the way to the other end of the board. I recommend having an out-feed bench or a helper to hold the trim as it will become very flexible as you go.
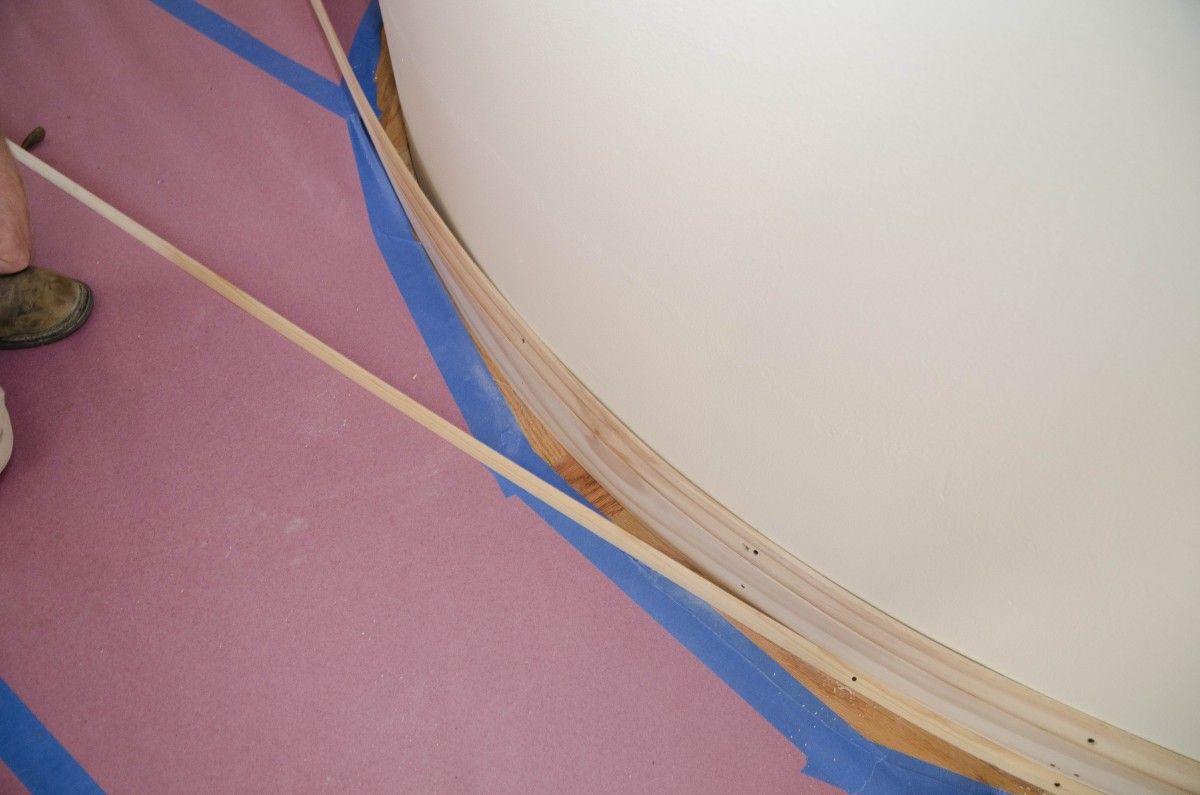
Using the string again, determine the finished length. Lay the string across the board and mark your final cut. After making the cut, you are now ready to install. This may require two people, depending on the radius of the bend. I recommend using screws for fastening as there can be stress on the wood, and screws will ensure a tight long-term hold. You may choose to countersink and plug the screw holes. Here, we predrilled, used finish head screws, and used wood filler to fill the holes. Glue the coped end to ensure a long-lasting tight joint and fasten at every stud, one at a time only, bending as necessary to hold the wood tight to the wall. Overbending during fastening can fracture the wood, so take your time and feel the stress in the wood. If it feels like there’s too much stress on the wood, let it rest for a few minutes and ease it to the next fastening point until the entire length is fastened. Repeat the entire process for the shoe molding. If you hear cracking, stop and add relief cuts. The key to bending wood is to take your time and listen to the wood. You will only get one try with a piece so be sure to follow each step closely and you will be able to achieve beautiful results.
Fine Homebuilding Recommended Products
Fine Homebuilding receives a commission for items purchased through links on this site, including Amazon Associates and other affiliate advertising programs.

Reliable Crimp Connectors

Handy Heat Gun

8067 All-Weather Flashing Tape





View Comments
Nathan,
I'm curious: what advantage is there with the notched end method you describe over a conventional coped corner? Seems that by simply square cutting the end of the bent piece and then using a standard (and quicker) full-coped end on the straight piece you would gain more restraint on the curved piece and spend less time than with the interlocking cope/notch shown.
Also, did you have to fight the face of the base to keep it from bowing out in the middle from the curved kerf cuts? It looks flat in the photos but seems like it would be troublesome.
Good work regardless...
Thank you Nathan for sharing. The finished photo is amazing. The floor looks beautiful!
Thank you for the compliment Timber Tailor. We chose to incorporate the notched cope to help hold the end of the trim during the bending process rather than depending on the screws to hold the stress and potentially weakening their hold. We weren't as concerned about speed as we were dependability.
The flat spots seen in the photos are actually flat portions in the wall itself as the wall is plastered, not bent drywall. This causes irregularities that were impossible to pull out between studs. We chose to allow the wood to remain curved. With proper caulking and paint the flats tend to disappear.
Thank you bobtb. My partner, Johnee(in the photo,) and I designed and installed the red oak floor. Each "spline" in the sunburst pattern is milled with a tongue on both sides. We milled each flooring piece to accept the tongues. The end result is pretty remarkable.
Good tips! I hope I find the opportunity to use them soon.
Definitely a helpful article. Never came across a curved wall yet
Benjamin Raucher
Thanks for a well detailed article. Fastcap makes a flat back tape measure that I use for all kinds of curved work like this: a specialty item, but clearly perfect for this application. But a string or a roll of painter's tape can get the job done too.
Steam box? There are some pretty simple setups on-line.