How to Install Inset Cabinet Doors
Create the perfect fit for kitchen-cabinet doors by trimming one side at a time.

Synopsis: A good set of cabinets is the hallmark of a craftsman. In this “Master Carpenter” article, woodworker Scott Gibson describes how to get a perfect fit installing inset cabinet doors. Gibson begins by establishing the bottom reveal of the door; he recommends a low-angle jack plane to smooth the bottom of the door. Next, he fits the door in the opening, making sure that the door fits but not paying attention to whether it is square. Gibson says that once the door and cabinet are made, it’s more important to deal with what’s there than to fuss with square. To adjust the fit of the door, Gibson uses a jointer or similar plane. He trims the top in two steps to minimize the risk of removing too much material. The goal is to get a tight fit first, then mount the hinges and locate the strike. Then it’s time to make final adjustments and hang the door. This article includes sidebars on troubleshooting fitting problems, using a board jack, and working with low-angle block planes.
Online Video Extra: How to Fit Inset Cabinet Doors
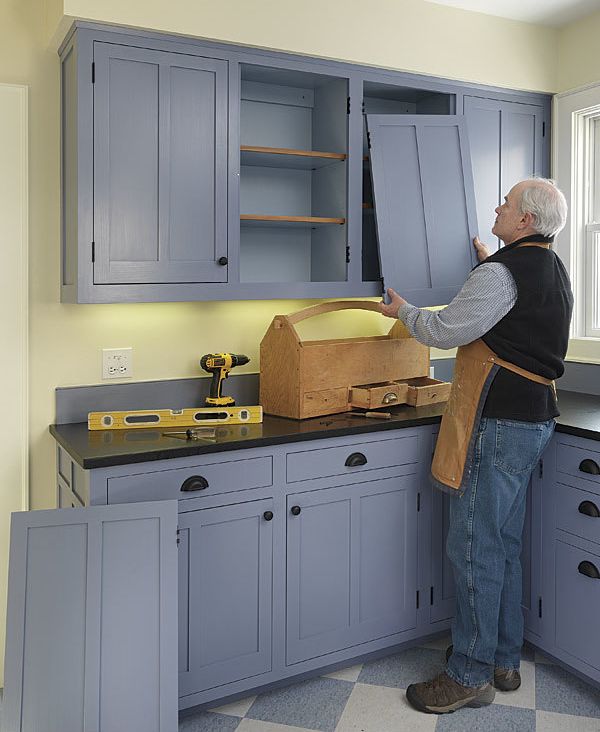
Making and fitting cabinet doors takes time, and it has its occasional frustrations. Still, installing doors correctly is one of the real pleasures of cabinetmaking. If everything isn’t flat and square or if the hinges aren’t installed properly, the doors won’t work the way they should. For an overlay cabinet door, the process is more forgiving: The door simply closes against the cabinet or face frame. An inset door is another story. It has to be trimmed to fit the door opening exactly, with an even gap all around between the face frame and the door.
I like the appearance of inset doors because they don’t look as clunky as overlay doors. When an inset door is fitted correctly with a narrow, even reveal, the cabinet has a line of detail that is otherwise missing. This more finished look is associated both with traditional designs, such as Shaker, and with more modern styles. A cabinet built with inset doors also says something about the cabinetmaker. Although making inset cabinet doors takes time, the results are worth it to me, and the process goes surprisingly quickly once you’ve honed the technique.
For this kitchen project, I built the carcases first, then added the face frames. Typically, I use butt hinges (more on that later), so I mark and cut the hinge mortises on the face frames before I attach them to the carcases. I like to cut the hinge mortises on the stiles before the face frames are even glued up. I just pop a piece in the vise, I cut the mortises, and I’m done.
The doors are next. I start by building a door to the same dimensions as the opening. It’s tempting to make it slightly smaller so that there’s less trimming involved, but that move can backfire. When gluing up the door, make every effort to keep it flat. You can compensate for a slight amount of twist, but if the door is too badly skewed, you’ll have to make another one. If the door or the opening is out of square, fitting the door may result in a reveal that looks too big. Ideally, the door opening and the door itself will be square, but that’s often not the case. Once the cabinet and the door are made, forget about square, and deal with what’s there.
I trim one edge of the door at a time and then work my way around, beginning with the bottom of the door and ending at the strike-side stile. It’s possible to do all of this work with hand tools alone, but it’s faster and sometimes more accurate to do at least some of the cutting on a tablesaw and, if you have access to one, a jointer. The tool choice is yours.
For more photos and details on installing inset cabinet doors, click the View PDF button below.


