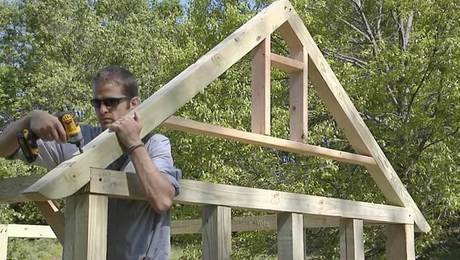
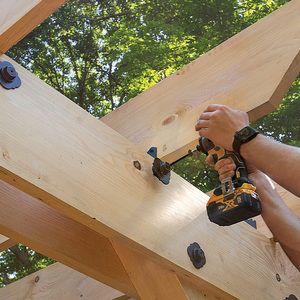
The half laps at the top of the roof rafters are basically the same as the half laps used for the floor and walls, but they are set on an angle, which makes the layout and cutting a bit more challenging. You can use a speed square to mark the angled cut at the top of the rafters, but taking a few minutes to make a layout jig will make life easier.
Let’s start with the top of the rafters, marking the angle where I need to cut all the way through the 4×4. Then, to mark the shoulder of the overlap, slide the jig down so the gauge is flush with the square edge of the 4×4 and make a second mark. This is the area that needs to be removed. After cutting off the top angle, clamp all of the rafters side by side so that the marks are in line, and the half laps can be cut with a circular saw and router, just like on the floor and walls.
Where the rafters meet the top plate we’ll need to cut a birdsmouth that sits on the wall’s top plate.For this I’ll clamp up the rafters so that the ends are flush, and do the birdsmouth in two cuts: First the seat cut, and then the plumb cut. The rafter tails are going to be exposed on this shed, so I wanted to dress them up a bit with a curve. I’m going to cut each of the tails separately, but I want to make sure they match. So, I’m going to rough out the shape of the curve with a jigsaw that’s equipped with a long blade. then I’m going to clamp the rafters together and clean them up with a belt sander.
Now, to make my life easier, I’m going to assemble each pair of rafters on the ground before lifting them up into place. All of the rafters are the same, so just grab two, flip one over, and join them together with screws.
Before I lift the rafters in place there are a couple of things I want to do. The two gable ends will have a vent, so I frame these openings while the rafters are still on the ground. I just tack in some 2x4s. Now I can get the rafters in place, align each pair of rafters to the mark, and drive a single screw through each, anchoring it to the top plate.
I’m going to assemble the fly rafters on the ground because it’s much easier to get tight miters when you’re not holding the piece overhead while trying to nail it. Start with a pair of 1x6s, some 2×4 blocks that establish the overhang, and then a 1×8 rake board on the outer edge. These are actually made from trim boards and some 2x blocking, so they’re fairly lightweight, which means I can preassemble the parts on the ground and then lift them up into place on either end of the shed.
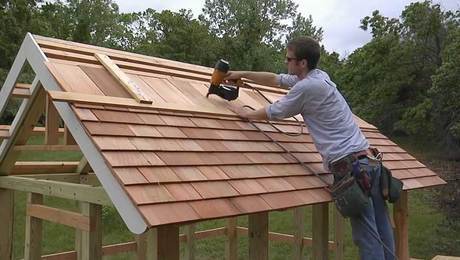
The rafters get tied together with 2x4s that will also act as nailers for the corrugated roofing on the back of the shed, and as skip sheathing for the cedar shingle roofing on the front of the shed. The 2x4s are butted tight for the first 5 rows on both sides of the roof, because they will be visible from underneath.
And again, for 2 rows, set down about 1 in. from the peak of the rafters, to provide nailing for the ridge cap. But the spacing for the remaining 2x4s is different on both sides of the roof, depending on the roofing material.
On one side of the roof we’ll be installing 18-in. cedar shingles with a 5-in. exposure, and that works out to a strip getting nailed every 5 in. on center. This seems fussy to layout, but because these strips are actually 2-1/2-in. wide, you can use them as spacers during layout.
On the backside, I only needed a few nailers to attach the corrugated roofing, so I lined them up to the fly rafter blocking.
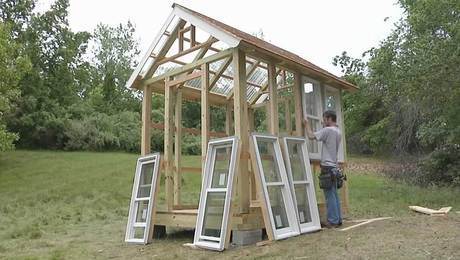
With the roof sheathing in place, the majority of our frame is done. In the next episode we’ll move on to roofing.
Videos in the Series
-
How to Build a Garden Shed: Introduction
-
How to Build a Foundation and Frame a Floor for a Garden Shed
-
How to Frame Garden-Shed Walls with Half-Lapped 4X4s
-
How to Frame a Garden-Shed Roof and Install Skip Sheathing for Cedar Shingles
-
How to Install Cedar-Shingle and Clear-Polycarbonate Roofing on a Shed
-
How to Install Garden-Shed Windows and Doors
-
How to Install Corner Boards, Skirtboards, and Clapboards on a Garden Shed
-
How to Install Board-and-Batten Siding on a Garden Shed
