Synopsis: While window replacement has become a fairly standard remodeling job, it can still present challenges, especially when the window being replaced is in a brick wall. In this article, veteran remodeling contractor Mike Sloggatt describes his process for this tricky project. To start, Sloggatt preps the opening, taking care with the removal of the old window. Next, he flashes the rough opening and makes sure to integrate the new wall sheathing with the existing building paper. Sloggatt’s next step is to integrate the new window with the wall. First, he installs the window, using caulk and foam to air-seal and weatherize; then, he adds an extra layer of sealing for more protection. Finally, Sloggatt installs a site-built sill pan.
In the 30-plus years that I’ve been a remodeling contractor, I’ve replaced hundreds of windows. The difficulties in window replacement vary by project, but one thing is certain: Replacements in brick veneered homes are among the most challenging. Why? Masonry openings are difficult and expensive to change, and integrating a new window into a home’s existing weather barrier is vastly more difficult when a layer of brick is in the way.
Further complicating matters, there are two ways to get a new window in an existing brick opening. The easier, less expensive option is a replacement window where only the sash and balance system are replaced. With a full-frame replacement, the entire window, including the frame, is replaced.
Given that a replacement window is cheaper and easier to install, why choose a full-frame replacement? If the frame is rotted or insect-damaged, a full frame is generally the better approach. Also, if there’s evidence of water intrusion around the window opening, a full-frame replacement lets you find out what’s going on and gives you access to fix it. The window in this house, which likely dates from the 1950s, was rotted badly enough that a full-frame replacement was the only sensible way to go.
Fortunately, most window manufacturers now make windows in custom sizes, and prices are affordable. You no longer have to alter masonry openings or pad the hole with trim to make a stock window fit. The only caveat is that you’ll want to double- and triple-check all relevant measurements before ordering the unit, because getting the wrong size is an expensive mistake. Your window dealer or the manufacturer’s website is a good place to look for guidance on proper measuring. In addition, custom window sizes may have longer lead times than stock sizes, so ask about delivery times when placing an order.
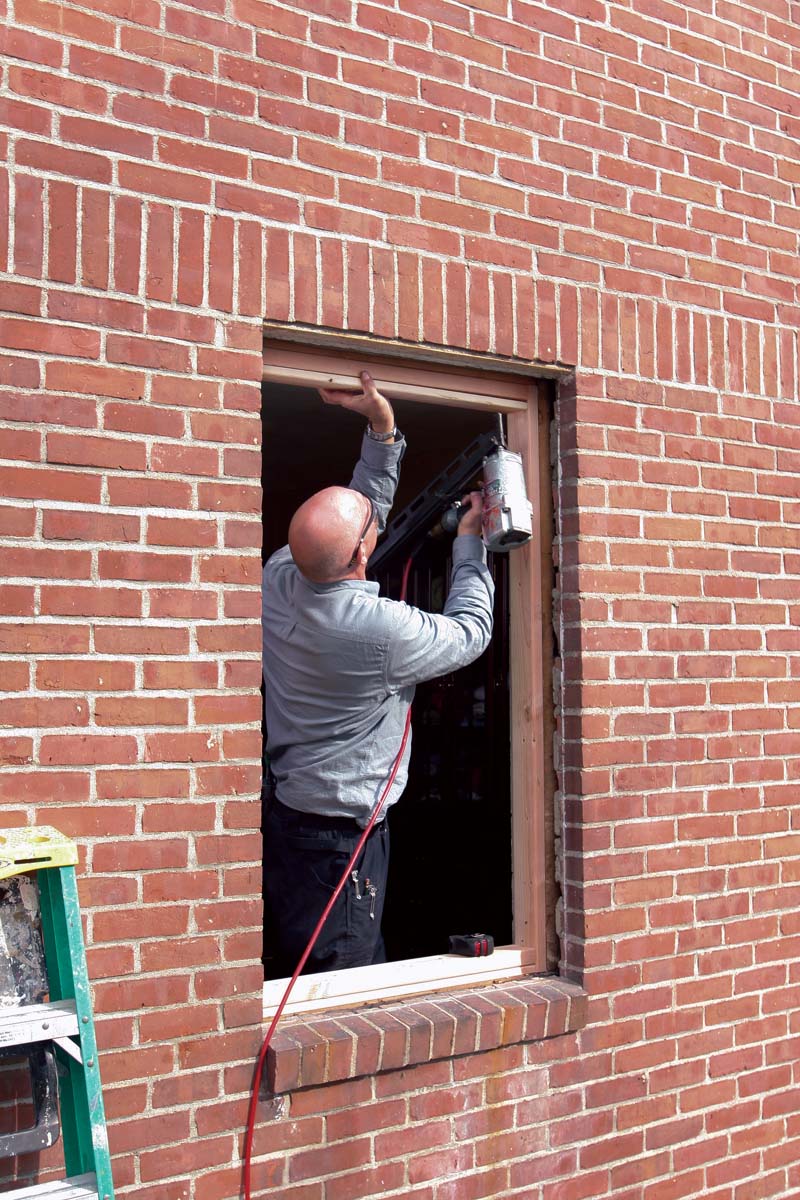
Here, I purposely shrunk the window so that it would fit within the existing opening with the nail fin intact. The nail fin was covered with flat stock that matched the house’s other existing windows. The result was a new energy-efficient window that matched the older units in the house well.
The first step in any window-replacement project is removing the old window. It’s tempting to remove the old window as quickly as possible, but a go-slow approach means that you’re less likely to damage plaster and finishes surrounding the window. On this house, the interior plaster was installed after the window and was keyed into the window frame. I couldn’t have known this before I started removing the old window frame, and tearing the window apart would likely have resulted in significant plaster damage and a much bigger project, higher costs for the homeowner, and a headache for me.
Prep The Opening
|
Pull The Window
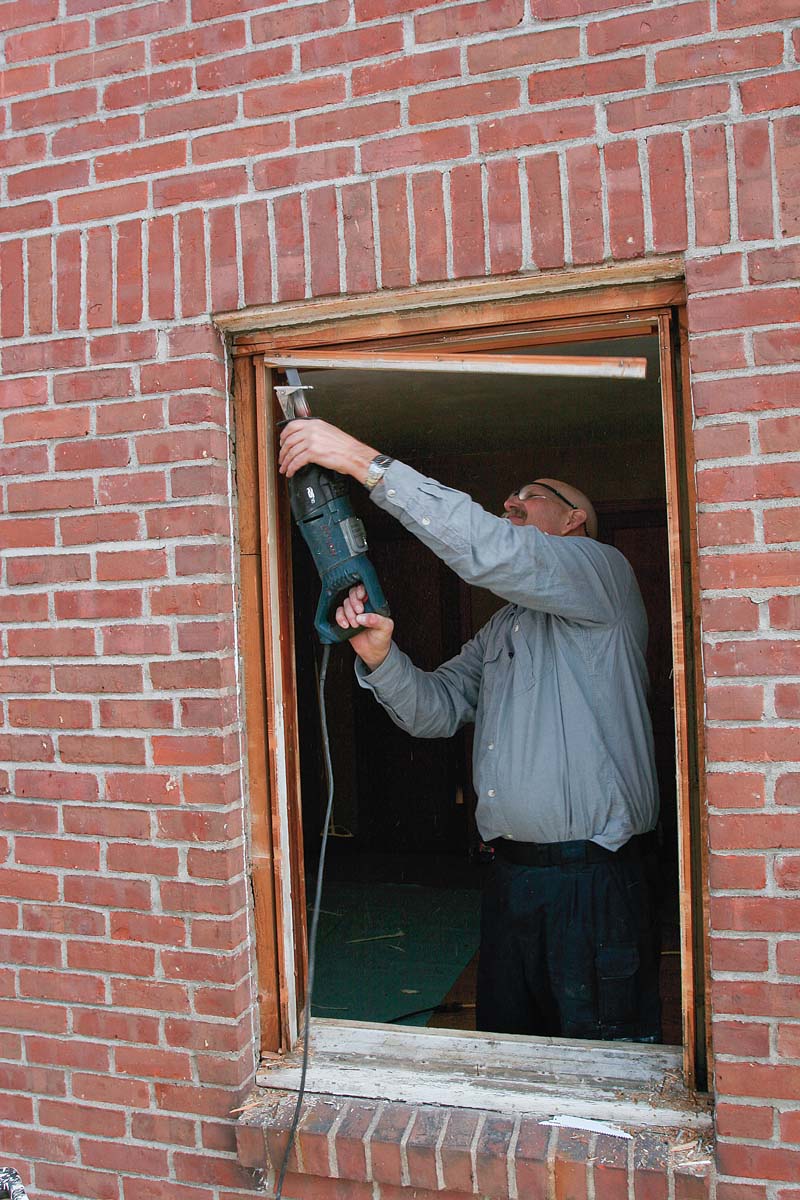
Start by removing the sash, the balance system, and the storm windows. Then cut the frame into pieces and gingerly pry them out. Here, the author is cutting nails that attach pieces of 1x wall sheathing to the window frame. This step prevents damaging the home’s existing #30 felt weather barrier when these sheathing sections are removed.
|
Think Surgically
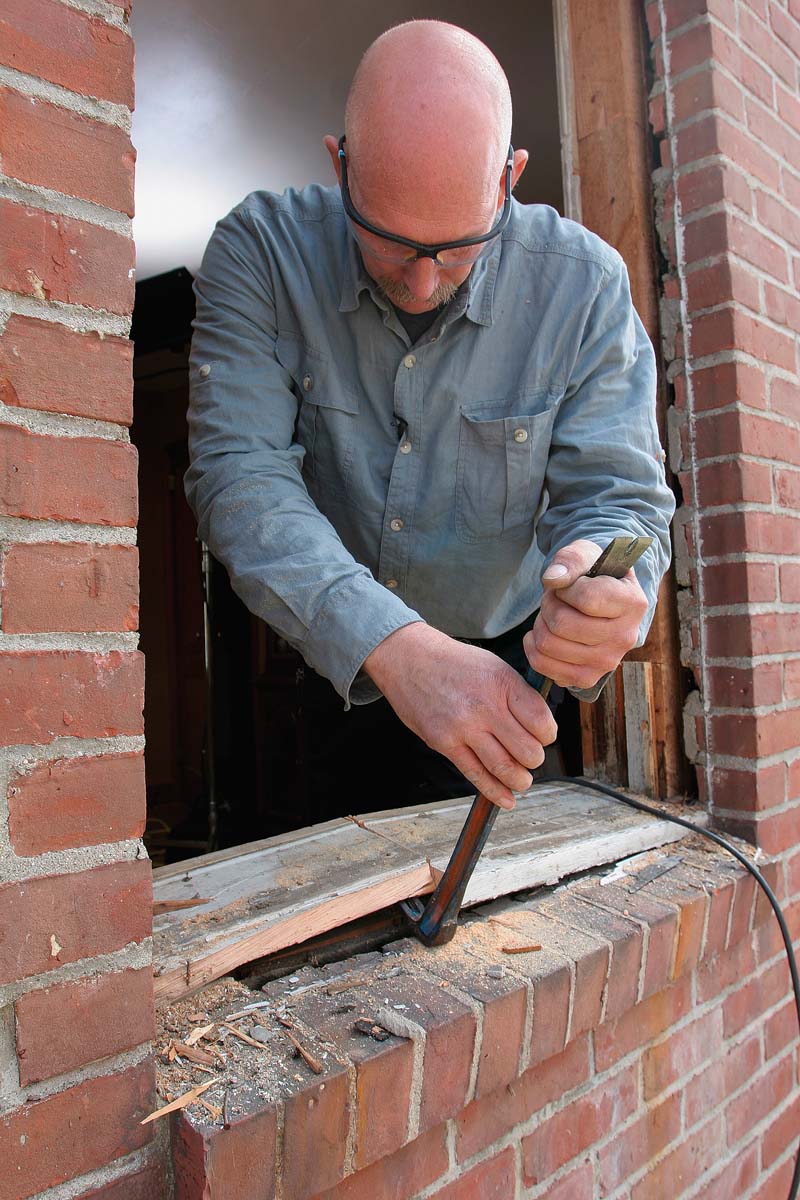
Use extra care when pulling the old window frame so that you don’t damage existing plaster or drywall. On this house, the plaster is keyed into the window frame, so the author cuts the frame into sections and pulls out the sections one at a time. |
 |
 |
| Expose The Weather Barrier
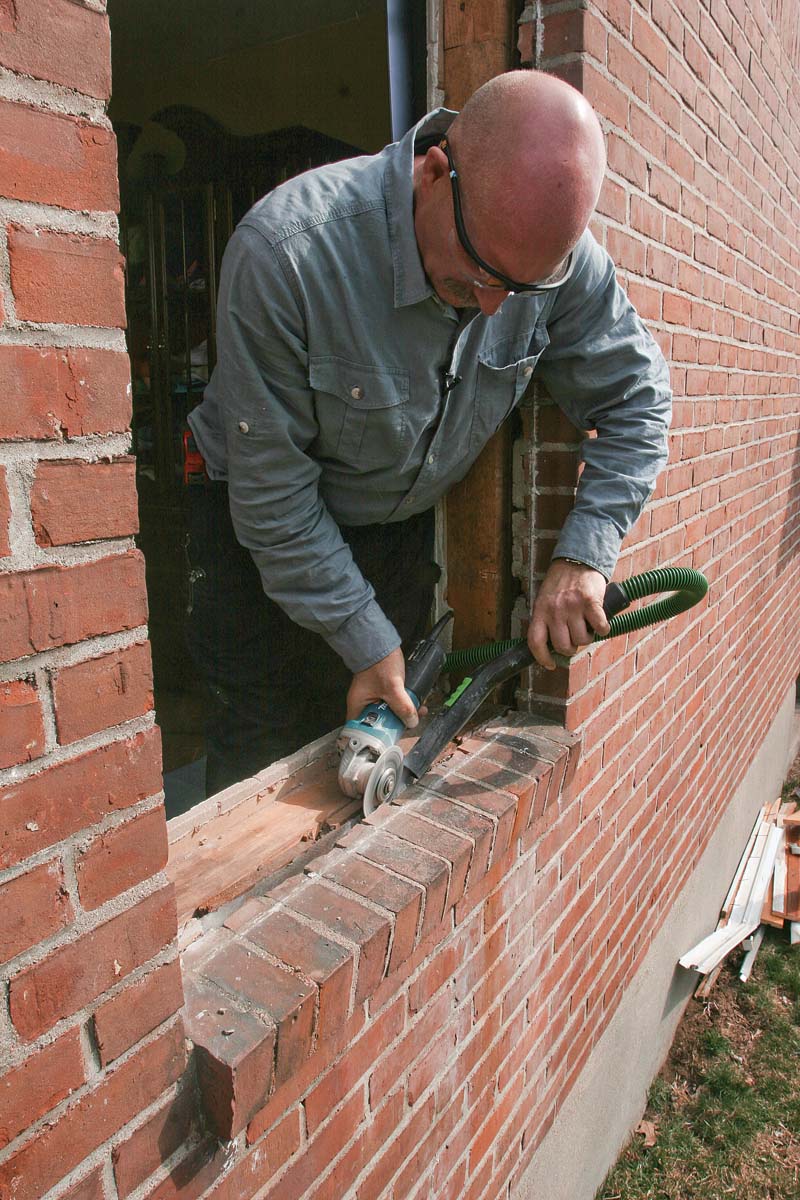
The most important part of replacing a window is integrating the new window with the existing felt or housewrap. Unfortunately, masonry openings often have chunks of mortar around the opening that must be removed before you can integrate the new flashing materials. Use an angle grinder and a chisel to remove the mortar without cutting or tearing the building paper. |
Establish A Rough Opening
A combination of 1x and 2x lumber is used to shrink the framing to match the window’s specified rough opening. The smaller opening allows the window’s nailing flange to fit inside the masonry. Leaving the nailing flange intact makes flashing the window easier and maintains the manufacturer’s warranty. |
 |
|
Flash The Rough Opening
Integrate new wall sheathing with existing building paper
| Wrap The Sheathing
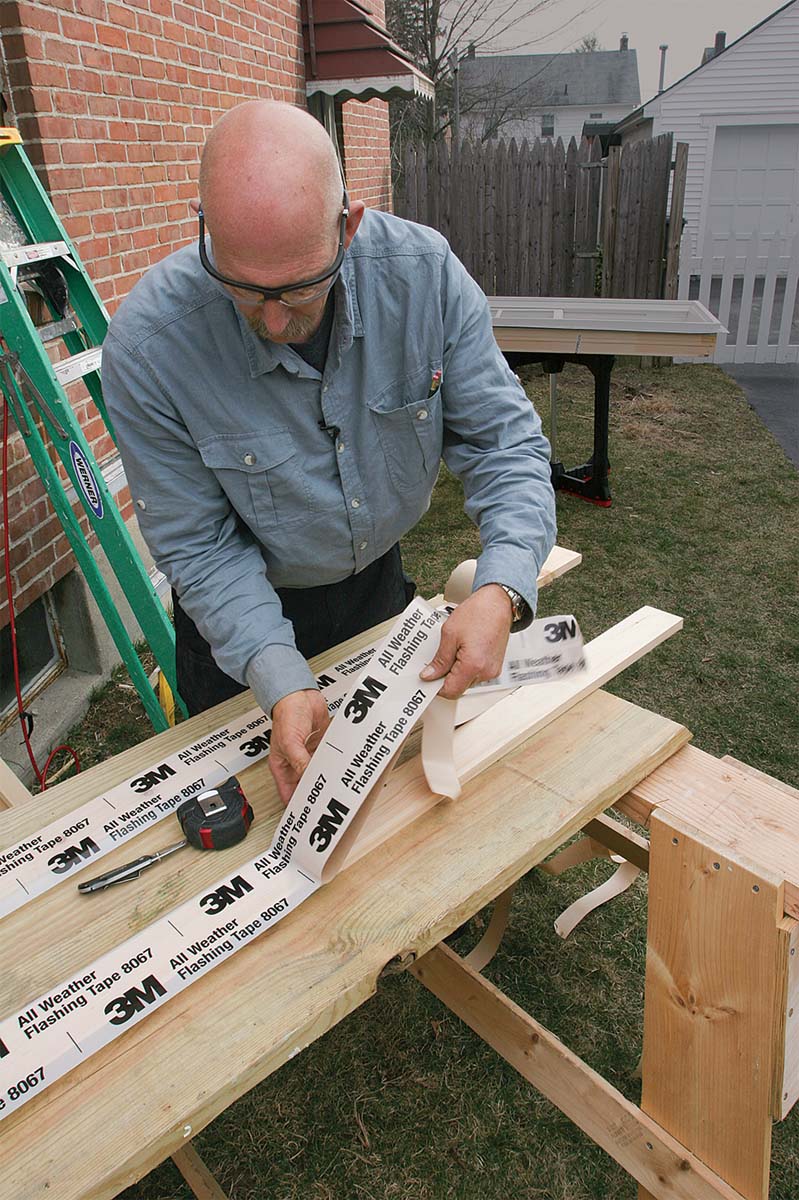
Because there’s no room behind the brick veneer to apply a weather barrier over the sheathing patches, the author covers the patches with a thin self-stick flashing tape before installing them. |
Slip In The Sheathing
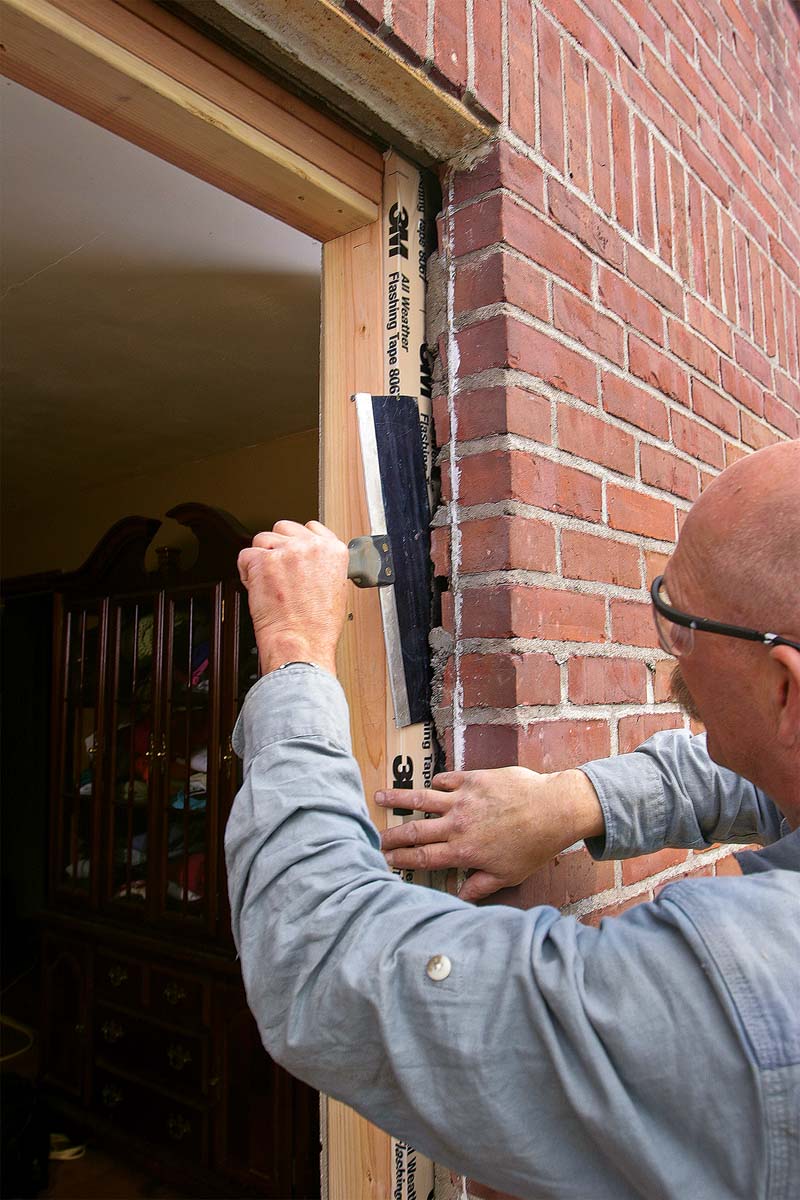
Made from 3⁄4-in. stock, the sheathing patches around the new opening are coaxed behind the existing weather barrier with a 12-in. drywall knife. The knife helps to hold back the old felt while the patches are pushed in behind it. |
|
|
| Leave A Flap At The Top
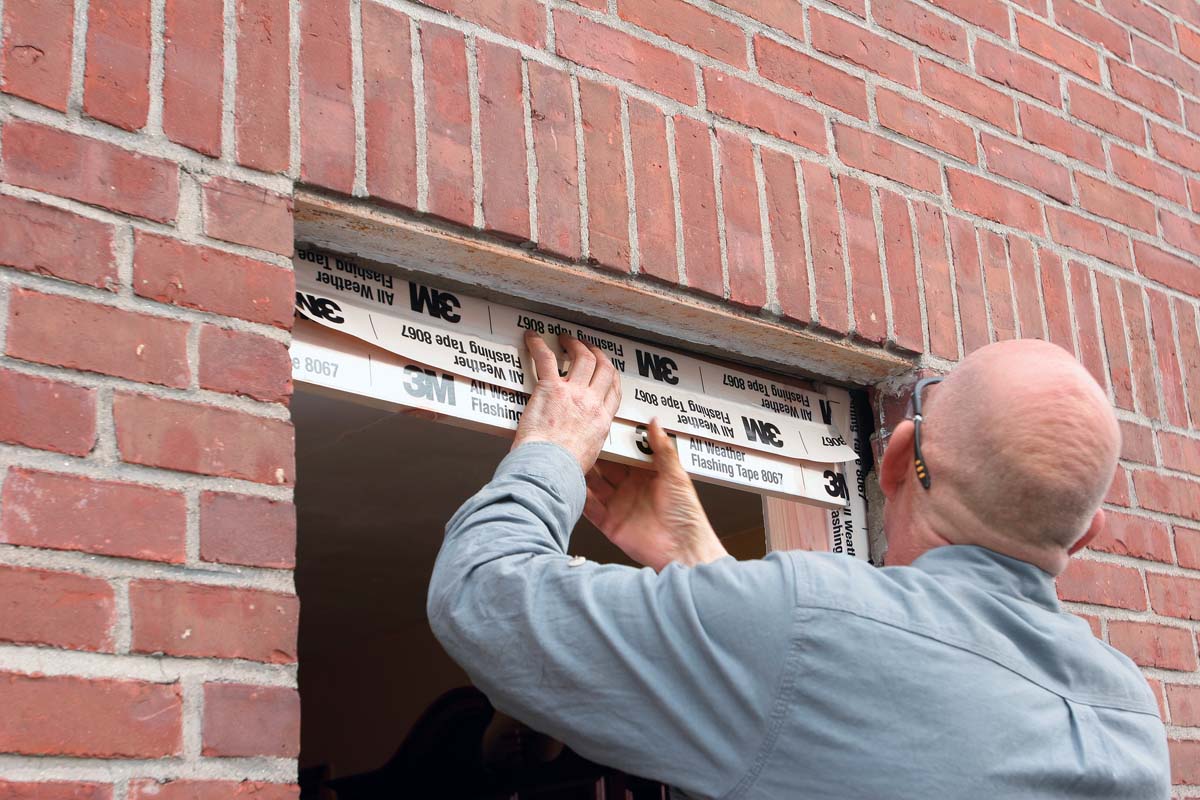
The sheathing patch at the top of the opening has an extra flap of flashing tape. The release paper is left on the flap so that the window’s top flange and head casing can be tucked under the flap, integrating them into the house’s drainage plane. |
|
Create a site-built sill pan
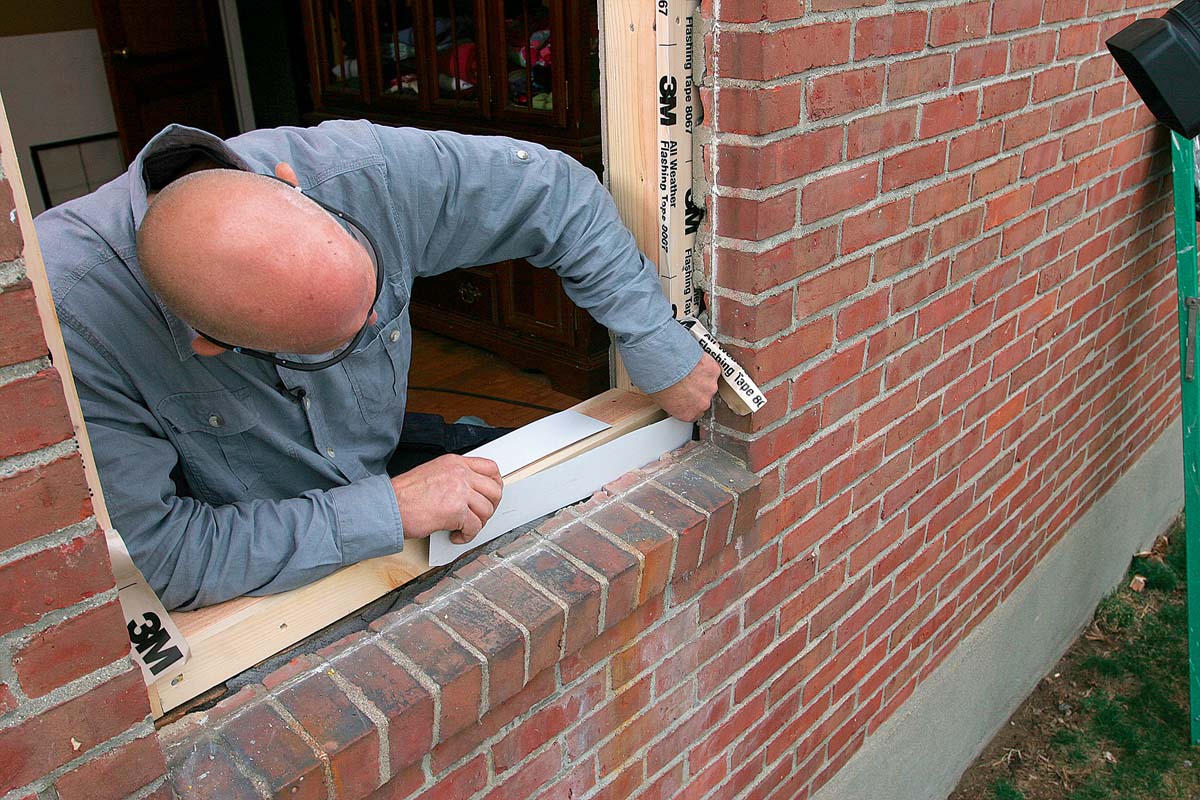
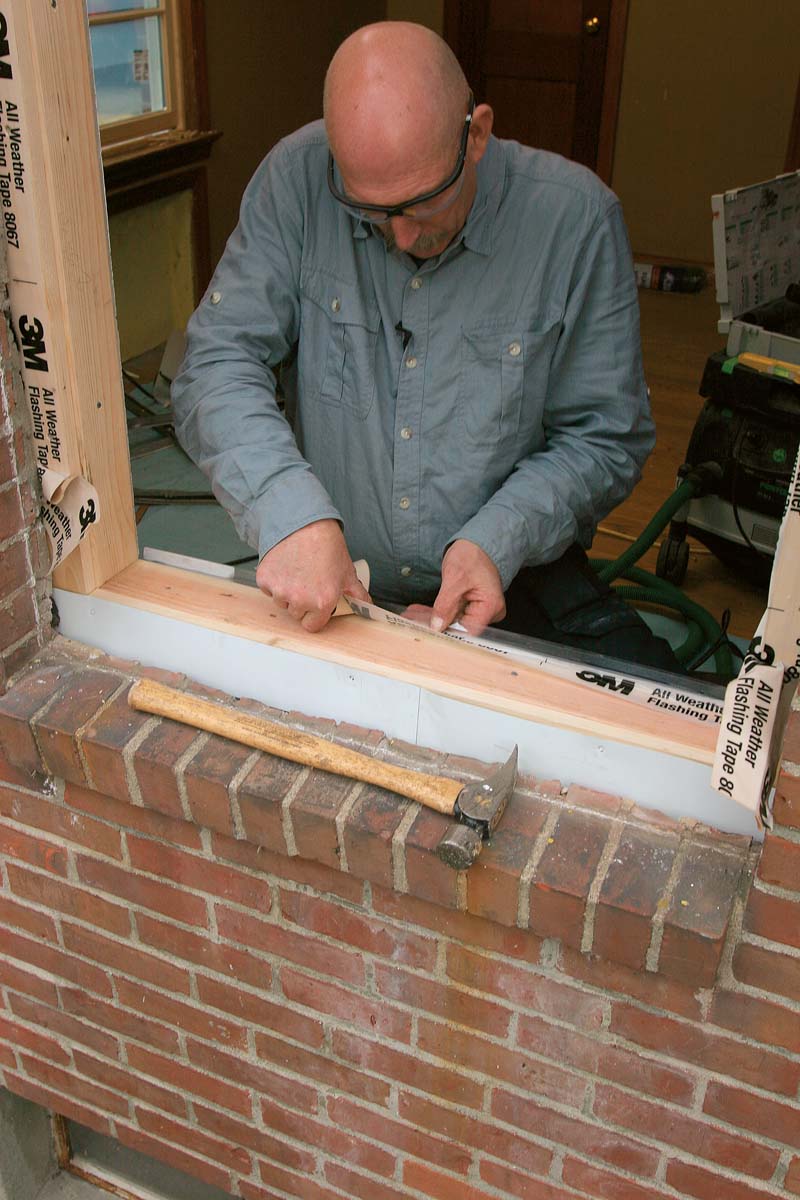
| Extend The Weather Barrier
Aluminum flashing extends the weather-resistive barrier up to the new subsill. The flashing is lapped over the existing felt and is tacked in place with aluminum trim nails. The loose flap of flashing tape in the corners of the opening will eventually lap over a sill-pan flashing. |
Create A Back Dam
A back dam prevents infiltrated water from getting inside the house. A piece of vinyl wall edging (commonly used to protect wall-papered outside corners) makes a great low-profile back dam. It’s temporarily held in place with flashing tape until it can be covered with the flexible sill-pan flashing. |
|
|
|
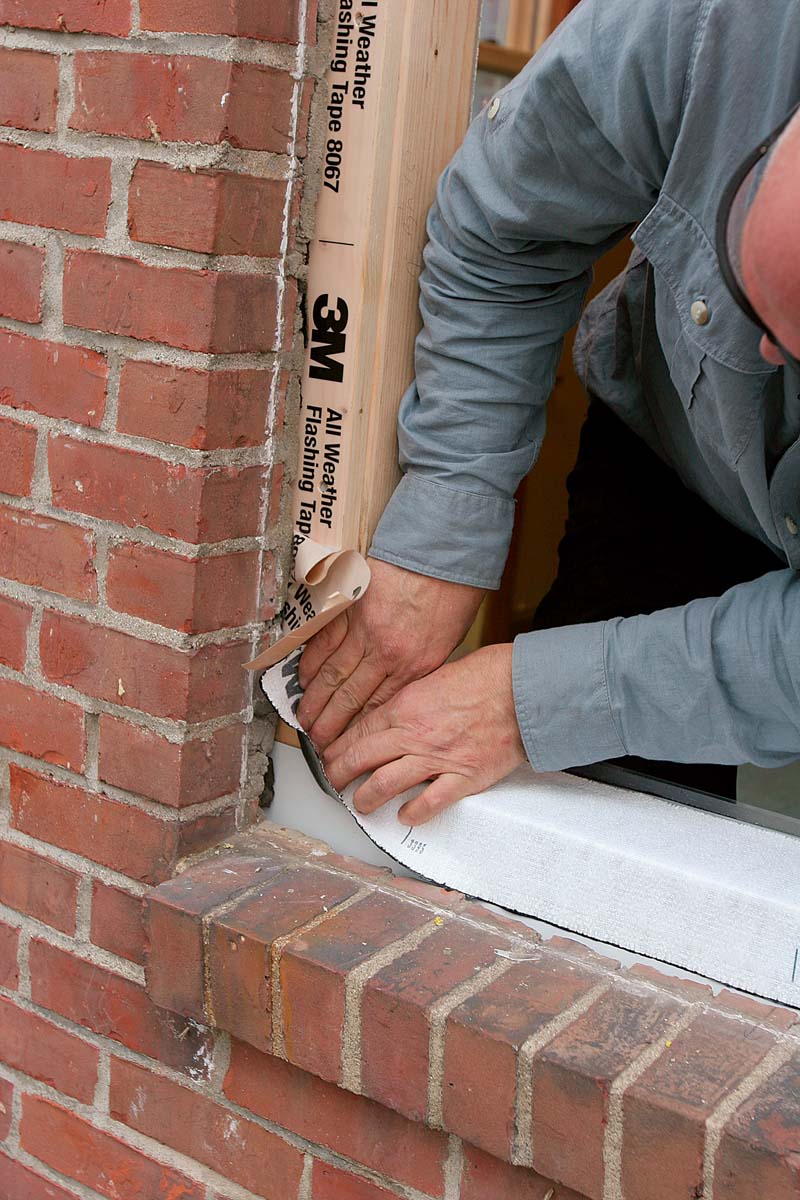
Sill Pan Stops Water
After removing the release paper, the author carefully lays in a piece of DuPont FlexWrap as a sill-pan flashing. Where the sill meets the jack studs, he makes sure the flashing corners are pressed firmly to the opening so that they form a tight 90° corner. Otherwise, the window frame can cut through the pan flashing when the window is pushed into the opening.
|
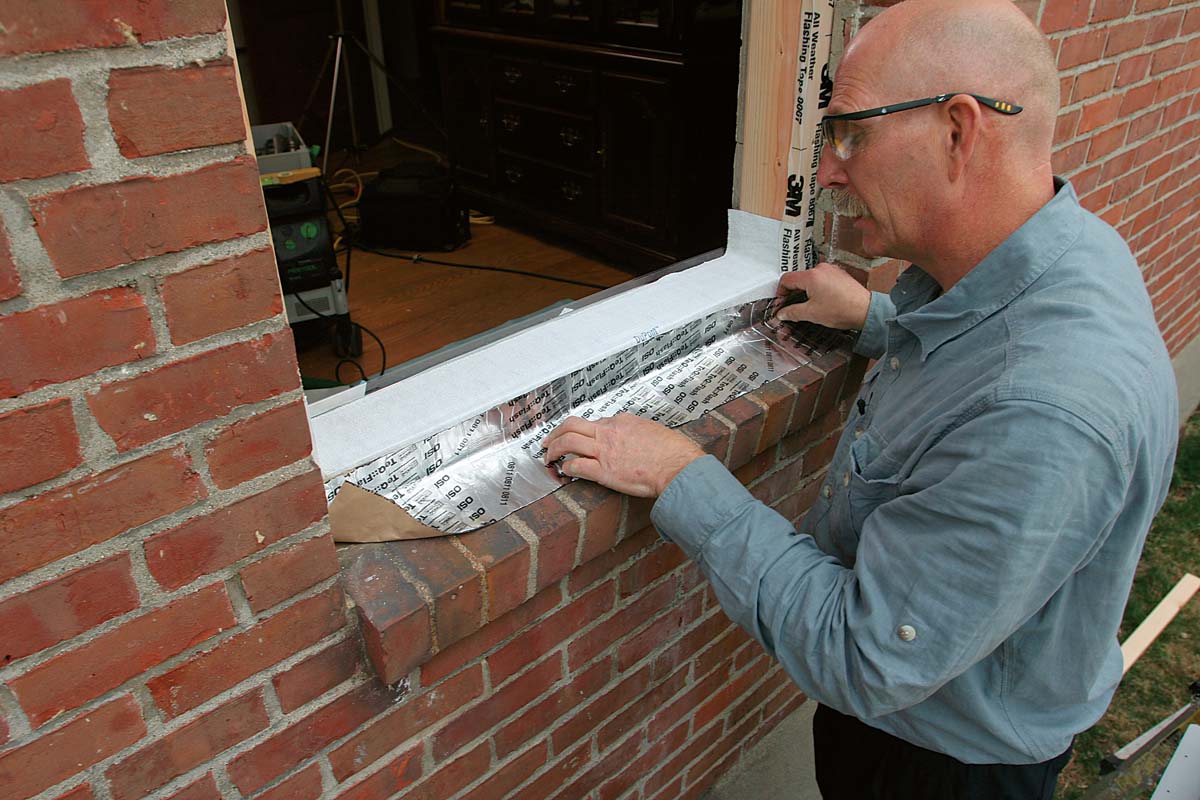
Add A Storm Flap
To prevent wind-driven rain from getting under the window and behind the brick, it’s a good idea to install a storm flap on top of the brick sill. This piece of foil-faced, self-adhesive flashing will be trimmed flush later. Although it’s a good idea everywhere, this detail is especially important on second-story windows because the condition (or even the existence) of the weather-resistive barrier below the window can’t be known.
|
|
|
Install the window
| Caulk The Nailing Flange
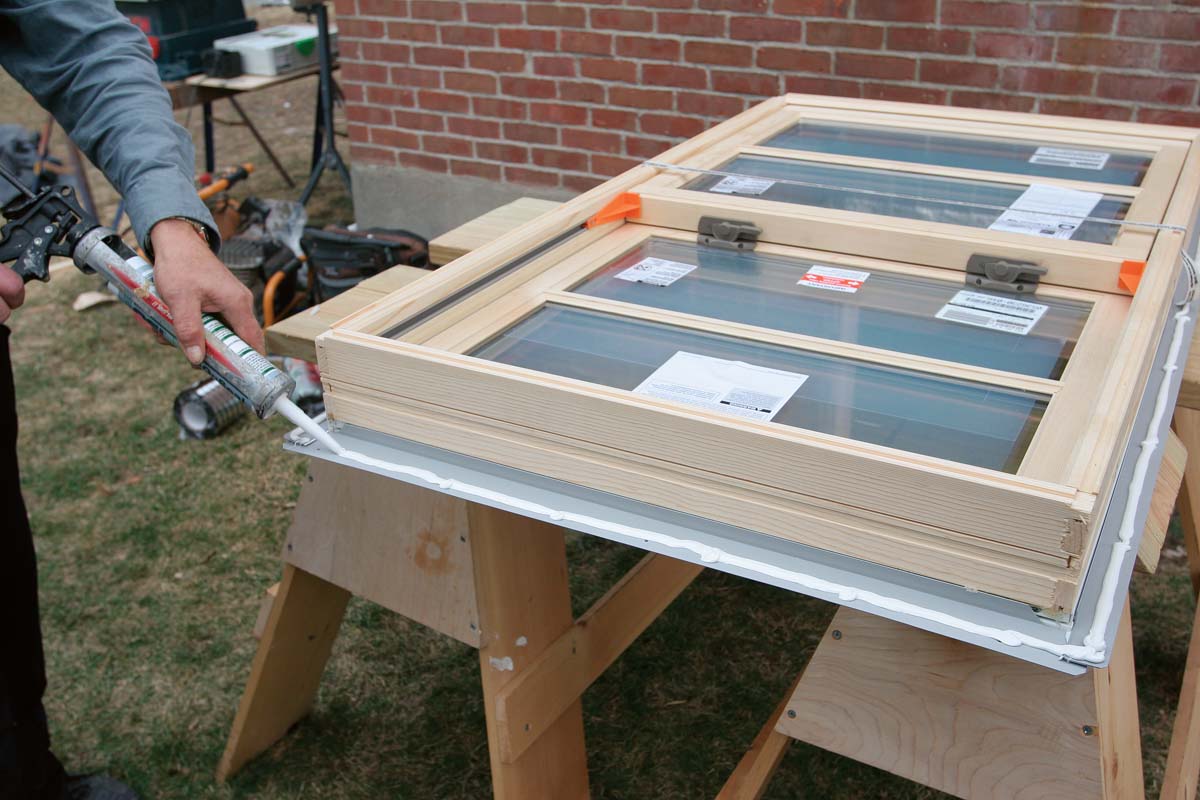
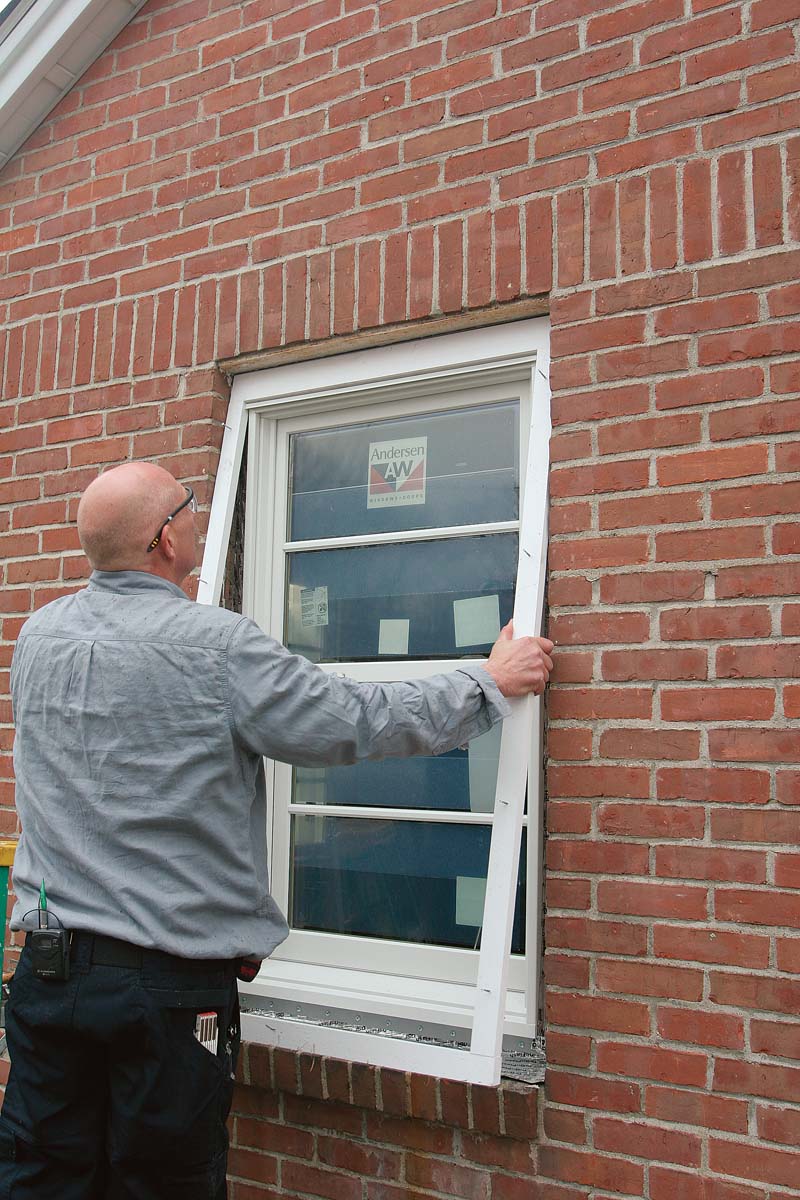
The author puts a heavy bead of sealant on the window’s side and top nailing flanges. The bottom is left uncaulked so that any infiltrated water can drain out. It’s important that the flashing and the sealants are compatible because some solvent-based sealants attack some flashing tapes. With the frame resting on the rough sill and centered in the rough opening, tilt the window slowly into place. With the window centered in the opening, use two 11⁄4-in. pan-head screws to secure the nailing flange. |
Shim The Jambs
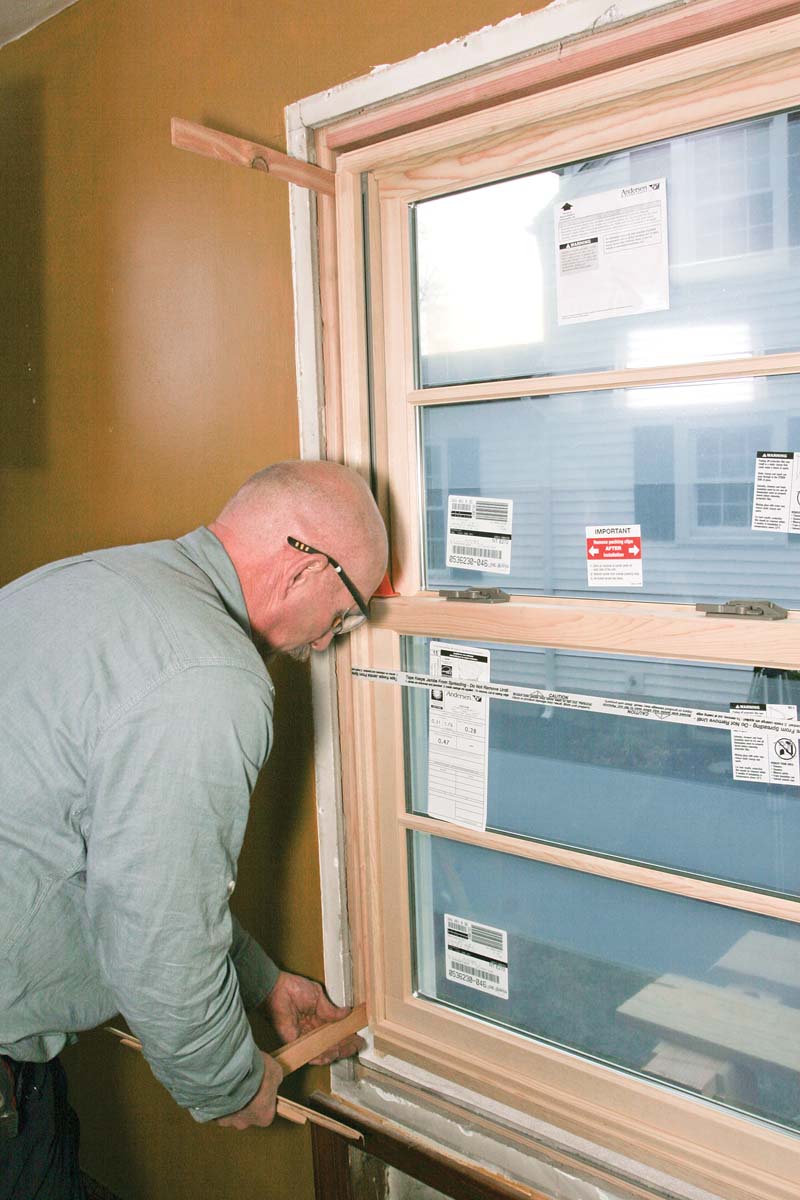
It’s important to shim the frame straight before fully fastening the nailing flange on the exterior; otherwise, the window won’t operate smoothly. Once the unit is shimmed, finish fastening the nailing flange—every hole for high-wind zones, every other hole elsewhere. |
|
|
| Foam The Gap
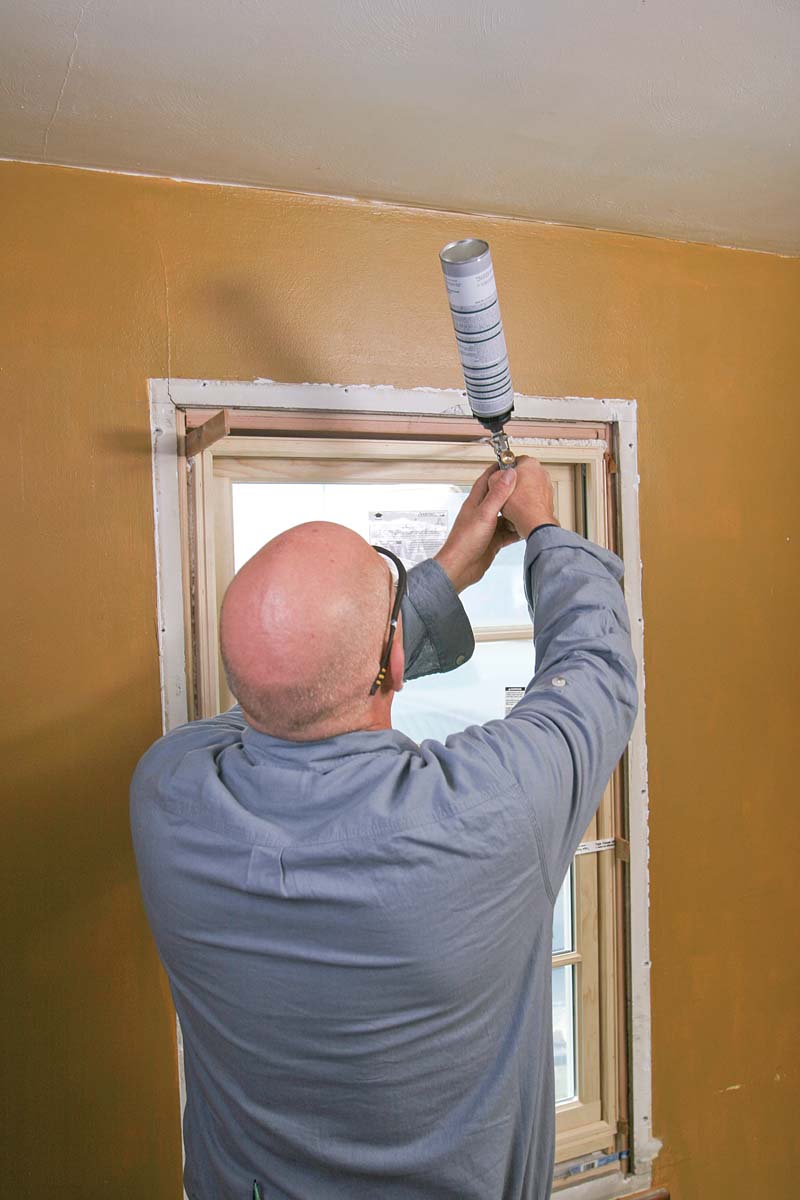
Minimally expanding window-and-door foam is used to seal the gap between the window frame and the rough opening. At the bottom, the author fills only an inch or so along the interior side of the opening. The single bead of foam stops air without trapping water. |
Flash The Flange
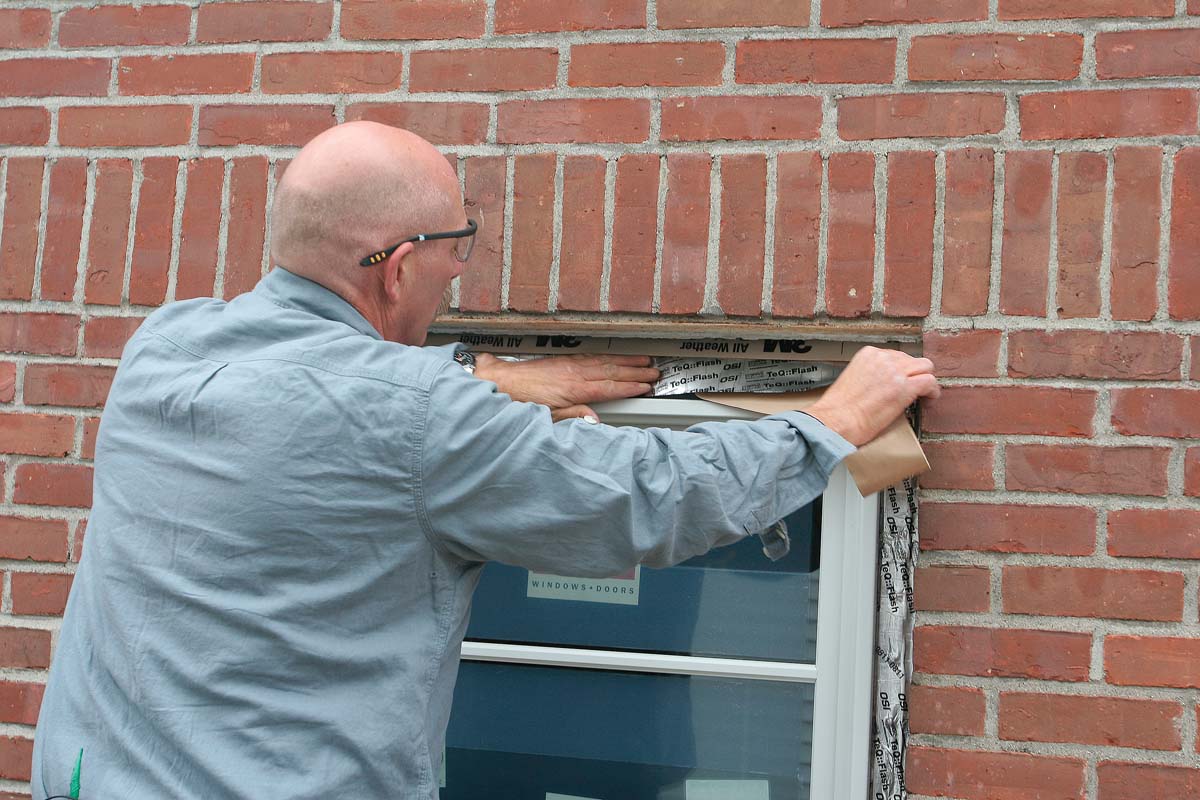
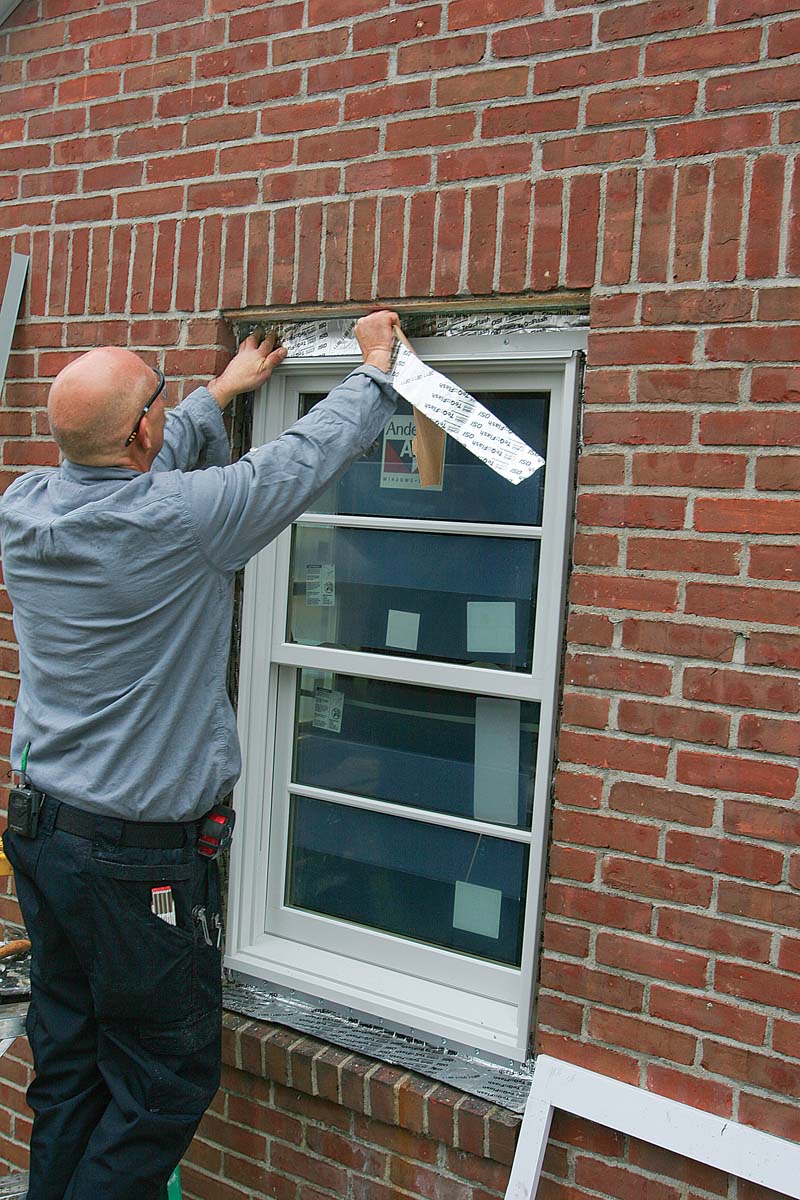
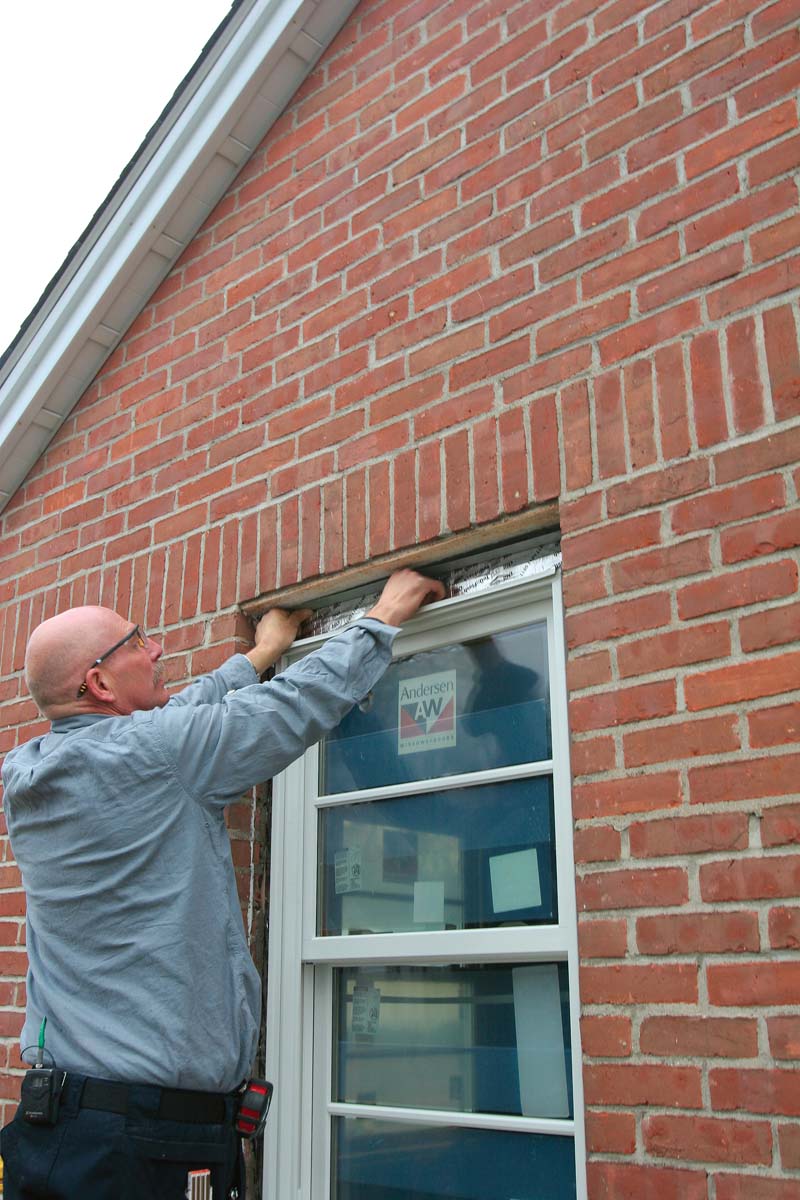
Cover the side flanges and then the top flange with foil-faced flashing tape. The foil tape’s adhesive is less tenacious, so it’s easier to tuck the tape behind the brick. Tuck its top edge under the flap created with the first layer of flashing tape applied to the sheathing patches. |
|
|
Extra sealing for extra insurance
| Cover The Drip Cap
A layer of foil flashing tape installed over the head flashing integrates the head flashing into the drainage plane. The top edge of the self-adhesive flashing is tucked under the flap left in the weather-barrier tape that covers the sheathing patch. |
Slip In A Head Flashing
An L-shaped flashing bent with a metal brake sheds water over the casing. Its vertical leg is tucked under the flap left in the weather-barrier tape that also shields the foil tape over the head flashing. Friction holds it while the casing is fit below. |
|
|
| Install The Casing
Made from cellular PVC, the site-assembled casing has corners secured with pocket screws. To make installation easier, the stainless-steel trim-head screws are started in the stock. The casing is 1⁄4 in. undersize to allow for a 1⁄8-in. caulk joint around the perimeter. |
Seal And Trim The Storm Flap
Sealant under the storm flap keeps it in place and prevents wind-driven water from getting underneath. The flap is extra insurance against water infiltration and preserves the free-draining attributes of the other flashing materials. |
|
|
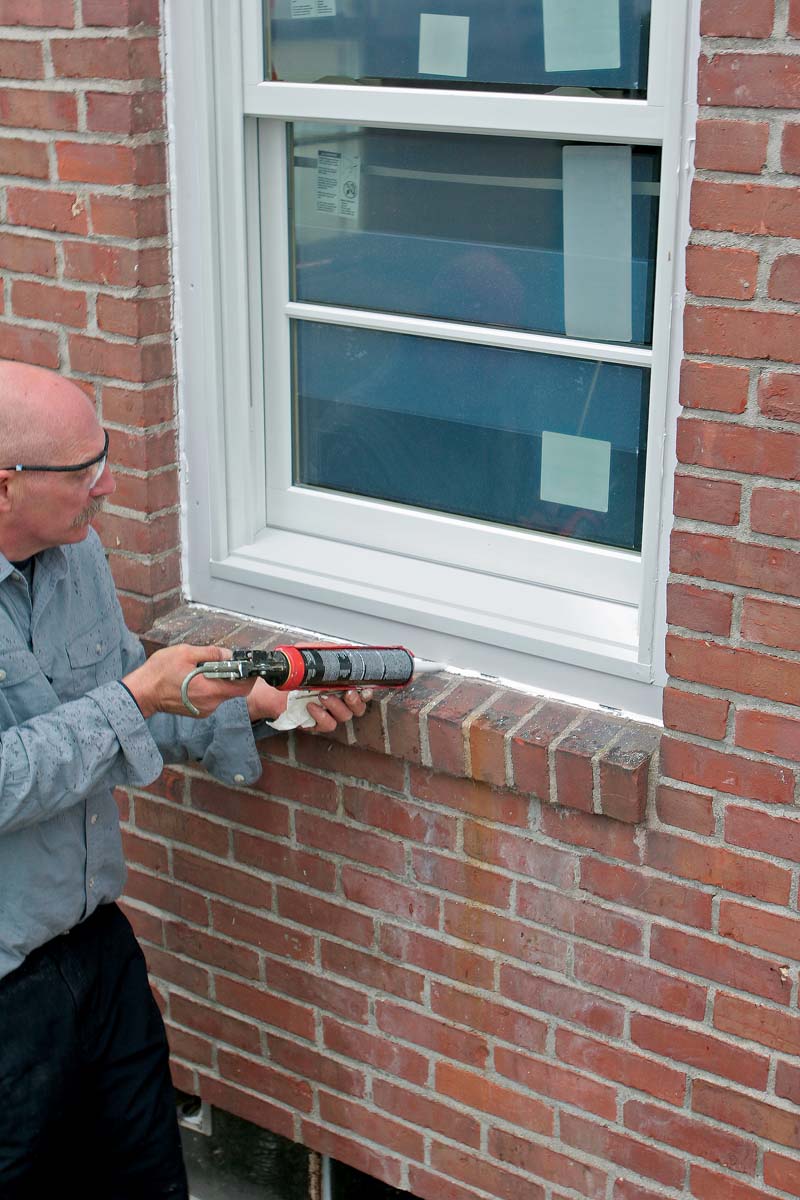
| Caulk The Trim
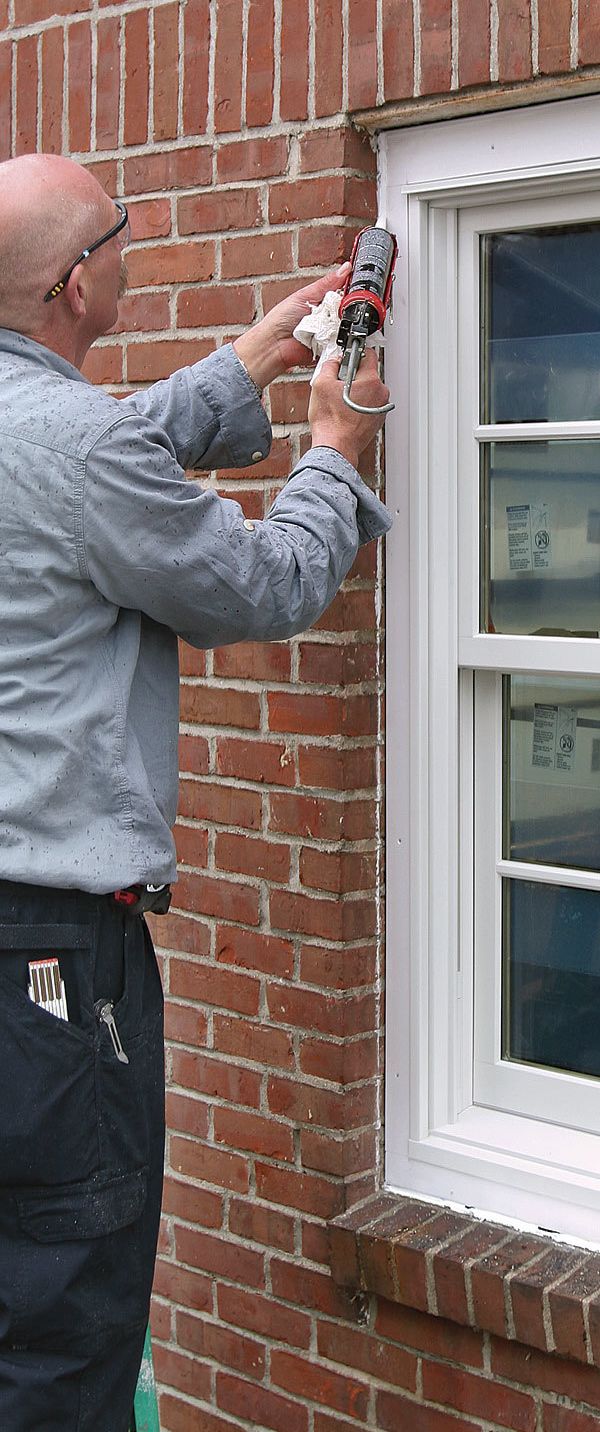
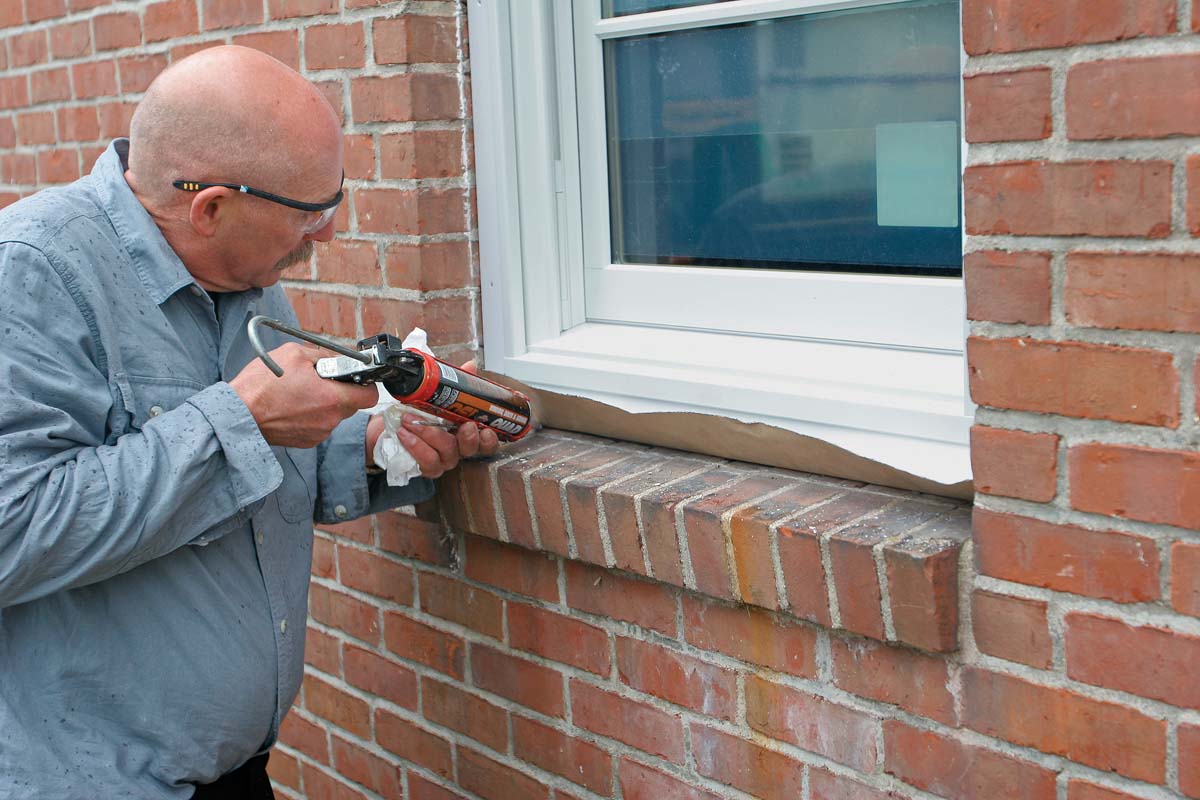
The final step is to caulk the casing to the window frame and the brick veneer with window-and-door sealant. The gap above the head casing and weep holes at the bottom remain uncaulked, allowing infiltrated water to drain out. |
|
For more photos and details on window replacements in brick veneered homes, click the View PDF button below.




View Comments
I am replacing windows in my 1860's stone and brick house. I've re-built dormer windows from scratch, so the milling isn't the problem, it's the flashing details that I'm unsure of. Does anyone know of a resource for how to properly weatherseal windows in a solid masonry construction as opposed to brick veneer?
Great piece on a wonderfully robust approach to replacing windows in a brick home with new construction units. I learned a great deal from it…thank you.
My only question for you is how your clients react to the (not insignificant) additional distance you add between the bottom of the new window frame and the original brick sill? I’m assuming the original windows were effectively ‘set onto’ that sill, whereas you have raised the new units by perhaps a couple of inches or more…granted thereby allowing utilization of the bottom nail fin and the addition of a drainage sill and lots of humma-humma weather sheathing.
The reason I ask is it does materially change the external look of the window, wherein you now have an expanse of window casing between the original brick sill and the integral sill of the new window whereas, with the original, non likely existed. I discussed this with a current client, showing it to her in the 3D model and she was not in favor of the final look it achieved. Mind you, she DID want the windows properly installed and weather-proofed. I further discussed this with the widow vendor rep and he assured me there was/is no problem trimming back the bottom nail fin such that the bottom of the RO could be framed just above the brick sill (~3/16".) Per the manufacturer instructions, I was still able to flash the bottom of the rough opening and completely cover the sheathing, furring, and nail fins with flashing tape once the units were permanently fastened in (using three nail fins.). Once the new casing was in place, I filled the 1/4 gap left around each window with backer rod and QUAD Max caulking…ditto for the gap between the new casing and the brick veneer. Finally, I had left enough of the bottom nail fin such that this created a 1/4" gap with the brick sill wherein a 3/8" backer rod and high performance caulk could be inserted along the entire bottom perimeter of the new windows and bottoms of the casing stiles. The end result is a completely sealed window system that maintains warranty compliance and provides a look closer to the originals.
Thoughts or comments?? Again, my ignorance knew now bounds when I first read your article. It really helped me understand how to tackle this thing as I ‘just new’ that new construction, nail-fin was the way to and I wanted to do the job right. So…all due respect and no criticism intended. I am just honestly curious about your input regarding my chosen approach and what heartburn it causes you, if any?