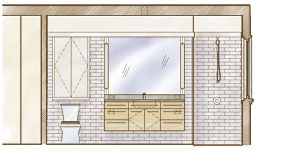
Renovating the Fine Homebuilding Project House bath into a master bath is a great opportunity to investigate how to improve functionality and durability in an older home. In a previous “Drawing Board” (FHB #228), I looked at how to make a limited bathroom space accessible to a homeowner for years to come. Here, I’ll focus on finishing that bath with durable materials from a classic palette that, like the bath’s accessibility features, will enhance the space for today and beyond.
Per square foot, bathrooms are the hardest-working rooms in a house and take a beating from everyday use and high moisture levels. These small spaces require big-time maintenance, so a thoughtful renovation that lasts generations should include a variety of finishes that embody classic-style, easy-to-clean surfaces and durable materials. Because materials play such an important role, I’ve included thumbnail photographs of materials I’d consider in outfitting this bath.
Keep it simple
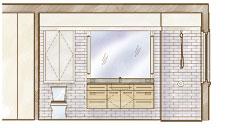
Simple and understated finishes that don’t rely on trendy color accents help a room to feel timeless and prevent the space from becoming outdated. Tile especially is a highly durable material that can last 100 years or longer, so using a classic, subtle color improves the chances that it won’t need to be replaced for a long time.
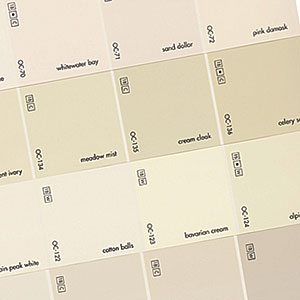
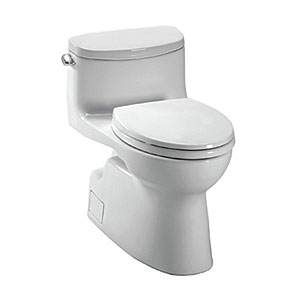
I believe a bathroom should be a calming space, so I avoid a lot of colors, textures, and patterns. For this bath, I suggested off-white and light neutral tones for the walls and ceiling, including the tile, window trim, and wall color. That goes for the commode as well—I almost always choose a white toilet, either a dual-flush or ultralow-flow model. I would also paint the linen cabinet to match the wall tile so that it blends in. Together, these neutral surfaces create a clean canvas that allows other elements of the room, such as the vanity, to stand out.
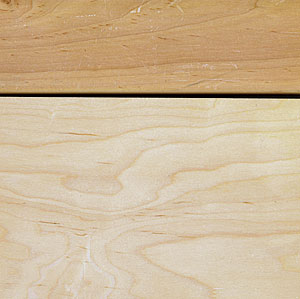
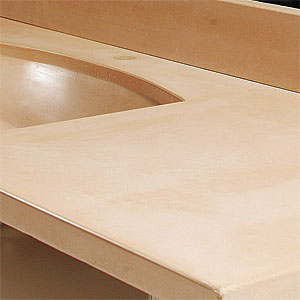
The vanity serves as the main focus of the room. You don’t want more than one accent element competing for your attention in a bathroom of this size. I suggested a maple vanity cabinet, with a countertop of a complementary tone and color. This acts as the “paint” on the canvas of the room and highlights the natural variation of the wood grain against the more solid-toned walls. Alternatively, a darker walnut tone would provide a higher contrast and more modern look.
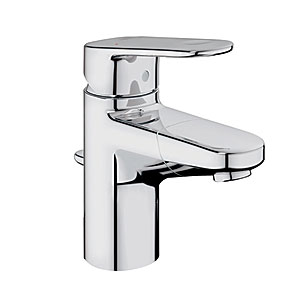
Again, for simplicity’s sake, I recommend classic metal finishes such as chrome or stainless steel on faucets, showerheads, cabinet hardware, and bath accessories. All these metal finishes should match so that they tie the room together. Don’t experiment with brushed nickel at plumbing fixtures and polished chrome for your bath accessories. Ideally, any metal on the light fixture will match as well. If this palette seems a bit boring, consider adding more color or interest to the room with your towels, soaps, and other objects, rather than doing so with the fixtures, paint, or tile.
Choose Your Tile Wisely
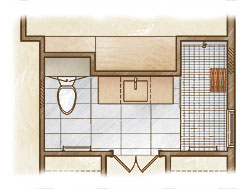
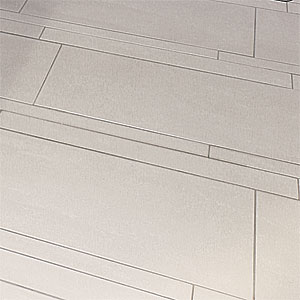
To help the room feel larger, the shower floor tile should match the floor tile of the bath itself, but in a smaller size to minimize the risk of slipping. Through-body porcelain tile with a slight texture works well because it can be cut into smaller sizes, is slip resistant, and has edges that can be ground down if chamfering is needed at corners. A linear floor drain at the edge of the shower creates a single-direction slope to the floor and an easier floor-tile installation. It also moves the drain out of the standing area of the shower.
Lately at my firm, we’ve been using larger tiles (12-in. by 24-in. or larger) for both walls and floors in a lot of our projects, and I really like the look of fewer grout joints. Having less grout to clean is a major plus, too. At the wall tile, I like to use thin “toothpick” joints for the grout and a grout color that matches the tile color as closely as possible. Grout on the floor tile should generally be darker to help hide dirt, and I usually match the floor-tile color so that the floor doesn’t create potentially distracting grid lines. I recommend a “calm” tile that does not have a busy pattern or dramatic variations in color or tone. For floor tile, choose a neutral, mid-to-dark tone to help hide dirt, but make sure the color works well with the color of the vanity cabinet.
Think durability
Water is always present in a bathroom, so durable, non-porous finishes that are easy to wipe down will help the room to stay clean and look great. Both ceramic and porcelain tiles are ideal for baths, and we like to use smooth or polished tile on walls for long-term durability and ease of cleaning.
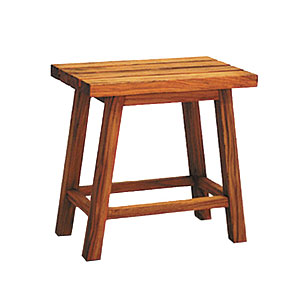
Vanity cabinets with a natural-wood finish hide scuffs and age better than those with a painted finish. I recommend that you use a catalyzed lacquer for a durable finish, although your local cabinetmaker may prefer an alternative. Wood surfaces are often the first things that need to be replaced in a bathroom, so consider a high-quality finish that can add years to the wood’s life.
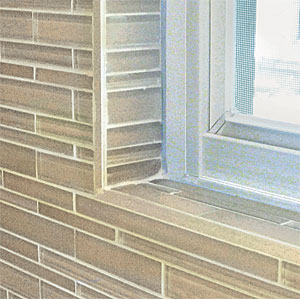
If you have a window in the shower, be sure to waterproof its sill framing, slope it to drain, and finish it with the countertop material or wall tile. The shower wall tile should wrap the jamb of the window to minimize exposed wood in the shower. I recommend epoxy paint or marine-grade paint for wood window sashes in the shower area.
Drawings: Duncan McPherson
Fine Homebuilding Recommended Products
Fine Homebuilding receives a commission for items purchased through links on this site, including Amazon Associates and other affiliate advertising programs.

100-ft. Tape Measure
Smart String Line
Original Speed Square


