Tips for Laying a Better Walkway
Careful base prep is what keeps bricks or other pavers in place when installing hardscaping.
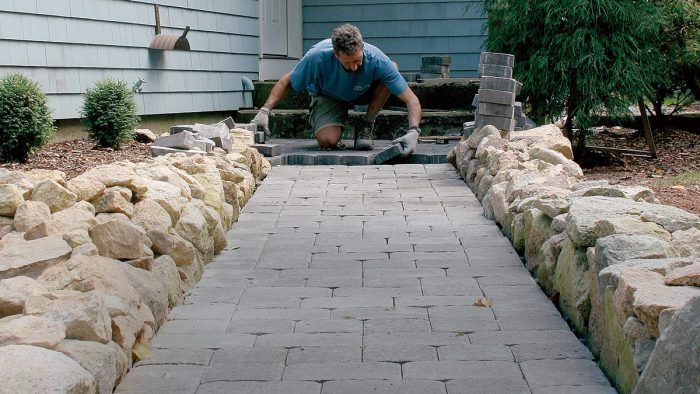
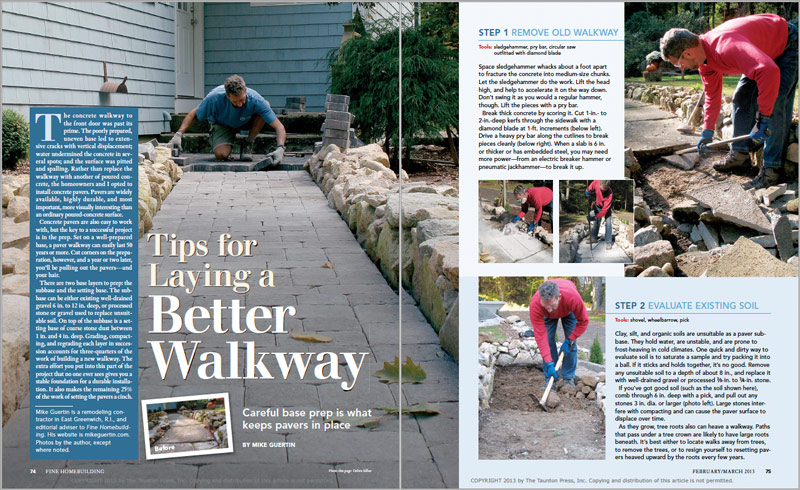
The concrete walkway to the front door was past its prime. The poorly prepared, uneven base led to extensive cracks with vertical displacement; water undermined the concrete in several spots; and the surface was pitted and spalling. Rather than replace the walkway with another of poured concrete, the homeowners and I opted to install concrete pavers. Pavers are widely available, highly durable, and most important, more visually interesting than an ordinary poured-concrete surface.
Concrete pavers are also easy to work with, but the key to a successful project is in the prep. Set on a well-prepared base, a paver walkway can easily last 50 years or more. Cut corners on the preparation, however, and a year or two later, you’ll be pulling out the pavers—and your hair.
There are two base layers to prep: the sub-base and the setting base. The subbase can be either existing well-drained gravel 6 in. to 12 in. deep, or processed stone or gravel used to replace unsuitable soil. On top of the subbase is a setting base of coarse stone dust between 1 in. and 4 in. deep. Grading, compacting, and regrading each layer in succession accounts for three-quarters of the work of building a new walkway. The extra effort you put into this part of the project that no one ever sees gives you a stable foundation for a durable installation. It also makes the remaining 25% of the work of setting the pavers a cinch.
Step 1: Remove old walkway
Tools: Sledgehammer, pry bar, circular saw outfitted with diamond blade
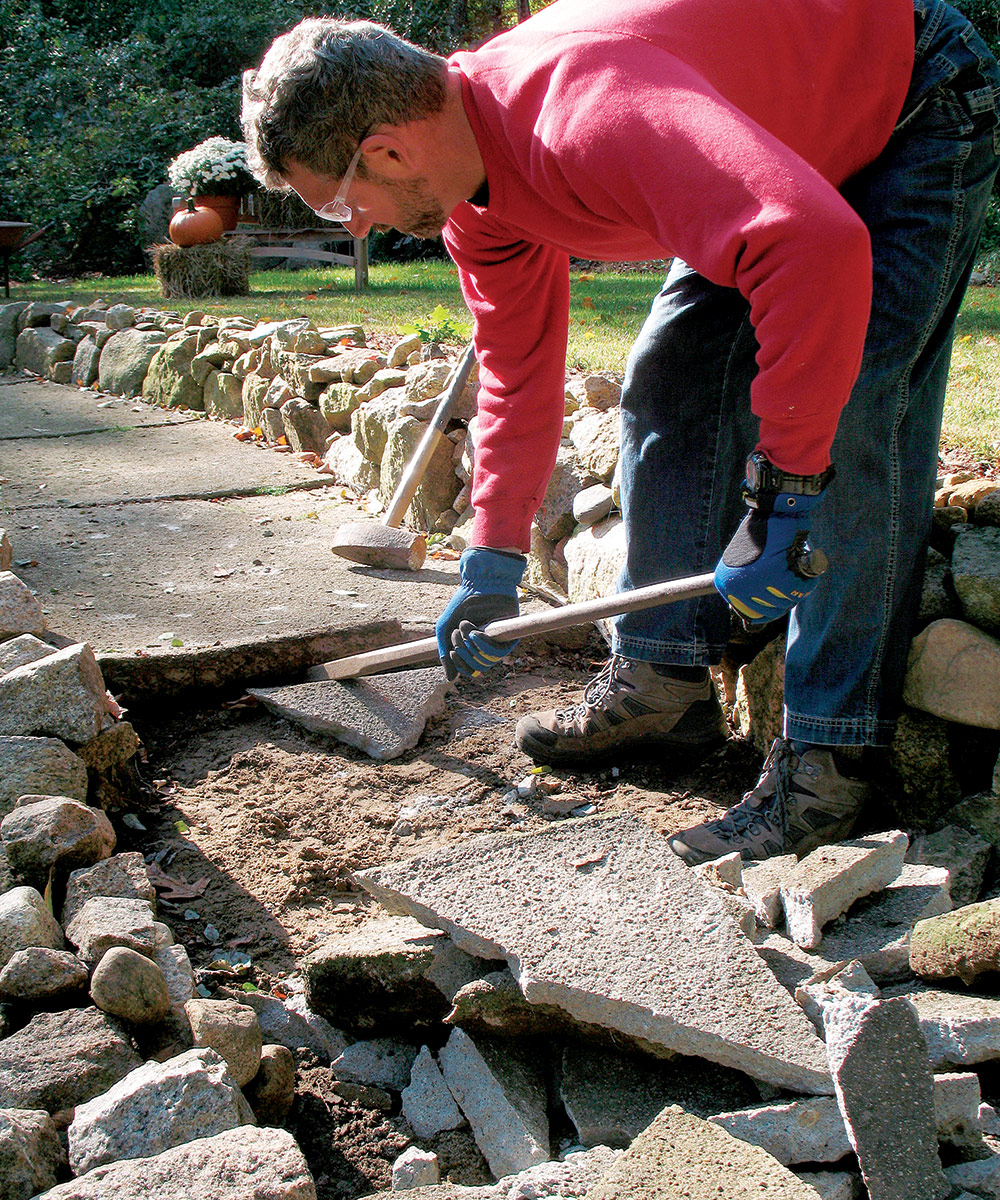
Space sledgehammer whacks about a foot apart to fracture the concrete into medium-size chunks. Let the sledgehammer do the work. Lift the head high, and help to accelerate it on the way down. Don’t swing it as you would a regular hammer, though. Lift the pieces with a pry bar.
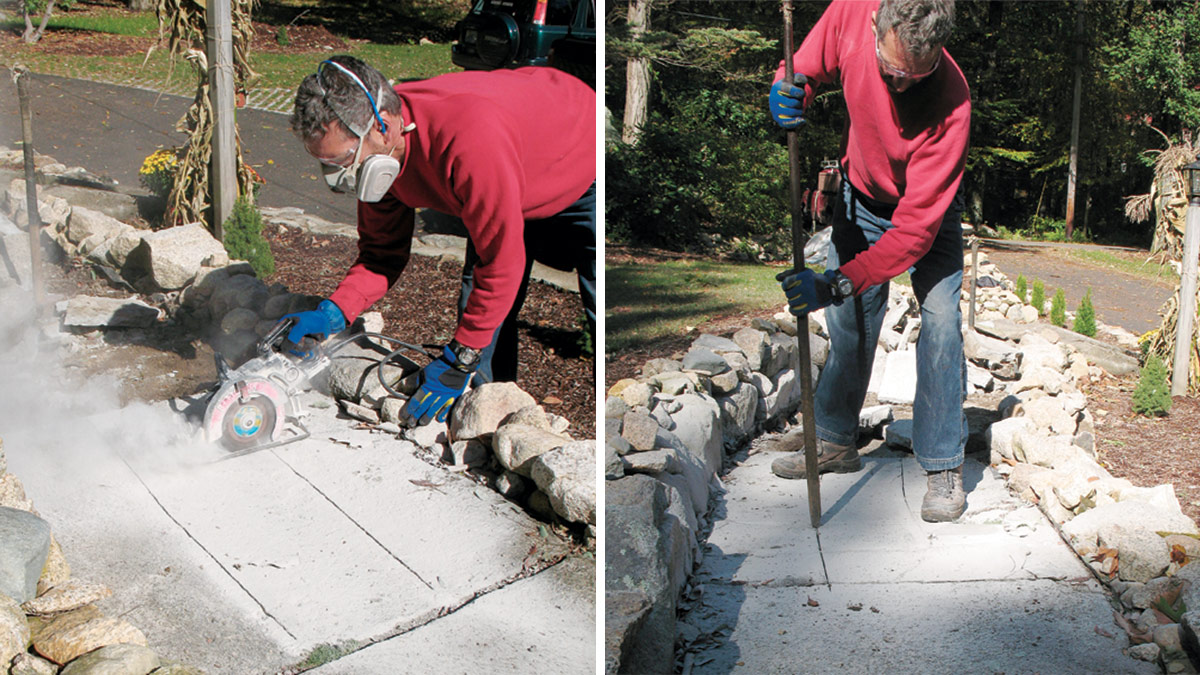
Break thick concrete by scoring it. Cut 1-in.- to 2-in.-deep kerfs through the sidewalk with a diamond blade at 1-ft. increments. Drive a heavy pry bar along the cutlines to break pieces cleanly. When a slab is 6 in. or thicker or has embedded steel, you may need more power—from an electric breaker hammer or pneumatic jackhammer—to break it up.
Step 2: Evaluate existing soil
Tools: Shovel, wheelbarrow, pick
Clay, silt, and organic soils are unsuitable as a paver subbase. They hold water, are unstable, and are prone to frost-heaving in cold climates. One quick and dirty way to evaluate soil is to saturate a sample and try packing it into a ball. If it sticks and holds together, it’s no good. Remove any unsuitable soil to a depth of about 8 in., and replace it with well-drained gravel or processed 3/8-in. to 3/4-in. stone.
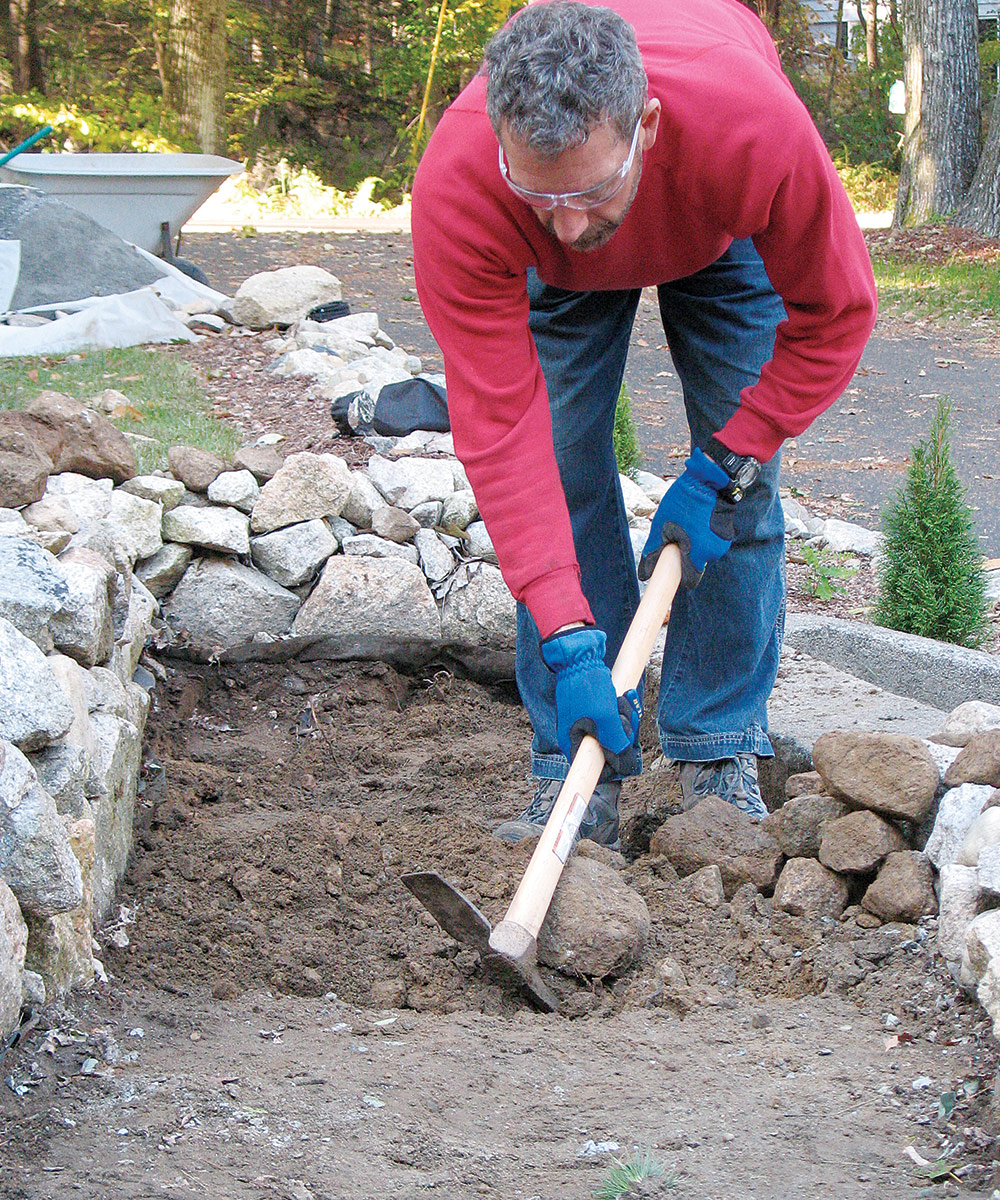
If you’ve got good soil (such as the soil shown here), comb through 6 in. deep with a pick, and pull out any stones 3 in. dia. or larger. Large stones interfere with compacting and can cause the paver surface to displace over time.
As they grow, tree roots also can heave a walkway. Paths that pass under a tree crown are likely to have large roots beneath. It’s best either to locate walks away from trees, to remove the trees, or to resign yourself to resetting pavers heaved upward by the roots every few years.
Mike Guertin is a remodeling contractor in East Greenwich, R.I., and editorial adviser to Fine Homebuilding. His website is mikeguertin.com. Photos by the author, except where noted.
To read the entire article, please click the View PDF button below.
From Fine Homebuilding #233

