Shed Floor Framing Basics
Get your shed off to a good start. Learn how to size, cut, and assemble a square and level floor frame for your shed.
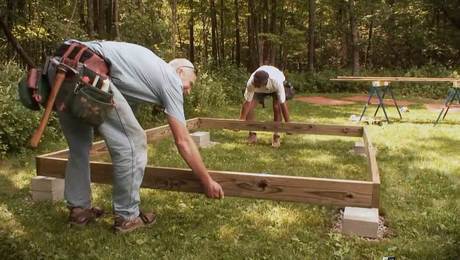
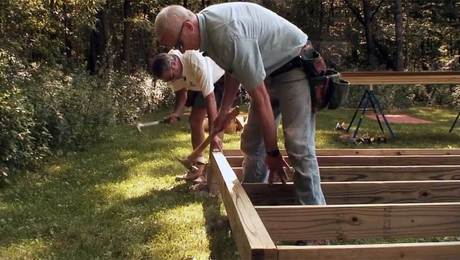
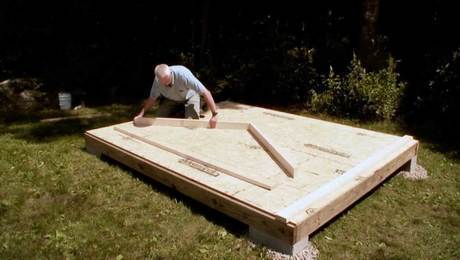
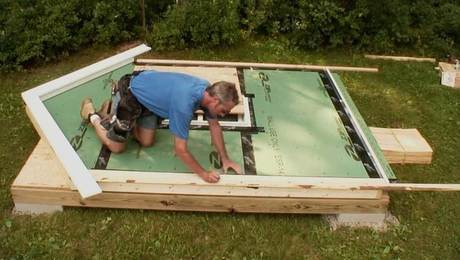
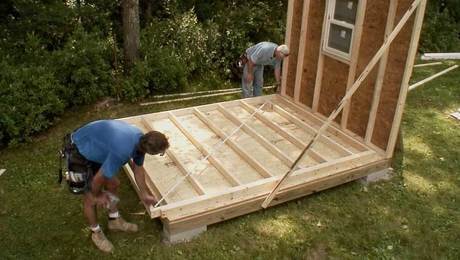
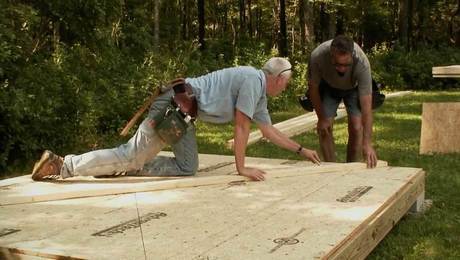
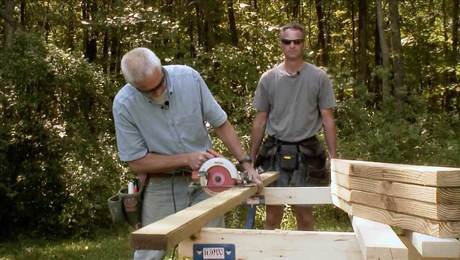
In this episode of How to Build a Tool Shed, frequent Fine Homebuilding contributor Rick Arnold shows us how to properly construct a shed floor. This video shows how to build the frame, secure joists with joist hangers, attach sub floor to the frame using a combination of glue and nails, and how to sheathe your floor from the elements. Rick demonstrates the entire process clearly while providing both tips to easily strengthen your shed’s structure, and warnings against common mistakes that may compromise the structural integrity of your shed.
Videos in the Series
-
Introduction: How to Build a Simple but Sturdy Tool Shed
-
Build a Tool Shed Series: Install a Block Foundation
-
Shed Floor Framing Basics
-
Build a Tool Shed Series: Building a Gable-End Wall, Pt. 1
-
Build a Tool Shed Series: Building a Gable-End Wall, Pt. 2
-
Build a Tool Shed Series: Building the Bearing Walls
-
Build a Tool Shed Series: Build the Roof (Part 1)
-
Build a Tool Shed Series: Build the Roof (Part 2)
-
Installing Trim on a Simple Tool Shed
-
Build a Tool Shed Series: Installing Windows and Doors
-
Build a Tool Shed Series: Installing Lap and Shingle Siding
-
Build a Tool Shed Series: Install Architectural Shingles
-
Build a Tool Shed Series: Foundation System
-
Build a Tool Shed Series: Siding Options
-
Build a Tool Shed Series: Accessorize Your Shed
-
Build a Tool Shed Series: Shelving and Storage Options
-
Build a Tool Shed Series: Landscaping Completes the Look
-
 Shortcuts to a Shed












View Comments
Because the floor was not adjusted narrower because of the
two sistered floor joists when it comes time to put the end walls on the shed the walls are going to be 3 inches longer and cannot use a perfect multiple of 2 feet. It would be better to trim the
floor joists by 3 inches
Overall a good video with a number of great small tips. A little disappointing that they take the time to explain the benefits of using galvanized nails in PT lumber (time mark 1:45), and "deformed" nails for the flooring (time mark 2:50). Then clearly use plain steel nails for the joist thru nails and plain smooth shank nails to attach the OSB Flooring. Still a good video for us neophyte builders.
I noticed they put the cut edges together in one of the rows rather than using the factory T&G edges... Someone else menntioned they talked about gal. srew nails then used raw steel smoothe shank.. LOL Have fun building!
If your going to spend a little extra on hangers and glue I don't understand why you wouldn't use Plywood for the floor instead of OSB. It holds nails better, sags less and lasts longer. Only a couple dollars more per sheet. If OSB ever gets wet it's downhill from there.
Warning: In Canada, check the building code, cause in Canada, gravel and cement has to go under the shed to discourage mice and rats but bumble bees. I liked the idea of staining but, then again, if the shed rests on cement or even cement blocks (which mite be illegal in Canada), there should be less moisture. Thanks also for the tip to use the glue between the plywood. Didn't think of that one.
Interesting - it's said that the floor joists are 16" c/c yet, assuming full sheets of OSB (8' long), there are only (4) joist spaces. This equates to joists at 24" c/c. Not very accurate. Further, for any shed I would ALWAYS overbuild the floor. You never know for sure what kind of load will be put on the floor - perhaps a substantially heavy lawn tractor will be stored in the shed. Not seeing the doors to be installed makes this difficult to evaluate.