Building a Curved Step: Episode 2 – Templates
In this episode, Mike Belzowski draws the master template he'll use to make the riser forms.
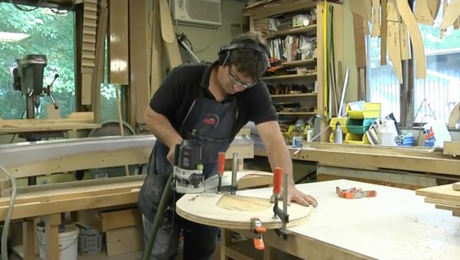
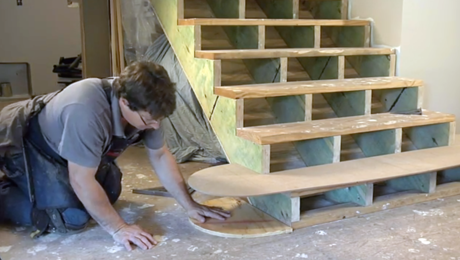
Templates are an important part of Mike’s stair-building process, especially when they involve curves. Mike’s templates starts with a full-sized drawing of all the custom elements. In this episode, you’ll see how Mike draws out these complex patterns.
| Read the companion article: Create a Curved Stair Riser 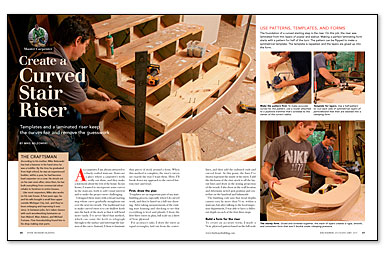 |
View more videos: All Master Carpenter Videos  |
Transcript
Chuck Bickford: Templates are an important part of Mike’s stair building process especially when they involve curves. Mike’s templates starts with a full-sized drawing of all the custom elements.
Mike Belzowski: The first thing I am going to do to lay out this curved staircase is I’m going to get a centerline in both directions.
CB: Once he’s bisected the plywood, Mike draws the riser’s rectangular shapes without the curves. While Mike’s template includes the first three risers treads and curved stringers, we will only focus on the bottom riser and tread.
MB: Now I want to define the lengths here.
MB: I try to put as much detail on to this plan as I possibly can so I can use it as a reference guide when I am building all these parts.
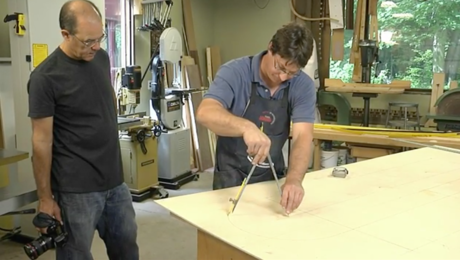
CB: The final step in drawing the master template is to add the curves. Both ends of the bottom tread have a radius based on the center point. Mike draws this radius with a large compass. The tread’s leading edge also incorporates a curved profile.
MB: The front step is going to have a curve that I want to come out three inches.
CB: To mark this curve, Mike aligns blocks to the tangent points and bends a long straight edge between them.
MB: What I’m trying to find is the tangent point of this curve where it’s going to intersect, and same over here. My straight edge is about 1/8th of an inch thick so I’m going to hold it away 1/8th of an inch.
CB: And for those of us who are geometrically challenged, the tangent point is where the curve begins off of this straight line?
MB: So if I took a square these would make a 90-degree angle where these two coincide. So, this curve will flow right into this one. If I brought it back here, then there would be a straight segment, and if I came too far, I’d get a corner.
MB: You can use a piece of wood also, but you want to have a uniform thickness: Something that is going to bend in a uniform manner.
MB: I like it, so once I have that, I am going to draw some lines.
CB: Mike completes the master template by adding as much detail as he can before creating the router patterns that he will use to make the forms.
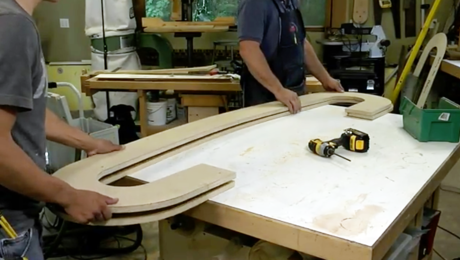
CB: Mike made the patterns before we arrived but showed us a great trick from making symmetrical forms.
MB: I’m going to use only half of the pattern and then flip it. That way I can create a symmetrical curve if this side varies at all from this.
CB: And you carry it past the midpoint on your template because why?
MB: I need to be able to establish a centerline. If I stopped it right at the center, I’m going to have a void in my pattern.
MB: So I’ve already done that you can see I have my centerline here. I go over the center so I can go to my center with my router. I left this part here so I could see my centerline here.
MB: I’ve got a centerline here.
MB: So I have this and I can flip it over. I still have some reference points here, I can line them up here and draw my stair.
CB: Finally Mike takes special care when cutting the templates to ensure the router bit has a clean and fair edge to ride on.
MB: So I used a block plane and a spokeshave to bring it right to the line.
CB: In the next episode Mike shows us how he uses the patterns to make the riser forms.
Videos in the Series
-
Master Carpenter: How to Build a Curved Step
-
Building a Curved Step: Episode 2 – Templates
-
Building a Curved Step: Episode 3 – Making Forms
-
Building a Curved Step: Episode 4 – Laminations and Glue-Up
-
Building a Curved Step: Episode 5 – Making the Tread
-
Building a Curved Step: Episode 6 – Installation
