Building a Curved Step: Episode 3 – Making Forms
In this episode, Mike Belzowski builds the form that he’ll use to laminate the riser
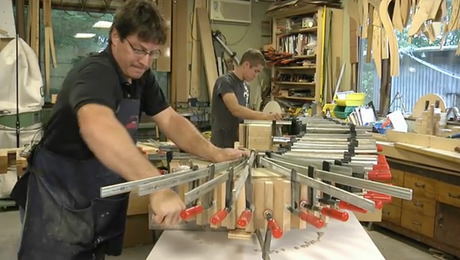
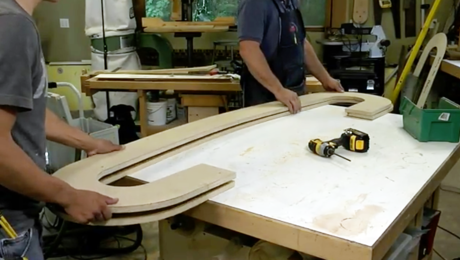
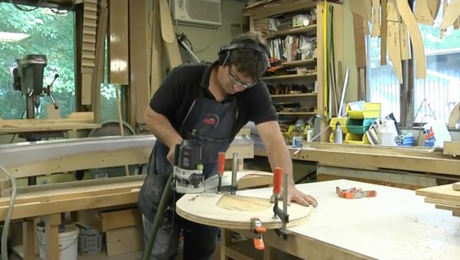
In this episode, Mike builds the form that he’ll use to laminate the riser. Once he has the form drawn, he cuts the rough shape out with a jig saw. Then, with the initial pattern clamped in place, he routes the profile with a top-bearing router bit. Now it’s just a matter of repeating this process. With the first piece finished, he uses that to guide the router bit of the second layer, and so on, gluing and screwing the laminations together until he’s built the form tall enough to accommodate the riser.
| Read the companion article: Create a Curved Stair Riser 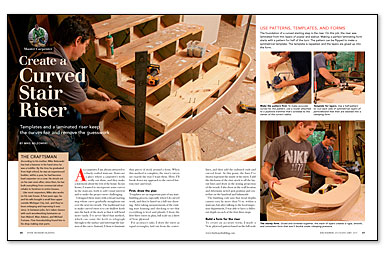 |
View more videos: All Master Carpenter Videos  |
Transcript
Chuck Bickford: In this episode Mike builds the form that he’ll use to laminate the riser. First, he orients the pattern on a piece of particle board with the reference lines from the template.
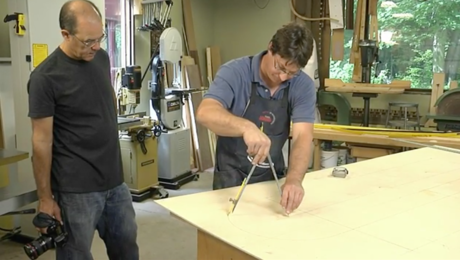
Mike Belzowski: From my template I determined I needed to make a line about 13-1/2 in. up. So I lay my straight edge here and draw a reference line. I am also going to draw a line at 44 in. so I’ll have it for this centerline here. And that line is important because we’re going to use that to reference the form. Now we are going to take the template and line it up with those two lines. This is why I left this part here. So now I have several spots of reference. Also notice the shape of the template here. I left about 6 in. of width. I felt like 6 in. would be enough to hold the clamps and the weight because once we are bending all the way around here, there is a lot of pressure, and if I made it too thin, it would just break. I could use plywood, particle board, something that will be solid enough to hold it. So this edge here is parallel to my surface at all points, so I can put a clamp where ever I want on this form. Once I have my marks lined up, I’ll trace it.
CB: With one side drawn, Mike flips the pattern and repeats the process. An important detail of the form is that is extends 6 in. beyond where the riser will terminate. This is crucial to ensure proper clamping at the end. Once Mike has the form drawn, he cuts the rough shape out with a jig saw to just beyond the line. Then, with the initial pattern clamped in place, he routes the profile with a top-bearing router bit. Now it’s just a matter of repeating this process. With the first piece finished, he uses that to guide the router bit of the second layer, and so on, gluing and screwing the laminations together until he’s built the form tall enough to accommodate the riser; in this case, nine 3/4 in. laminations. To finish the form mike screws blocks to the base to help align the laminate layers during the glue-up. He also give the form face a light sand to remove irregularities that might telegraph through to the riser face.
MB: So let’s flip it over.
CB: In the next episode, we’ll learn how Mike glues the laminations together.
Videos in the Series
-
Master Carpenter: How to Build a Curved Step
-
Building a Curved Step: Episode 2 – Templates
-
Building a Curved Step: Episode 3 – Making Forms
-
Building a Curved Step: Episode 4 – Laminations and Glue-Up
-
Building a Curved Step: Episode 5 – Making the Tread
-
Building a Curved Step: Episode 6 – Installation
