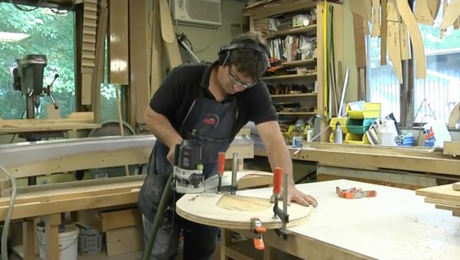
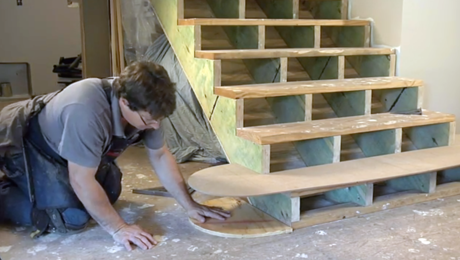
Building a Curved Step: Episode 4 – Laminations and Glue-Up
In this episode, Mike makes thin wood lamination sheets by resawing solid stock
In this episode, Mike makes thin wood lamination sheets by resawing solid stock. By resawing solid stock, he can also customize the thickness so it can bend around particular radii. To plane such thin laminations Mike uses a spiral cutting head inside the planer as well as a special feed technique.
| Read the companion article: Create a Curved Stair Riser 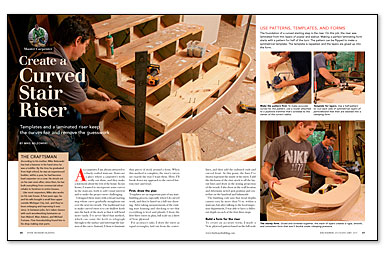 |
View more videos: All Master Carpenter Videos  |
Transcript
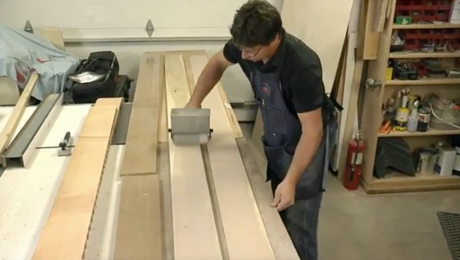
Chuck Bickford: Mike made the thin wood lamination sheets by resawing solid stock. He could have used bending plywood, but it’s only available in 8 ft. lengths. Mike wanted the laminations to be continuous, and the laminations for this riser need to be 13 ft. long. By resawing solid stock, he could also customize the thickness so it would bend around these particular radii. After resawing the stock, he had to plane the thickness to about 3/32 in.
Mike Belzowski: So Chuck, this is a sled that I’ve made for my planer. It’s the full width of my planer, and I’ve put this little hardwood stop on so that way, when I put this into the planer, it registers against the outside here. And this does two things. My planer has some bottom rollers, and this negates those and also keeps the cutter head away from the cast iron top.
CB: To plane such thin laminations, Mike used a spiral cutting head inside the planer as well as a special feed technique.
MB: So I am going to enter the planer, putting pressure down here, holding this up. What this does is it creates tension down here, holding it down until the piece gets to my second roller. There are two feed rollers here with a cutter in the center. So what I am trying to do is keep this front under tension until it gets to the second roller.
CB: I stood in for Mike’s helper, putting tension on the sheets on the outfeed side. The method worked well and could probably could be applied to the manufacture of a wide variety of thin stock. Once we were done planning the laminations, Mike got ready for the glue up.
MB: So we’ve got everything ready. All of our laminants are cut. We’ve got our caul boards.
CB: The caul boards consist of what?
MB: These are 1/8 in. masonite. I chose that because it is flexible enough to fit around the form. I put some packing tape on here as glue resist. And I also made these caul boards. This is 1/8 in. bending ply or wacki wood, and I glued and stapled some 1×1-1/4 in. hardwood blocks on there equally spaced to help facilitate the clamping pressure onto the veneer plies.
CB: Got it. So this is a giant sandwich: you have the veneer, you have the backing sheets, and then you have these cauls.
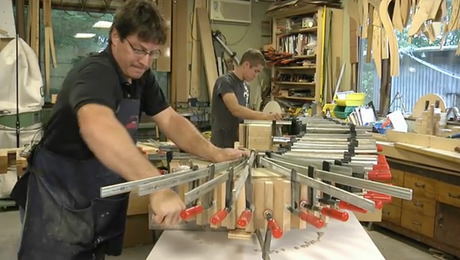
MB: Correct. We also have waxed the form, we’ve elevated it, and we’ve got all the clamps out and ready. We are about ready to go. We are going to put some glue in the glue spreader, and then the clock is on and we need to get it moving.
MB: Another thing that we need to consider when we are doing these laminations is how long it’s going to take us to get it glued up and then fully clamped onto the form. So the glue choice is a big item to look at. I need enough open time with the glue so we can get all that done. Today we are going to use a Unibond One. It’s a new product out. It gives me twenty minutes of open time. If you’ve never done this before, I’d recommend doing a dry run just to see how long it’s going to take, because once you start spreading the glue, you can’t find a mistake in the process. I want to get an even coat of glue–not too thick–but I definitely want all edges covered. This glue also dries a lot harder than most PVA glues and has a lot more rigid glue line, almost the same as a urea resin.
MB: I’m just going to put some Saran wrap to kinda hold them in place. I’m just making sure the centermark is located. We are going to put the center on the form first and work from each direction. Alright lets lightly wrap it all the way around. I’m just going to kinda get it close to shape. This clamp I am not going to put on tight, I just want to get it close. Now we are going to work out from the center. Start here, go each direction. These caul boards that I put on here are really allowing us to put just one clamp on. I can see we are getting a good even pressure all the way across. The clamp pressure radiates off the clamp head at a forty-five degree cone, so we want to make sure that there is an equal cone of pressure applied across all the laminants so we get an even distribution of clamping pressure. Otherwise we are going to get thick and thin glue lines. We might not have laminates that clamp well together. We got nice squeeze out on all the plies. I think we are approaching our nine-minute marker and we are doing really well.
CB: Once the riser was completely clamped, Mike let it dry for twenty-four hours. In the next episode, we’ll see how Mike uses the template to make the tread.
Videos in the Series
-
Master Carpenter: How to Build a Curved Step
-
Building a Curved Step: Episode 2 – Templates
-
Building a Curved Step: Episode 3 – Making Forms
-
Building a Curved Step: Episode 4 – Laminations and Glue-Up
-
Building a Curved Step: Episode 5 – Making the Tread
-
Building a Curved Step: Episode 6 – Installation
