Building a Curved Step: Episode 5 – Making the Tread
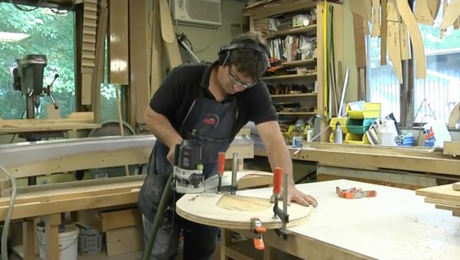
In this episode, Mike demonstrates how he uses a router on a trammel to get a perfect radiused end on his tread
In this episode, Mike demonstrates how he uses a router on a trammel to get a perfect radiused end on his tread. After he rough cuts the tread pattern, he fine-tunes the lines with a spoke shave and block plane. He then uses the pattern to cut the tread. First he rough cuts the shape. Then he uses a flush-cutting router bit to match the treads edge to the pattern. Finally he uses a bottom-bearing round over bit to trim the tread’s edge.
| Read the companion article: Create a Curved Stair Riser 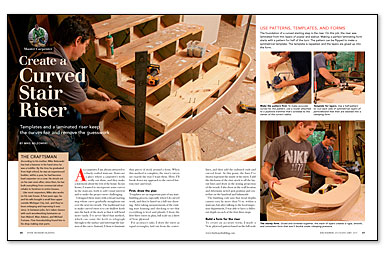 |
View more videos: All Master Carpenter Videos  |
Transcript
Chuck Bickford: Mike took some time to show us how he uses a router on a trammel to get a perfect radiused end on his tread.
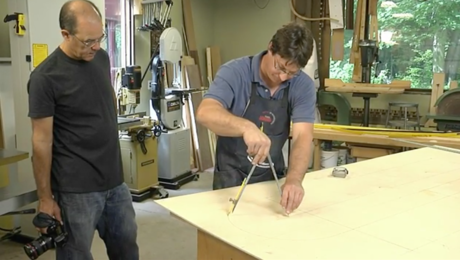
Mike Belzowski: If I’m cutting to the inside of the outside of the curve, it will depend on where I get my measurement. The piece I want is to this side of the curve, so I measure from here back 12 in., and that’s the centerpoint for my radius. The tread is going to be 2 in. bigger than my riser form.
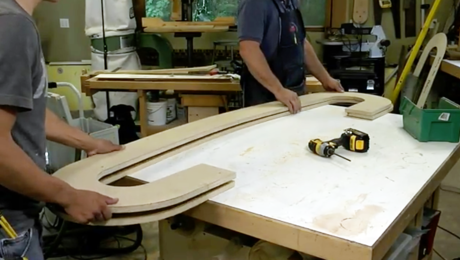
CB: To establish the curve of the leading edge, Mike repeats the process of bending his straight edge blocked to the radial tangent points. After he rough cuts the tread pattern, he fine-tunes the lines with a spokeshave and block plane. He then uses the pattern to cut the tread. First he rough cuts the shape then uses a flush-cutting router bit to match the treads edge to the pattern. Finally he uses a bottom-bearing round over bit to trim the tread’s edge. The main trick here is to align the router in the right position.
MB: So the edge of the end of my cutter is here, which is very close to my center line, and my bearing is just right below it, so when I flip it over there should be just enough for that bearing to ride the round over.
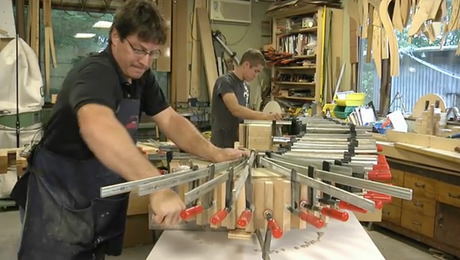
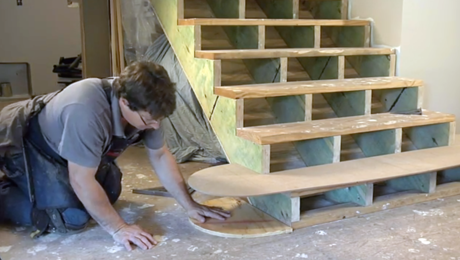
CB: The final shop work required before install was to make blocking to support the riser and to clean up the riser itself. To make the blocking, Mike use the riser pattern to trim plywood blanks to exactly the radius of the inside of the riser. To prep the riser, Mike removed the clamps, cleaned up the glue with a paint scraper,and then used the form as a reference to trim the edge with a flush trim bit. Finally, in a bit of shop magic, he ran the entire riser through the planer to get it down to its finished width. In the next episode, Mike will install the first riser and treat at the bottom of the stair frame.
Videos in the Series
-
Master Carpenter: How to Build a Curved Step
-
Building a Curved Step: Episode 2 – Templates
-
Building a Curved Step: Episode 3 – Making Forms
-
Building a Curved Step: Episode 4 – Laminations and Glue-Up
-
Building a Curved Step: Episode 5 – Making the Tread
-
Building a Curved Step: Episode 6 – Installation
