Building a Curved Step: Episode 6 – Installation
In this episode, Mike uses the tread pattern to establish the blocking location for installation
In this episode, Mike uses the tread pattern to establish the blocking location for installation. He tacks the tread into the proper location to get his first rough support and squares it up from the floor and the template all the way around. Mike also has to install the steel newel supports that come up through the starting step. After the steel is in, he attaches the riser to the bottom layer of blocking with pocket screws and adds two-by blocking on the ends. Finally, Mike can install the tread.
| Read the companion article: Create a Curved Stair Riser 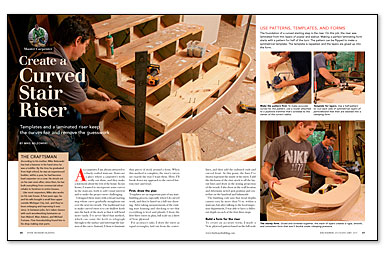 |
View more videos: All Master Carpenter Videos  |
Transcript
Chuck Bickford: Back on site, Mike used the tread pattern to establish the blocking locations.
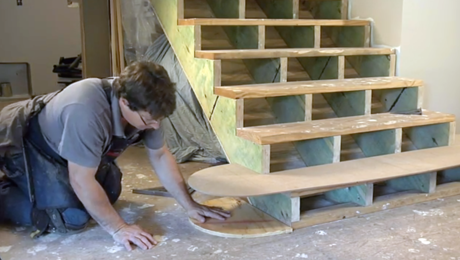
Mike Belzowski: We’ve made the template off our riser form, and this is going to give us the location of the blocking that I’m going to install for our curved riser. We’re able to get all the information, my centerlines have correlated with what I want, and now we can start installing the blocking.
Mike Belzowski: I’ve tacked my tread into the location that I need and from there I’ve got my first rough support that I’ve taken from my template, and I’ve squared it up from the floor and the template all the way around. My second layer I’ve got some pocket-hole screws cut into it, because the first layer I’ve got 3/4 in. flooring going into it, so the riser is going to be spaced off so the flooring can go underneath there. But this layer we’ll be fastening to the riser and it’s the same as the previous layer. And then I’m going to use some two-by blocking and then I’m going to double the top layer also.
CB: However, before he could go any further, Mike had to install the steel newel supports that come up through the starting step. The steel installation is beyond the scope of this video, but suffice it to say that is was well anchored to the sublfoor and extremely sturdy. After the steel is in, Mike attaches the riser to the bottom layer of blocking with pocket screws. He then adds two-by blocking to the ends to fill excess space, then adds two more layers of radiused-plywood blocking to the top. Secured to the blocking with pocket screws, the riser has no visible fasteners and looks great. Finally, Mike can install the tread by cutting holes to allow for the steel and securing it where the second riser and newel post will hide the fasteners.
Videos in the Series
-
Master Carpenter: How to Build a Curved Step
-
Building a Curved Step: Episode 2 – Templates
-
Building a Curved Step: Episode 3 – Making Forms
-
Building a Curved Step: Episode 4 – Laminations and Glue-Up
-
Building a Curved Step: Episode 5 – Making the Tread
-
Building a Curved Step: Episode 6 – Installation
