Details for a Sweet Entry Porch
Simple new entry stairs and railings respect the home’s design.
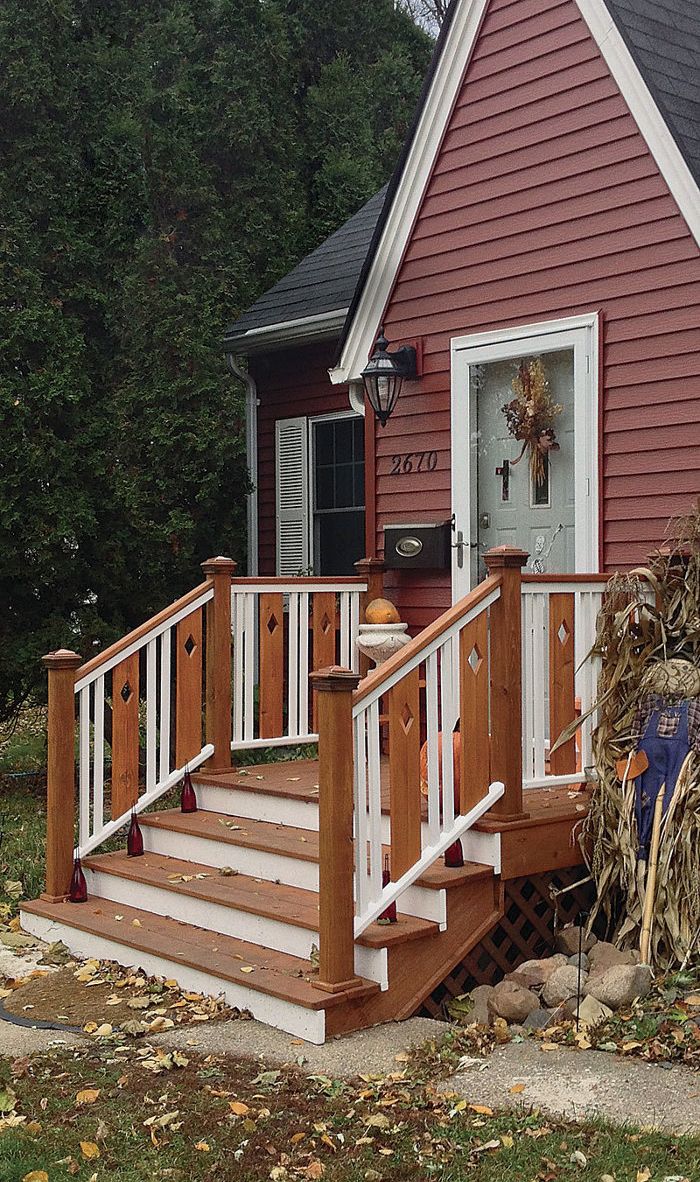
Synopsis: In this article, Minnesota carpenter Brian Campbell demonstrates how he demolished an old concrete stoop and built a simple and stylish entry porch in its place. Campbell’s water-resistant details will add years to the life of the decking and the railing, while his repetition of existing architectural details makes the small porch look like it’s always been a part of the house.
When the owners of this small, steeply roofed Tudor cottage asked me to replace their existing concrete stoop with a new front porch, I looked for period details to tie the new work to the old house. There was also a practical problem to solve: The foundation wall where the stoop had been had water-intrusion issues. The homeowners hoped that in addition to complementing the house, my work would help to dry the basement.
Working with an existing footing
Because I could use the footings and two stemwalls that had supported the concrete stoop, the foundation for this project was already partially established. I reused those footings by knocking down most of the abovegrade portion of the stoop, then filling the block cores with concrete and rebar that tied into four new piers. To address the water problem in the basement, I graded the dirt where the stoop had been to slope away from the house. This minor change to the grade, along with 6-mil black plastic sheeting below the porch, now carries away most water.
Detailing the porch floor and rail
With the existing piers to work with, it made sense to make this a freestanding porch and to run the joists parallel and the flooring perpendicular to the house.
I figured the flooring layout from the center of the framing, so I could center a board or center a space between two boards. Fifteen 6-in.-wide boards were 2 in. too narrow, and 16 were 3 1/2 in. too wide. I went with the smaller number but created two boards at the ends that were 1 in. wider than the rest. For each one, I ripped two boards to 31/4 in., then joined the pieces together using Gorilla Glue to create 6 1/2-in.-wide boards. I made these new boards out of two pieces from the same board so that the grain would match perfectly.
To integrate the railing with the house, chunky, flat balusters such as those often found in Tudor architecture combine with diamond cutouts that mirror the 18-in-12 roof pitch. To shed water, I beveled the rails 10° to form peaks. The tops of the balusters are captured in a rabbeted subrail. I sanded the peak on the cedar top rail to soften it and to make it comfortable to hold. A valley milled in the bottoms of the balusters fits nicely over the peak in the bottom rail.
These balusters also center themselves on the rail, speeding up assembly. This design can be found in 18th-century porch balustrades in Williamsburg, Va. With power tools available today, it makes even more sense to add these touches.
For more information on detailing the porch floor and rail, click the View PDF button below.
