A Simple Approach to Paneled Wainscot
Built on a bench and finished with stock moldings, these panels don’t lose any points for style.
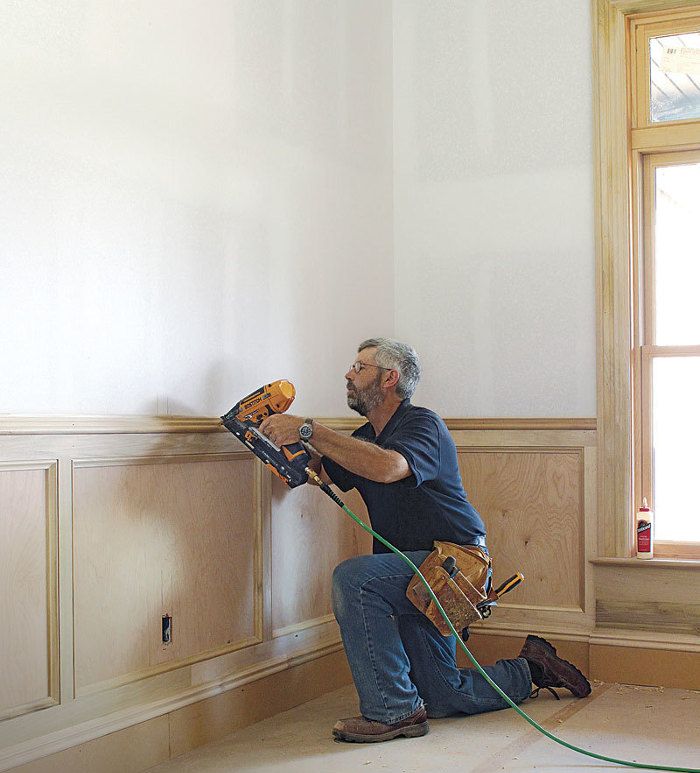
Synopsis: Taking its design cues from traditional raised panel wainscot, author Gary Striegler’s system for building this classic trim treatment is far simpler without sacrificing the authentic look. The techniques in this article can be applied to new construction and remodels, and Gary offers installation tips on laying out, assembling, and detailing the wainscot, as well as installing window and door casing, backband molding, baseboard, and cap rail. Photos: Antonio Panetta
I’ve done wainscot lots of different ways, and each job has its own balance of cost, complexity, and final appearance. But one of my favorite methods is to build a pocket-screw-joined frame on my workbench or sawhorses, fasten plywood to the back and panel molding to the front, and then install the whole thing in prebuilt sections. I like this system because it’s fast but doesn’t sacrifice final appearance for that speed. Plus, when installed over wavy walls, these big sections can help create a flat run.
Although this room started with bare walls — which makes it easier to plan the many layers of trim necessary to tie everything together nicely — wainscot can easily be added to an already-trimmed room, too. The important thing is to spend time planning how the various pieces of trim will work together. Do this and you’ll be rewarded with work that looks like it was meant to be there.
It all starts at the openings
Whether you’re working in a new room or doing a trim makeover to an existing space, wainscot always starts at the same place: the windows and doors.
Plan it on the wall
The height of the paneling is partially driven by the ceiling height of the room — between 30 in. to 40 in. from the floor is common — and then adjusted to ensure that the rails and stiles will have appropriate reveals on all sides once the baseboard and cap molding have been installed.
Once the vertical positioning has been determined and marked with a chalkline, you can better establish the proportions of the horizontal layout. I find that an odd number of panels is most pleasing to the eye, and I avoid making panels that are taller than they are wide. Here’s how to find the panel width.
Bonus: Watch the related video series
For more photos, drawings, and details, click the View PDF button below:




View Comments
Excellent video and instructions