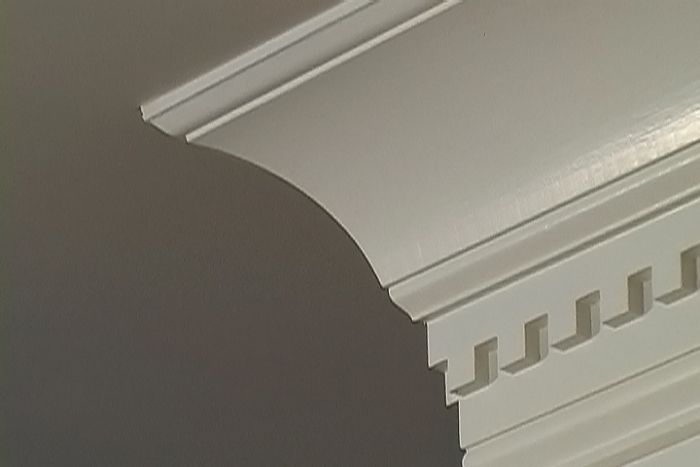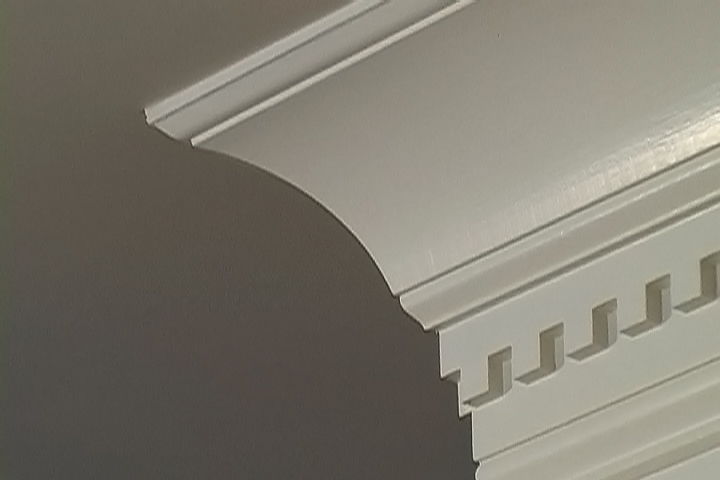
A question we occasionally see at the magazine is “How do you install crown molding without a nail gun?” While a nail gun can speed the process, it is in no way a requirement. Note the ornate crown molding in any Victorian building. Not an inch of it would have been installed using a nail gun.
The first step is to locate the ceiling joists so you can nail into them. Use a stud finder, or on the ceiling near the center of a long wall, tap with a knuckle and listen for the solid-sounding spots. Drive a nail into the ceiling there to confirm that there’s a joist, staying close enough to the wall so that the crown will cover the hole. Depending on how the house is framed, you should find the other ceiling joists located on 16-in. or 24-in. centers from that first joist. Very occasionally, you may find joists on 19.2-in. centers, which are indicated with a small diamond on tape measures. Most likely, you will only find joists perpendicular to the two walls that run parallel to the width of the house. On the other walls, the joists will run parallel, and it’s rare to find one in the exact spot needed for a crown nailer. However, if you’re lucky, there will be blocking installed as drywall nailer along the tops of these other walls. Find out how far the blocking extends from the wall by driving nails incrementally farther out. Depending on the blocking and the size of your crown, you might be able to nail its top to the blocking.
If there’s no useful blocking, there are two tricks you can use on these walls. First, if you have a tablesaw or circular saw, you can rip long triangular nailers from framing lumber to fit in the corner of the wall and the ceiling. Experiment with some scrap. When installed, there should be roughly 1/4 in. of clearance between the crown and the nailer so that the crown can be wiggled to make the joints fit. More clearance is fine, but less can be a problem. Nail or screw the blocking to the top plates of the wall.
Alternatively, if you’re using 3-1/2-in. or smaller crown, you can fasten it to the wall plates with 16d finish nails driven through the center of the crown. If you do this, drill pilot holes in the crown to keep the large nails from splitting the wood. Make the holes the same diameter as the nail shanks. And if you’re installing hardwood crown, figure on drilling a pilot hole for every nail.
Nail the bottom of the crown to the wall, using 6d finish nails about every 16 in. You don’t need to find the studs, because you’ll be nailing into the walls’ top plates. Assuming you aren’t using the 16d nail trick, nail the top of the crown either to the blocking or to the ceiling joists, again using 6d finish nails. Drive the nail heads to just above the surface of the molding with a hammer, and set them just below the surface using a nail set. Finish nails have a dimple in their tops that’s meant to mate with the point of a nail set. Nail sets come in three sizes: 1/32 in., 2/32 in., and 3/32 in. I generally use a 1/32-in. nail set for 6d and smaller nails, and a 2/32-in. nail set for larger finish nails. The 3/32-in. nail set only comes out on those rare occasions I have to set a common nail–not a likely scenario with crown molding.
Nails come coated with a film of oil from the manufacturing process that will dirty your hands and will in turn leave black marks on the crown. An old trimmer’s trick is to dump a handful of sawdust into your nail pouch and mix it around to absorb the oil. This isn’t a perfect solution, but it helps.
Another potential problem is holding long pieces in place when you don’t have a helper. You can use a Third Hand, which I find handy for a number of other uses as well, or you can mark the wall where the bottom of the crown will go and partially drive a nail just above that line to create a rest for the far end of your crown. On outside corners, driving a nail by hand can crack the drywall mud or the crown itself. The solution is to drill pilot holes.
Fine Homebuilding Recommended Products
Fine Homebuilding receives a commission for items purchased through links on this site, including Amazon Associates and other affiliate advertising programs.

8067 All-Weather Flashing Tape

Reliable Crimp Connectors

Handy Heat Gun


