How to Cut Crown Molding
Follow a few basic techniques and there should be no guesswork involved in cutting crown
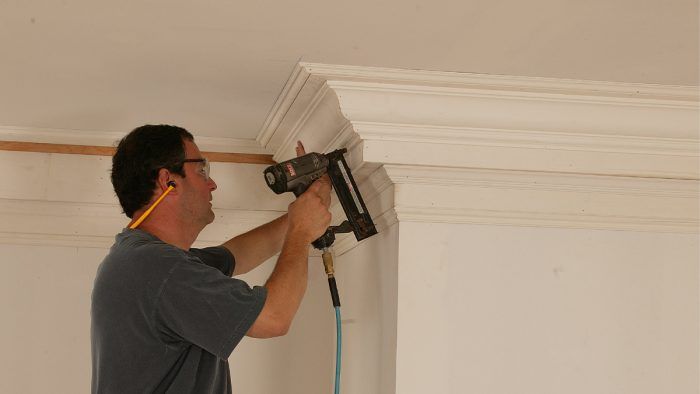
Begin with a detailed cutlist
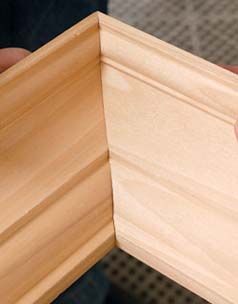
Do not try to visualize how crown goes together, simply measure the length of each mounting surface and mark on the left and right side of each measurement you take whether to cut a butt, an inside corner, or an outside corner. Splices, or field joints, are difficult to conceal no matter what, whether you use a butt or a scarf joint. Scarf joints have a tendency to move in service, so butt joints planned in inconspicuous places are a better way to go. Always check corners for square, and mark where you need to adjust the angle on your cutlist.
Miter setup
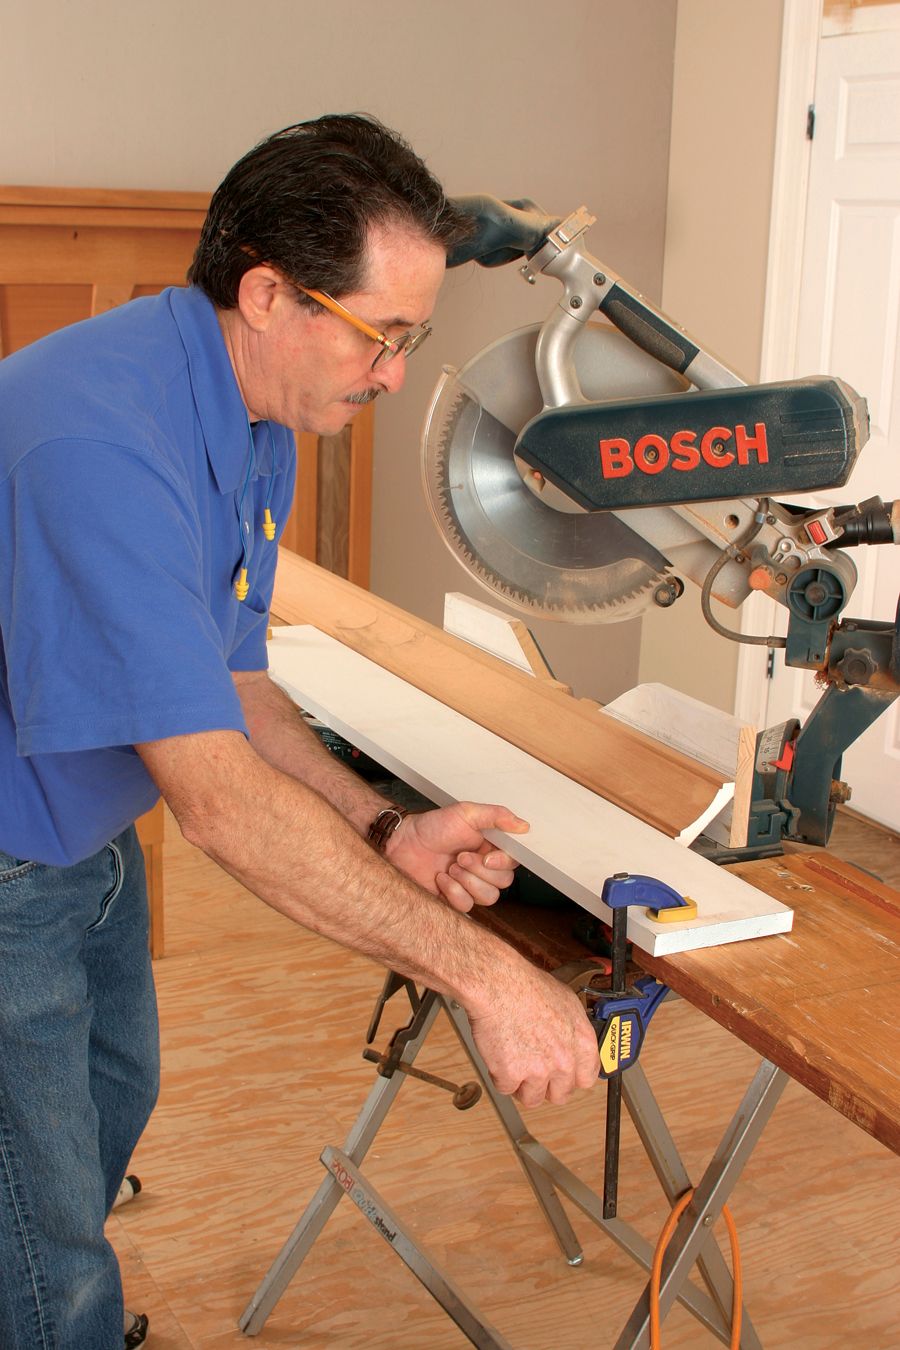
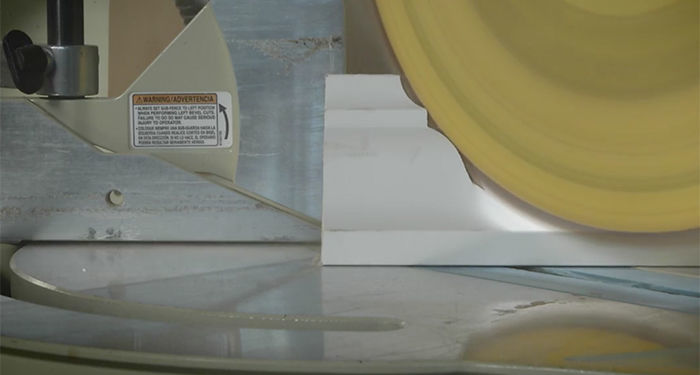
You will speed things up, and get a more accurate cut, by holding the crown up against the fence than if you were to cut the crown lying flat–because you will only have to adjust the angle from side to side, and you will not require a saw that can cut a bevel. Setup begins by adding a higher auxiliary fence to your miter saw so that the crown can easily rest against the fence when the crown is held up at the angle it will be installed. Next, establish a stop on the table to prevent the crown from moving and ensure a consistent and more accurate cut.
Cut crown upside down and backwards
Arrange your crown stock to feed into the miter opposite the way it will be installed. The bottom of the stock will rest against the auxiliary fence and the top will nest in the crown stop attached to the table. Left crown cuts will be made on your right-hand side, and right crown cuts will be made on your left-hand side. Mark these opposites as a reminder on the crown stop if necessary. From there it is simply a matter of following your cutlist.
TIP: Use the auxiliary fence to measure your outside corners. Align the molding to the fence and use its square end to hook your tape measure.
More on crown molding:
