How to Build Your Own Bathroom Vanity
Step-by-step instructions on building an attractive bathroom vanity
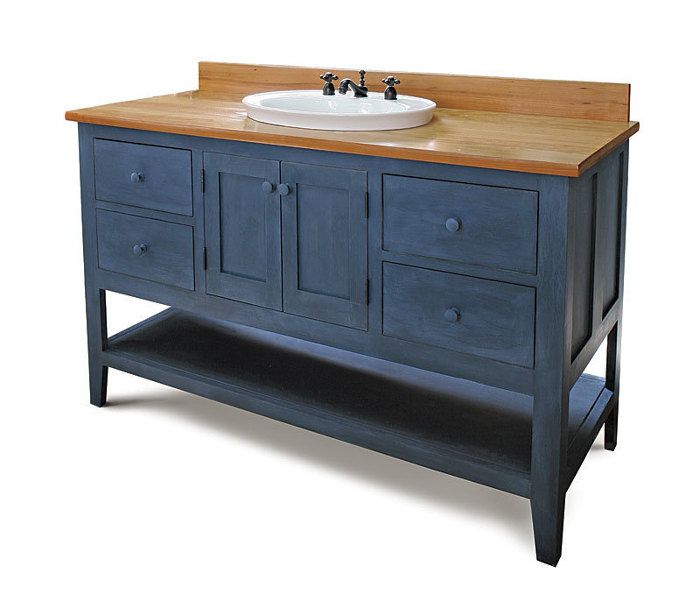
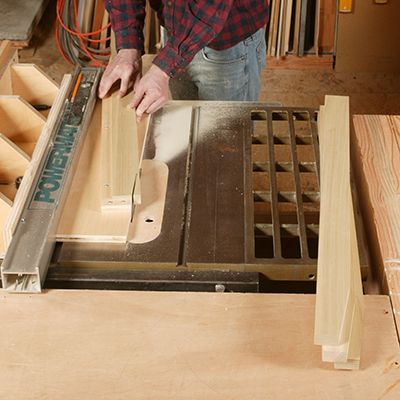
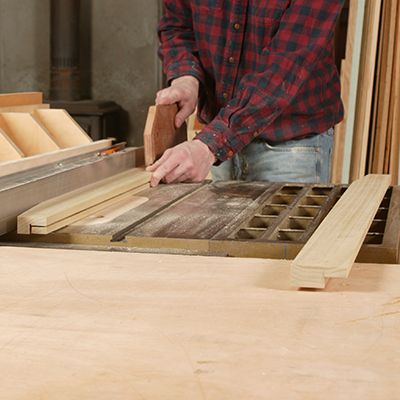
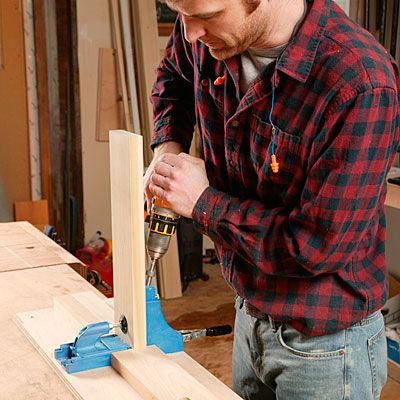
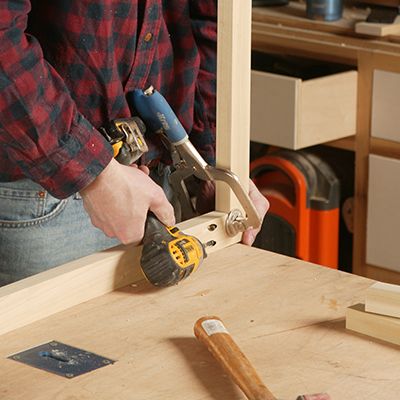
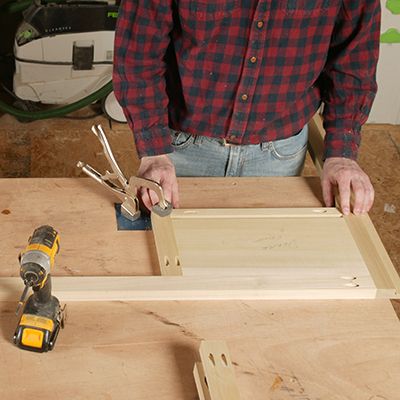
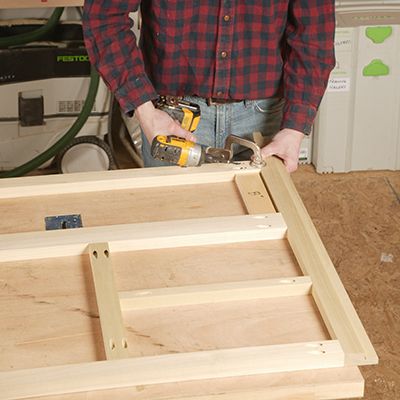
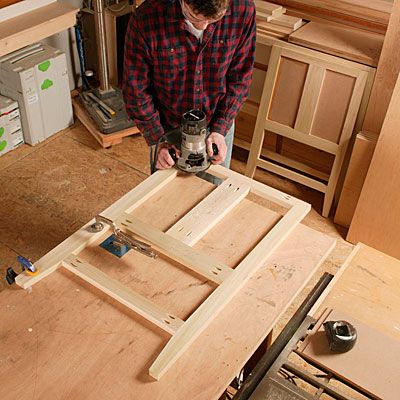
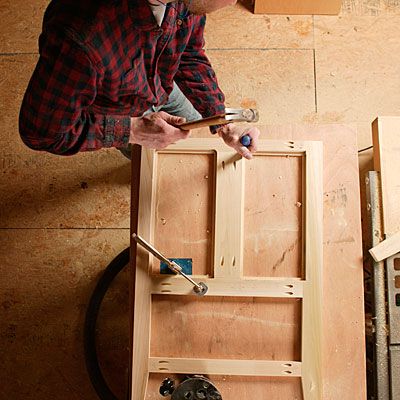
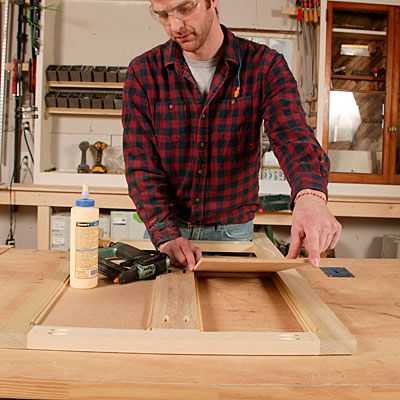
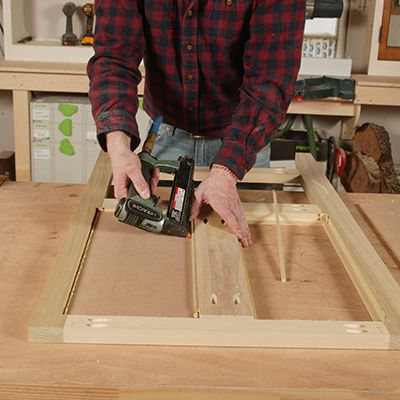
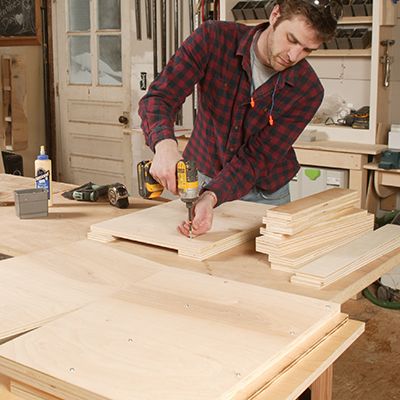
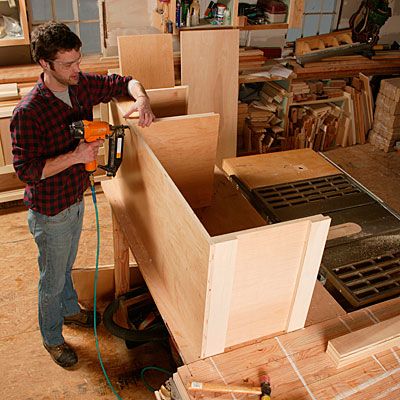
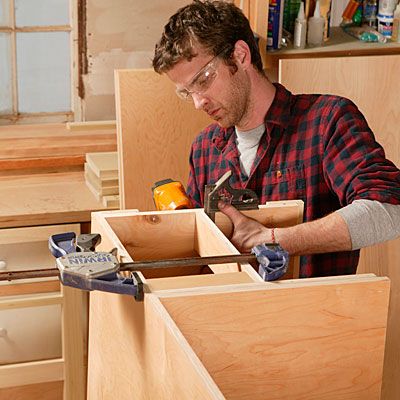
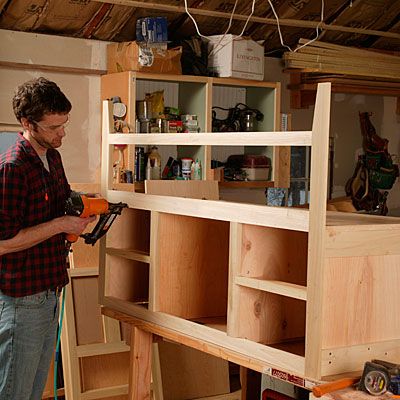
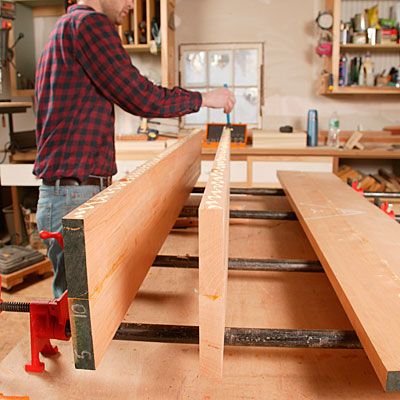
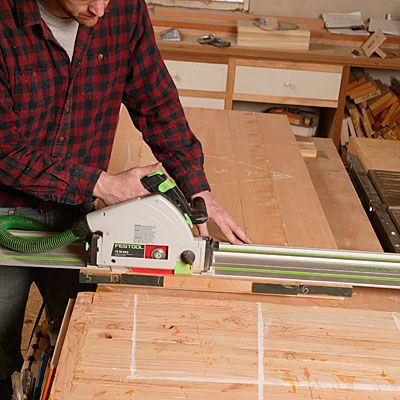
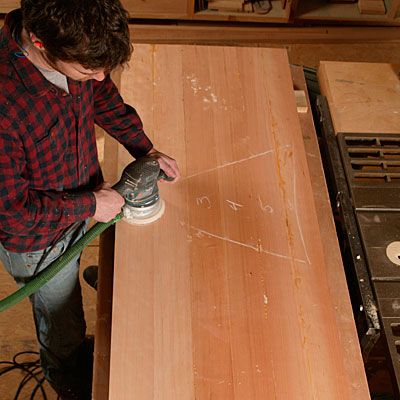
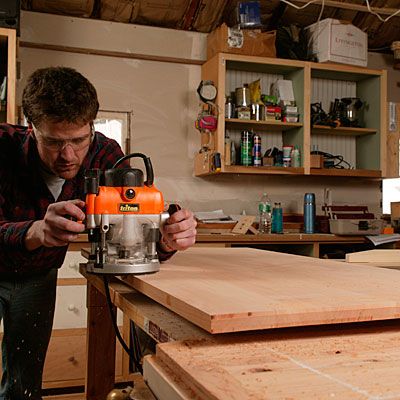
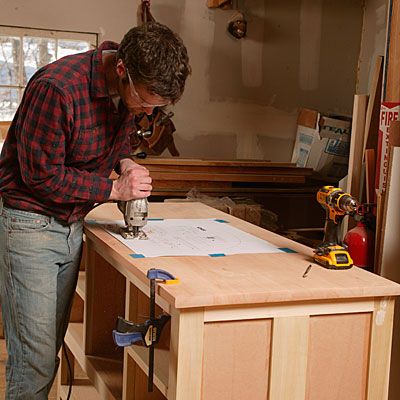
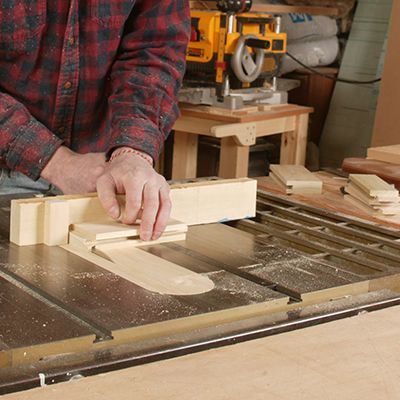
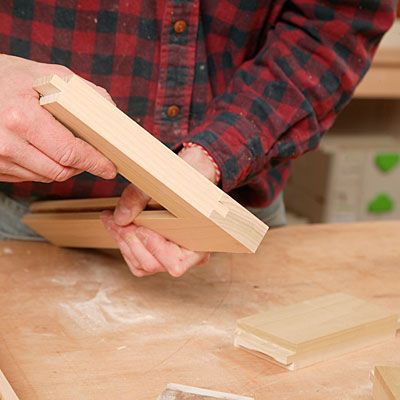
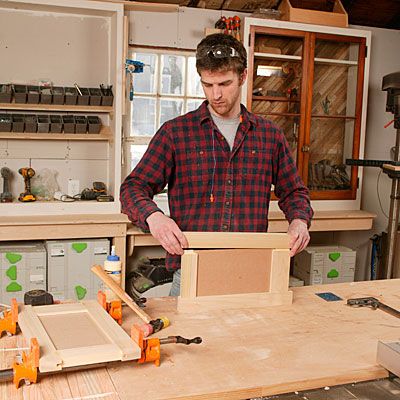
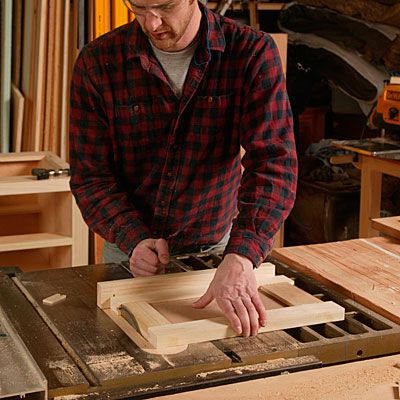
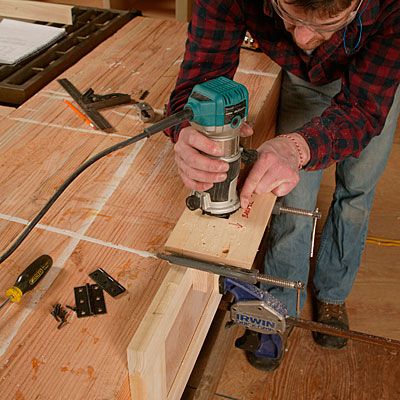
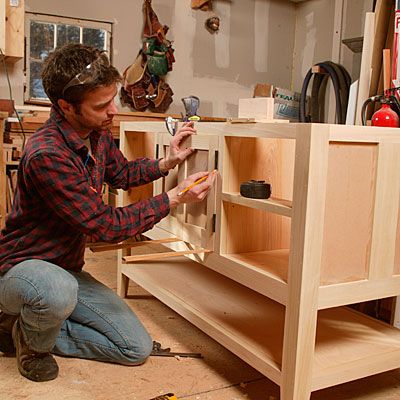
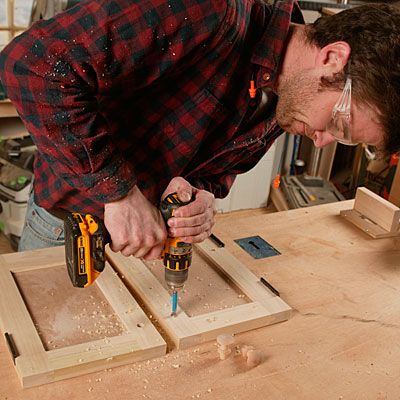
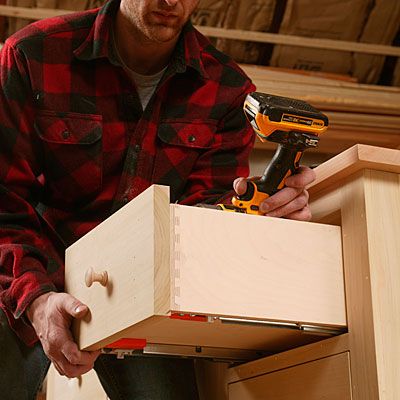
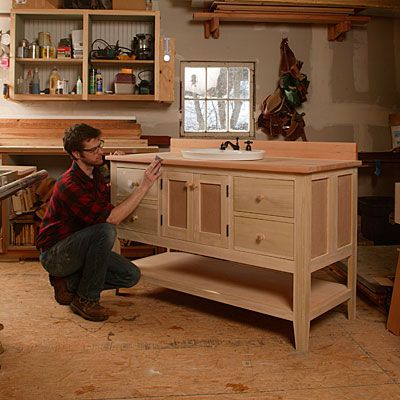
This post includes a complementary collection of step-by-step photos for those who are interested in tackling this custom vanity project from the article “Build Your Own Bathroom Vanity“, featured in issue #252 of Fine Homebuilding magazine.
The details of a bathroom make a statement, and a vanity is often a focal point that ties those details together. The simplicity and clean lines of Shaker-style furniture appeal to me because they aren’t adorned with excessive trim, appliqués, or other embellishments, yet they are more inviting and comfortable than modern pieces in a starker style. In addition, I think the Shaker style can work as well in a suburban raised ranch as it does in a 200-year-old farmhouse.
To build this vanity, you don’t need a cabinet shop, and you don’t need weeks of build time. With some common power tools and a slight increase in cost, you can build a vanity that is stronger and far more stylish than a production model, and that requires only a couple of weekends to complete.
A classic look with a lot less effort
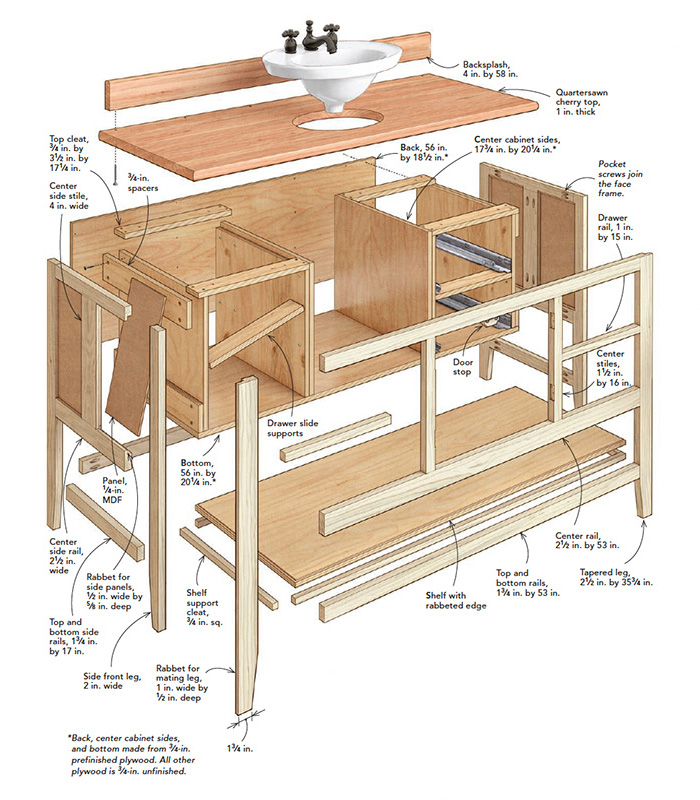
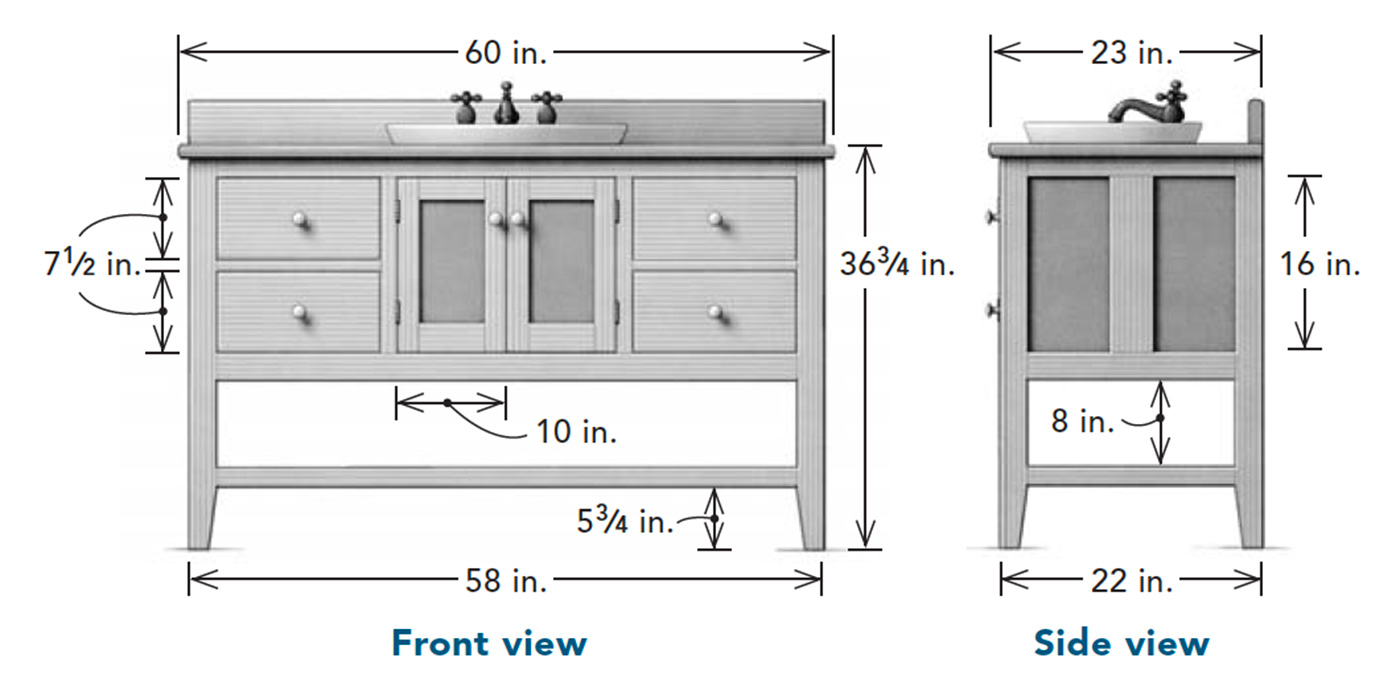
When designing this Shaker-inspired piece, I started with the same height, depth, and compatibility with standard plumbing fixtures that would be present on a store-bought vanity. From there, I added some details that you won’t easily find, such as mortised butt hinges, full-extension ball-bearing under-mount drawer slides, a solid-wood top, and a traditional milk-paint finish. Compared to the details on a production-line vanity, these small changes can make a big difference in the overall feel of the finished project, and they aren’t that hard to execute. My goal in building this type of project is to respect the principles of traditional woodworking but challenge some of the techniques to make the building process a bit less fussy. Although the drawing on p. 38 may look intimidating, the necessary techniques for this build are basic, and I’ve included tips and tricks to increase your accuracy. The result is a vanity that looks and feels like a handcrafted piece of furniture, but one that goes together with more ease.
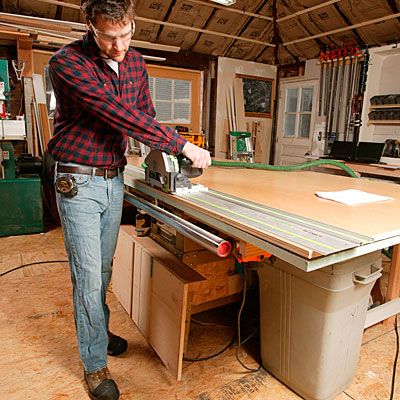
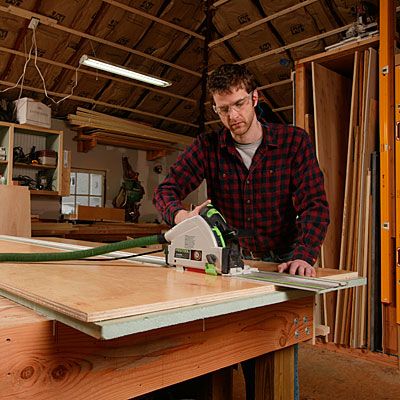
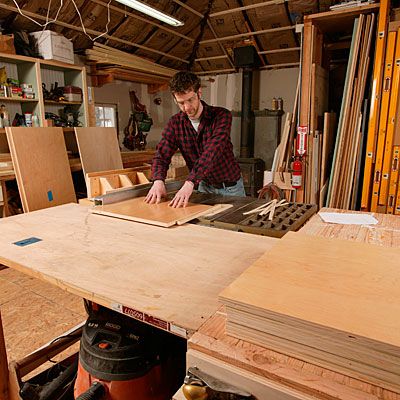
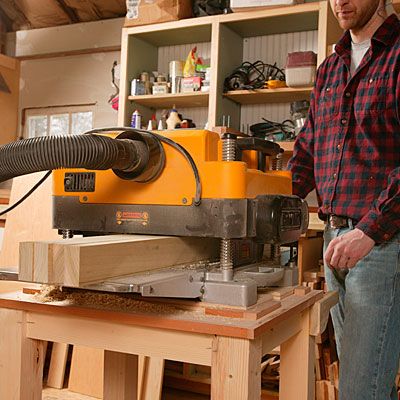
The most high-priced tools I used here were a track saw and a thickness planer, but even those are negotiable. If you don’t have a track saw, then you can break down sheet goods with a circular saw and a homemade cutting guide. Also, even though you may be purchasing rough lumber that requires planing on its face and edges, most hardwood suppliers will do this work for a reasonable rate (my supplier charges 25¢ per bd. ft.) if you don’t have a thickness planer.









View Comments
You show no accommodations for plumbing access in the back. Wouldn't it be easier to leave the center back open or did you plan on using a jig saw to cut holes for the necessary pipe(s)?
Looks terrific.
Really recommendable. He done a great job.