
Using a Drywall Router
Learn how to make quick, clean, and accurate cuts.
After a few early failures, I avoided using a drywall router to cut holes for electrical boxes, lights, windows, and doors. In theory, it should be simple: you hang the drywall, make a plunge cut with the 1/8-in. self-guided helical bit, and follow the edge of whatever it is you want to fit the sheet around. I’d tried one on a few occasions, with results such as mangled wires and wandering cuts. I reverted to doing things the carpenter’s way: laying out the holes with a square and a tape measure, then cutting them with a knife and a keyhole saw. This was slow, but at least I was on familiar ground.
Still, every drywall pro I knew used a router to make quick, clean, and accurate cuts. There had to be something to these tools. They don’t cost a lot either (about $60 to $110), and the bits are only a buck or two each. Tool use usually comes easily to me, so my failure with drywall routers was both out of character and frustrating. And I wasn’t alone; many carpenters I’ve talked with are buffaloed by these tools.
When faced with a big project of my own, I decided to take the time and figure it out. After a few missteps, I’m cutting holes in drywall faster and more accurately than ever. What I learned is summarized below. And if you want to get a sense of how others builders have tackled this problem, you might try FHB’s Discussion Forum where builders have discussed both equipment and technique.
Step 1: Set the bit depth
The tip of a drywall bit is smooth, so it can bear on the edge of whatever you’re cutting and guide the cut. Set the bit depth so that the smooth section will be about 1/8 in. beyond the back of the drywall.

Step 2: Mark a starting point
For cuts near an edge, mark the abutting sheet. For middle-of-the-board cuts, mark the center of the cutout before hanging the board. This is a starting point and a reminder that something is there to cut around.
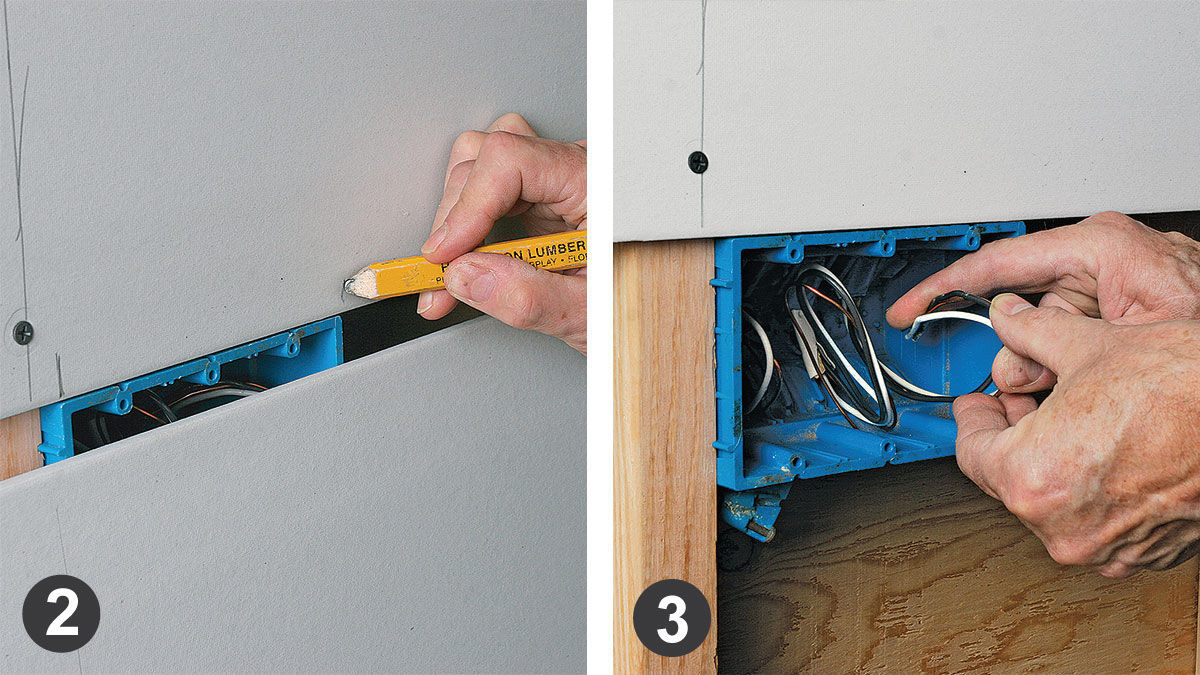
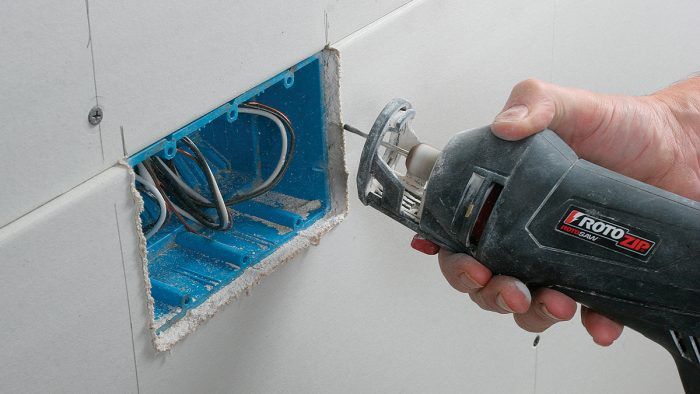
Step 3: Don’t mangle wires
Electrical boxes are the most common target for a drywall router, and that spinning bit can do some serious damage to wires. Make sure the power to the box you’re cutting around is off, and push wires to the back of the box.
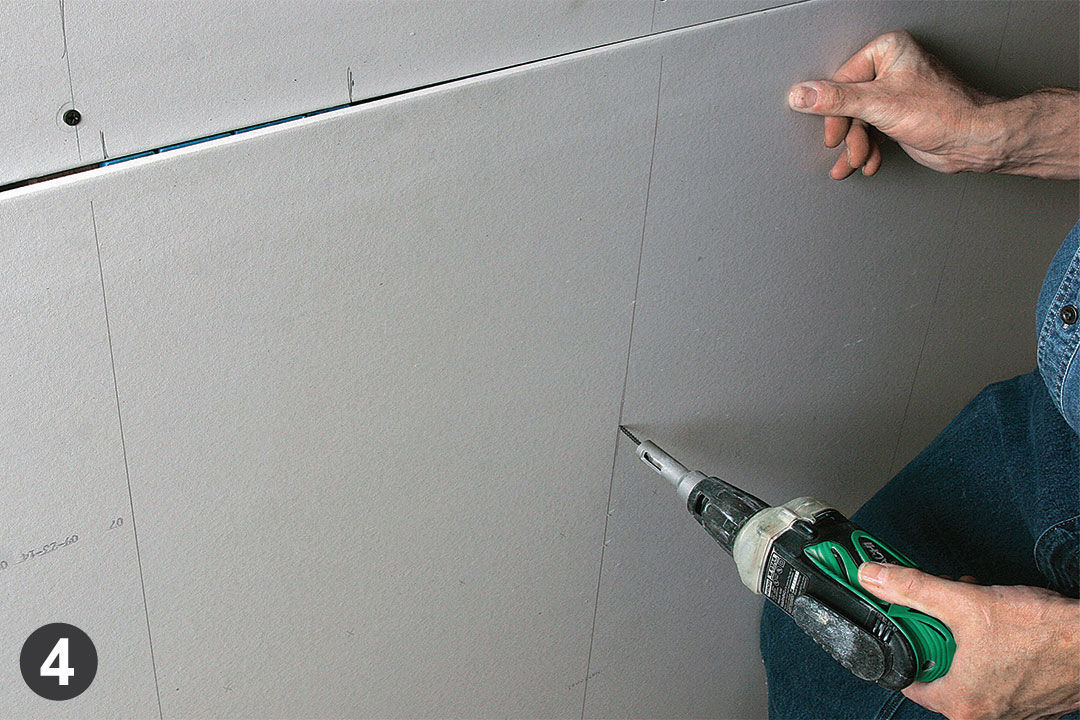
Step 4: Hang the board
Don’t sink screws too close to the area where you will be making the cut. Fasten too closely, and the pressure on the sheet can tear the paper face as the cut is finished. Finish fastening after completing all cuts.
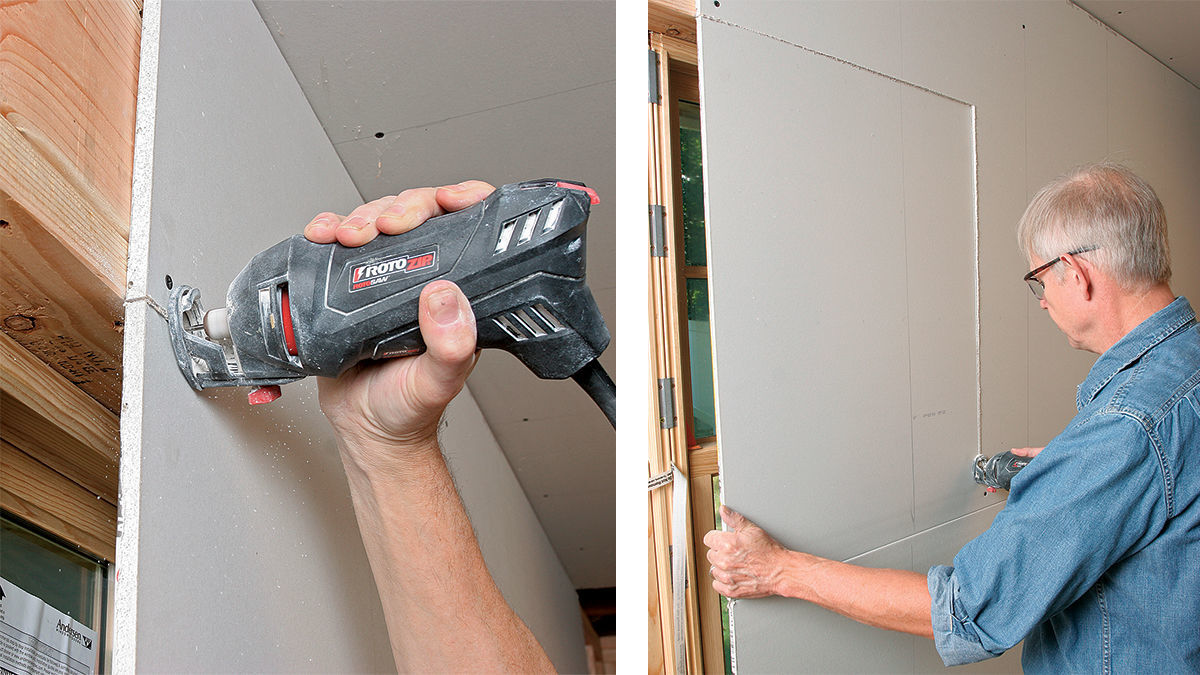
Step 5: Take the plunge
Push on the sheet with your hand or knee so that the drywall is tight to the object you’re cutting around. Turn on the router, and push the bit through the drywall.
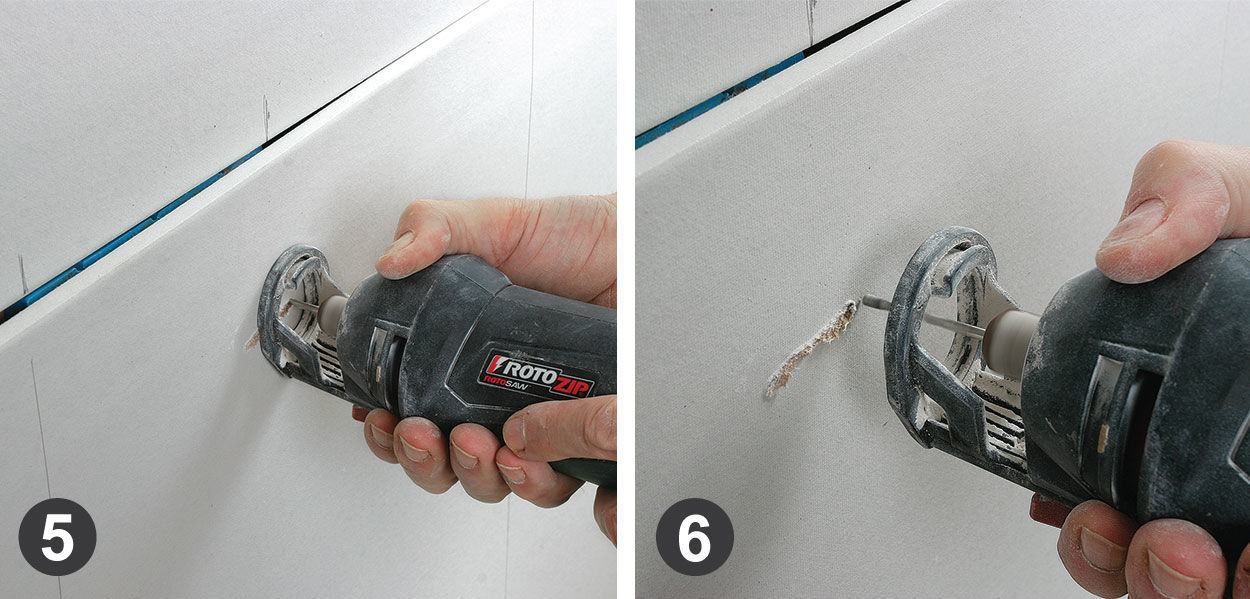
Step 6: Make the leap
Move the router outward until the bit hits an edge of what you’re cutting around. Pull the bit out, then reinsert it on the other side of the edge.
Step 7: Go counterclockwise on outside cuts
Moving in this direction requires only light pressure to follow the edge of the box because the bit rotation pulls it inward. If you cut in a clockwise direction on the outside the rotation will push the bit away from the box, causing you to overcut.
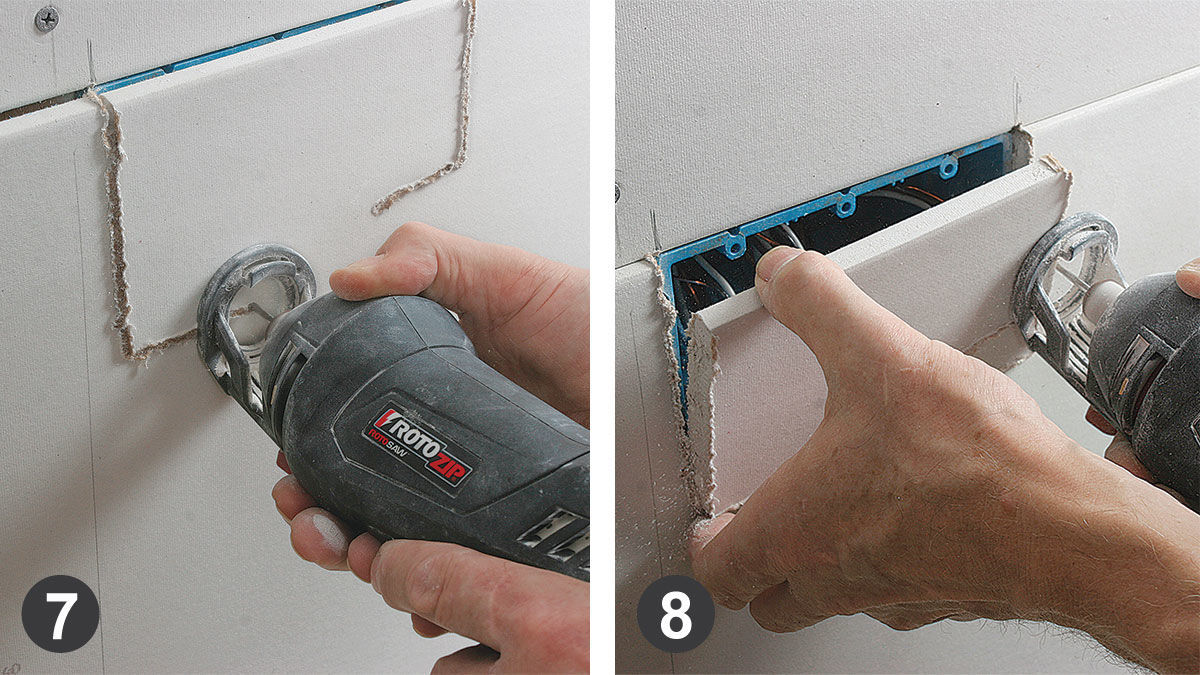
Step 8: Take your time
Slow the cut near corners, pushing the bit lightly against the object so that it turns as it reaches the corner. If the router stops moving easily, you may have hit a nib on an electrical box or a projecting piece of extension jam. Gently move the bit around the obstacle, then cut on.
Go clockwise on inside cuts
Unlike recessed lights, electrical boxes, and windows with jambs that extend beyond the stud faces, rough openings are cut from the inside. Set the bit deeper so that the tip clears the eased edges of framing lumber, and cut clockwise.
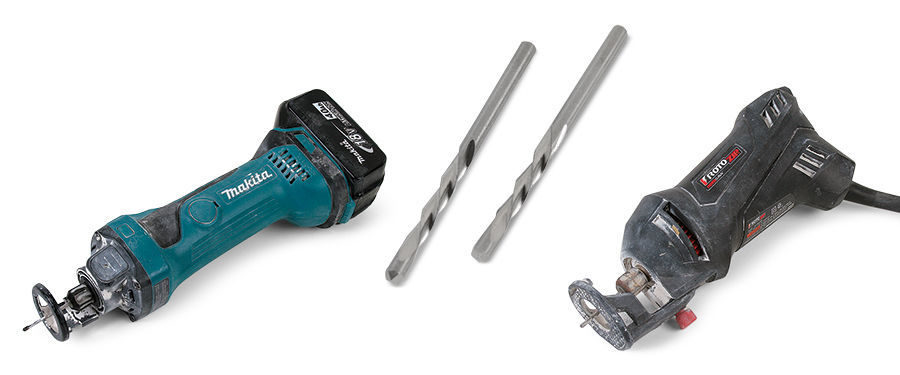
Drywall routers and bits
The RotoZip is the granddaddy of drywall routers, so much so that the job-site term for a drywall router is a RotoZip. A number of companies now make drywall routers, however, and there are even cordless versions, such as Makita’s XOC01T, which I tried out on an earlier job. Both tools have their place. The RotoZip has more power, and because it’s corded (the 6-ft. cord could be longer; drywall screw guns come with 16-ft. cords), there isn’t a battery to run out of power, which makes it a better choice on a larger project. On the other hand, the Makita has enough power, the batteries have plenty of life, and not having cords to trip over is hard to overrate, particularly on remodeling jobs in tight spaces. Both tools use the same 1/8-in. helical bits that guide the cut by riding on whatever you’re cutting out. In addition, there also are corded and cordless models from DeWalt, a cordless model from Milwaukee, and a cordless model from Ryobi.
Product photos: Dan Thornton
All other photos: Rodney Diaz
More on drywall:
Invisible Drywall Seams – Drywall contractor Myron Ferguson explains how using the proper tools and materials in the right sequence will take the worry out of finishing seams between sheets of drywall.
No-Fall Drywall – Making a wiggly line with your router is the key to keeping a piece of drywall from slipping before it’s fully cut.
Eight Ways to Patch Drywall – Here are some variations on the sometimes frustrating process of patching holes in drywall.

View Comments
I second that cordless being more convenient for tight jobs. When using a lift and having a tangle of cords on the floor is rage inducing! We recently started using all cordless screwguns and router and it's so much nicer!
Good idea! keep it up!
This is not the easiest method. this is the perfect tool for the job. https://amzn.to/2V0Hv01 a Qbit attachment for your multitool I've pasted a link to the Low Voltage Qbit but they also have double-gang and a slightly larger one for electrical boxes.