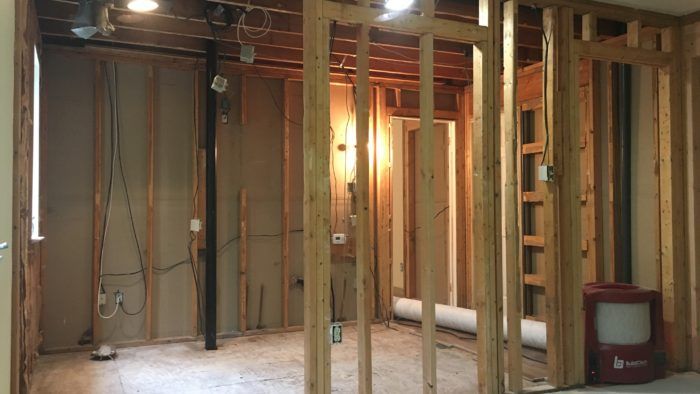
On all of our remodel projects we heavily stress maintaining a neat and tidy worksite. This is extremely important during the demolition phase of the project. Demo is the messiest portion of work for obvious reasons. With proper planning, adequate floor protection, dust barriers, a controlled demolition, and some patience you can achieve a nearly dust free demolition. Not only does this make you look neat and professional, it also shows that you care about your customers’ home, health, and safety.
Step 1
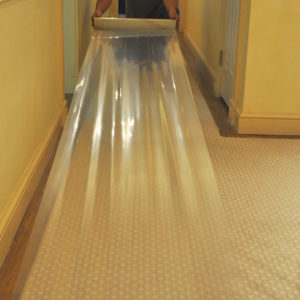
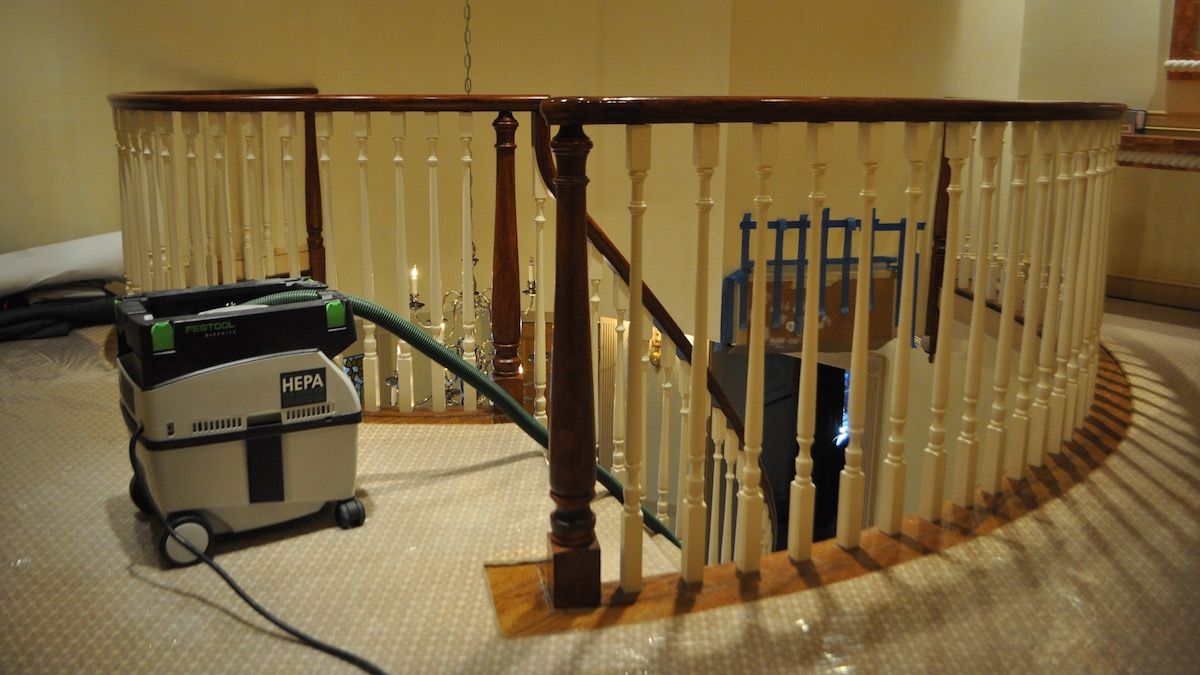
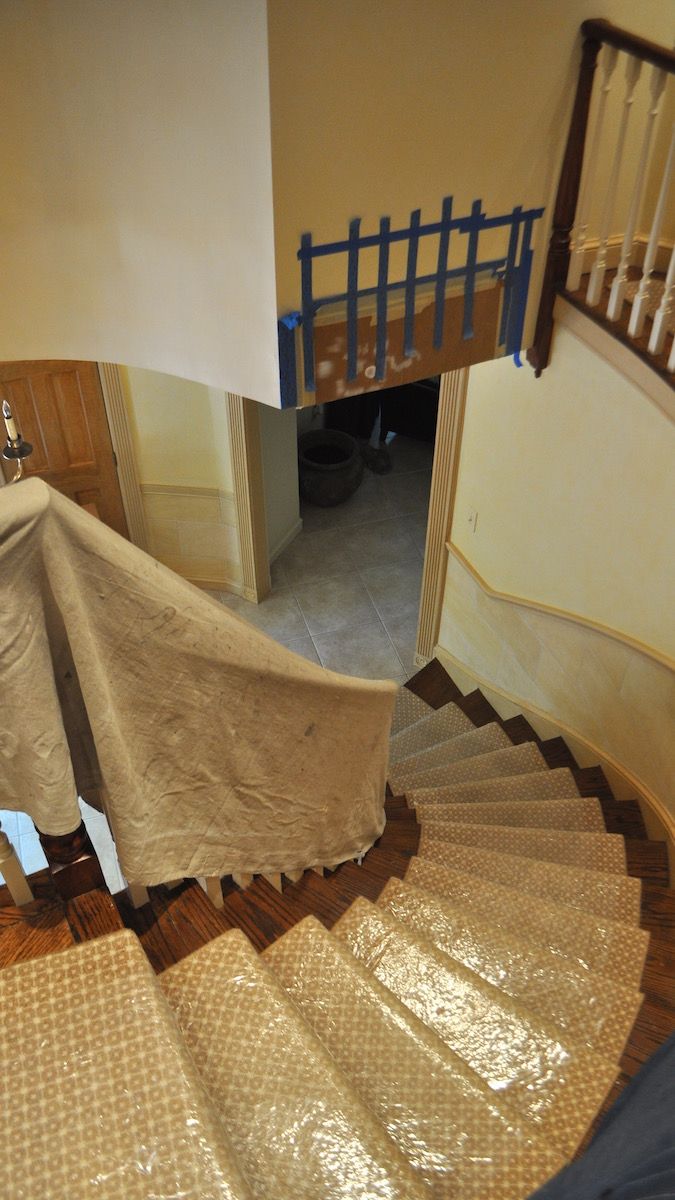
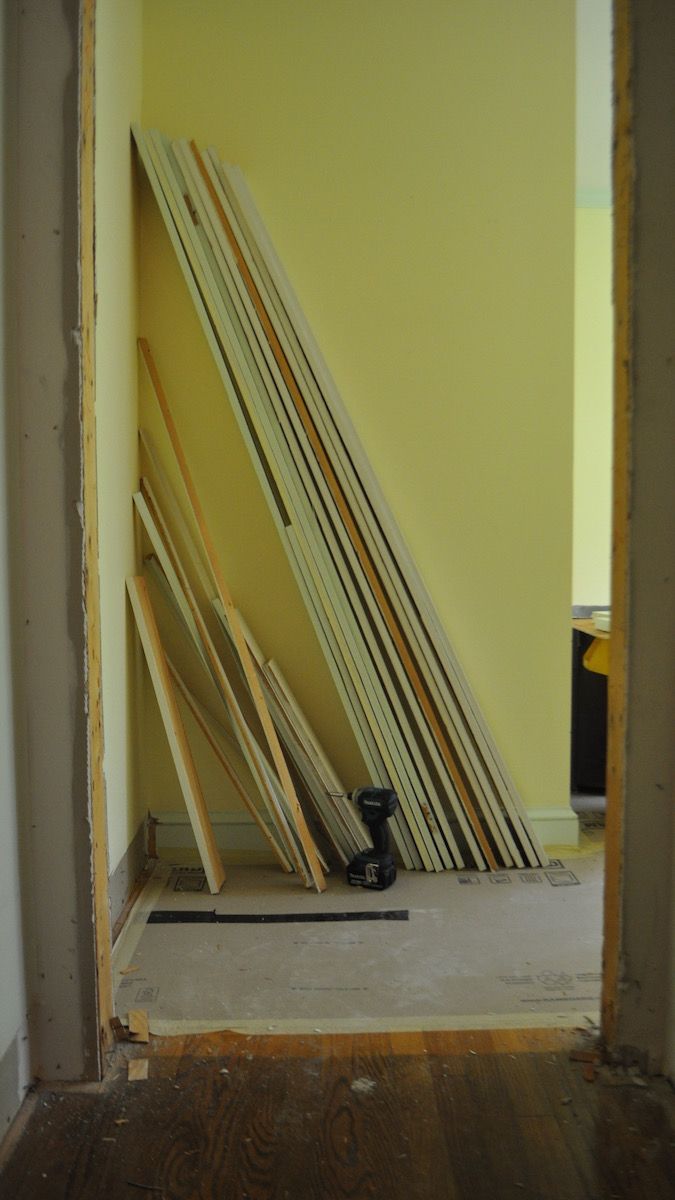
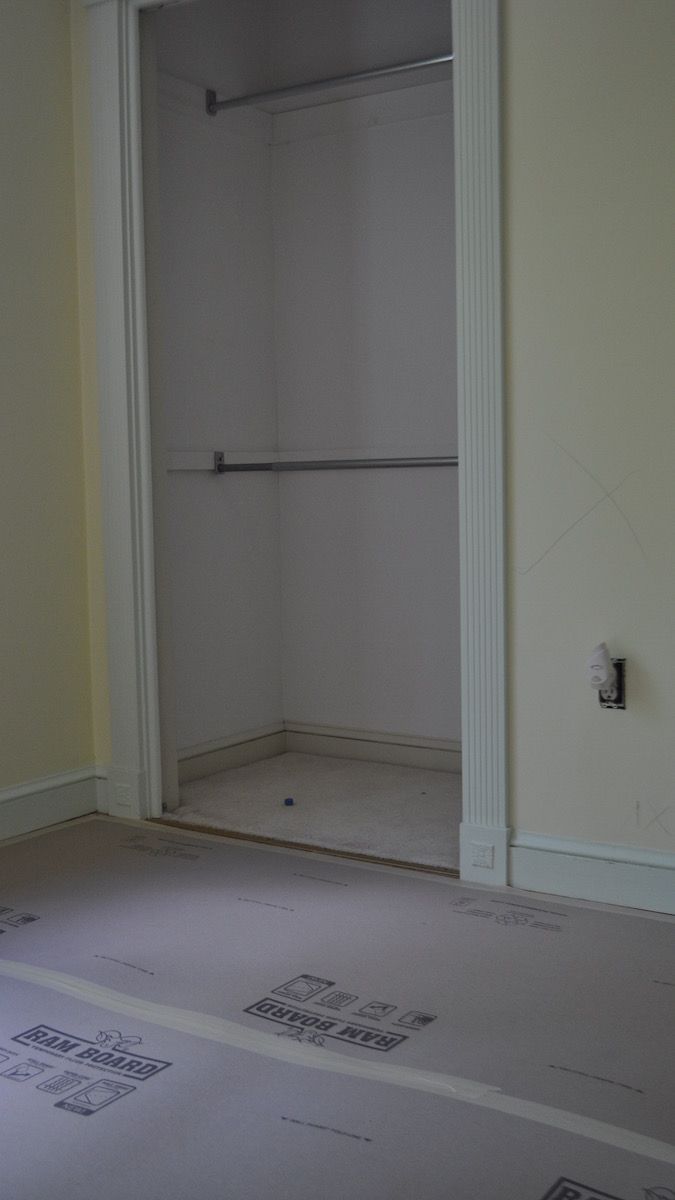
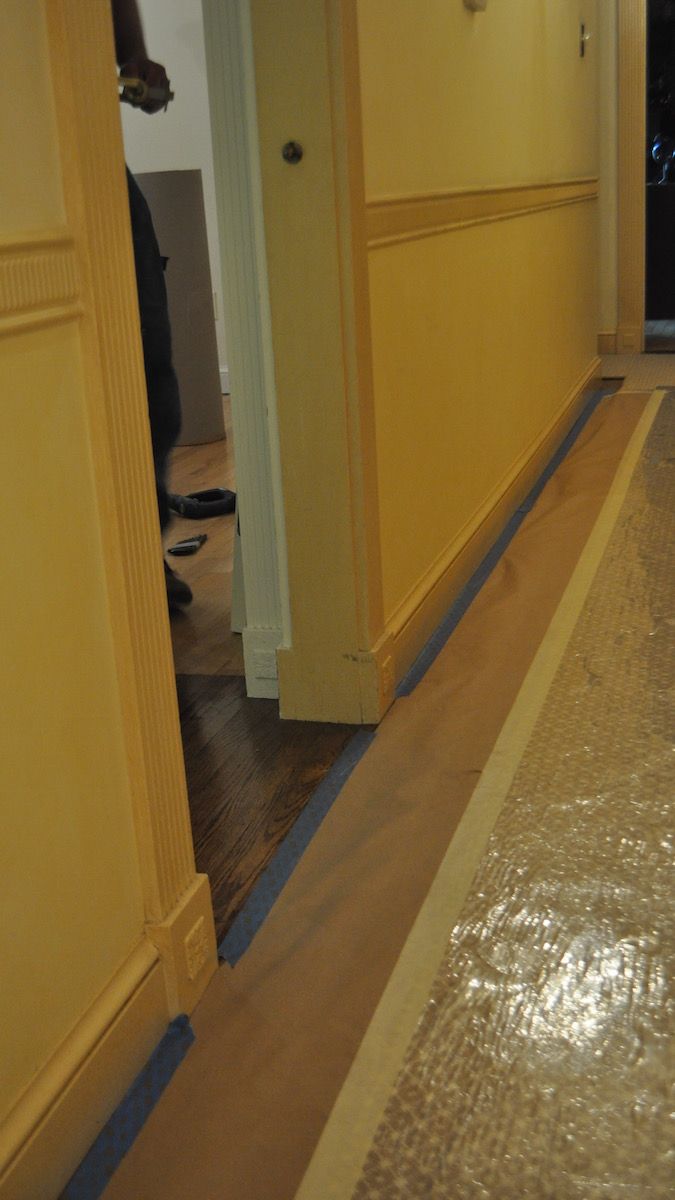
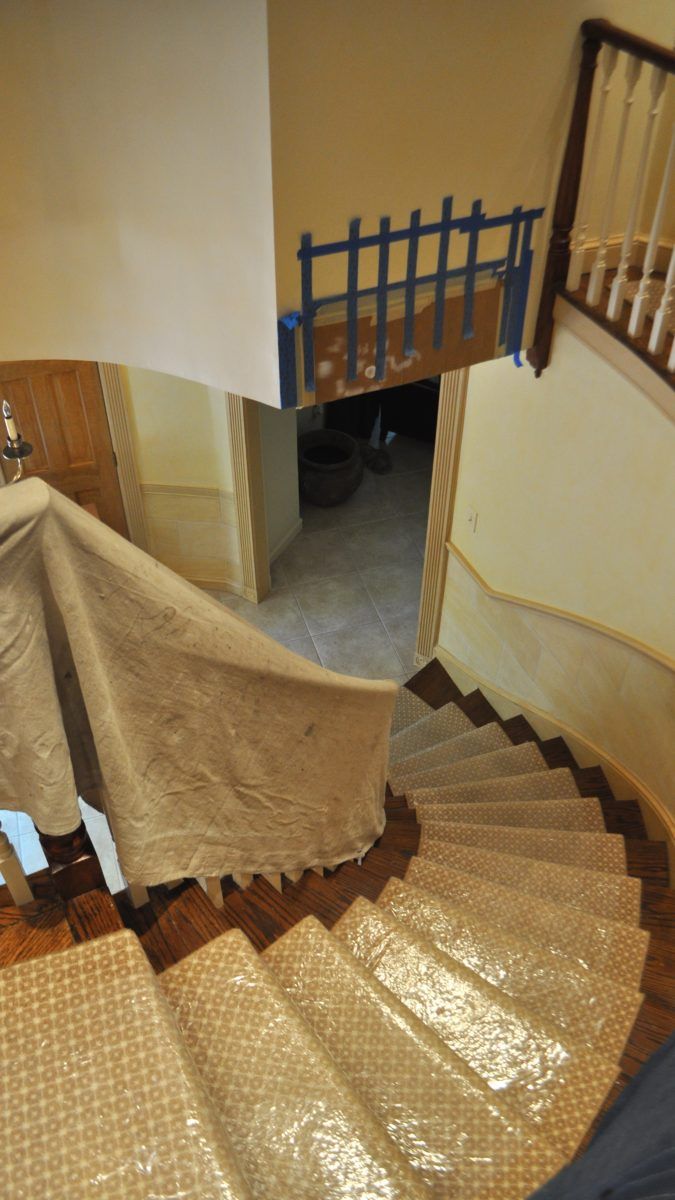
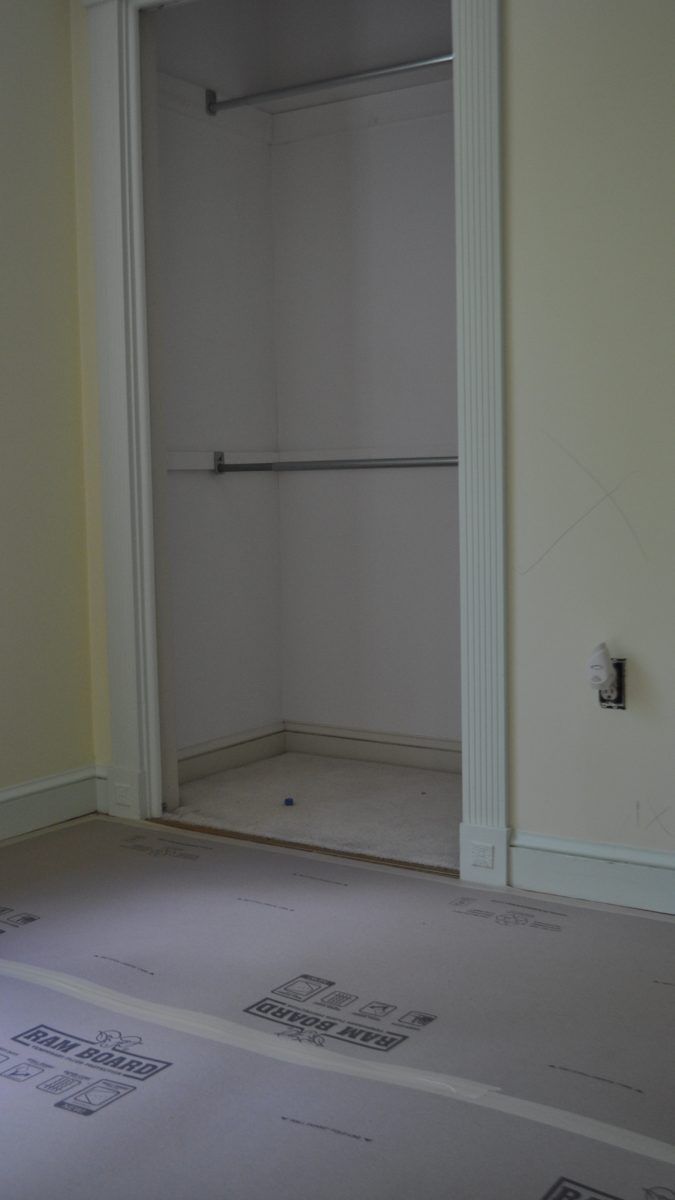
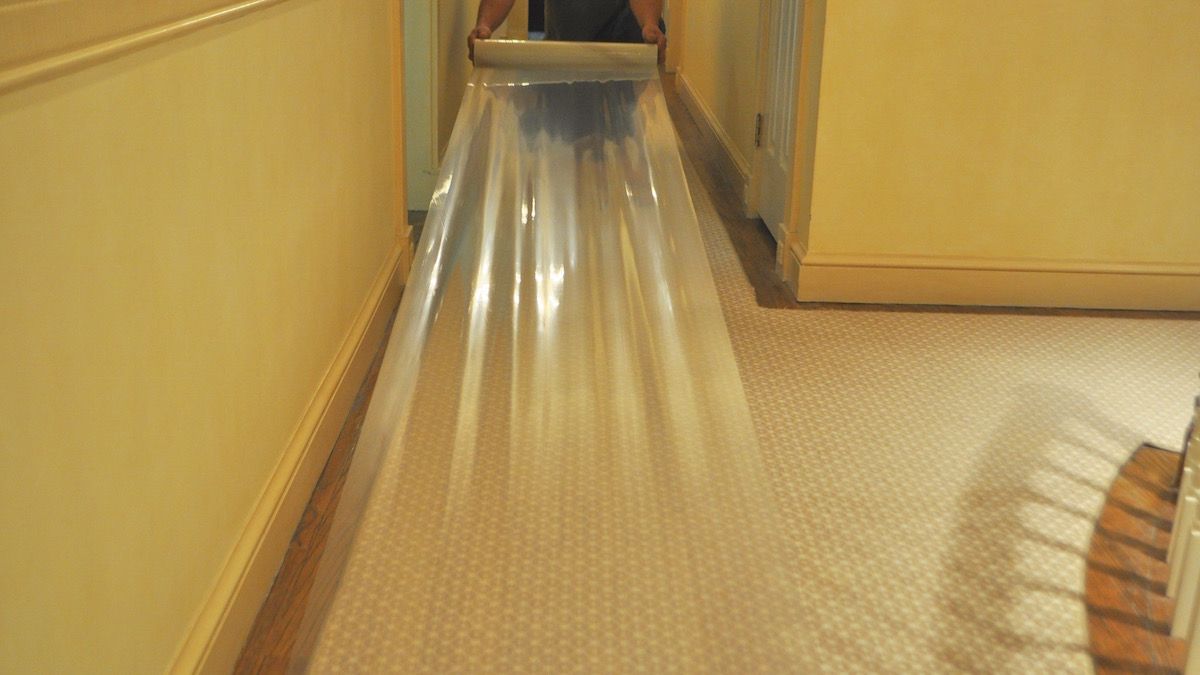
Set up floor protection throughout the home. This includes any and all areas that will have foot traffic throughout the project. Carpet protector on carpet, econo runner on hard surfaces that need to be cleaned up/free of trip hazards at the end of each day, and ramboard on hardwood flooring.
Step 2
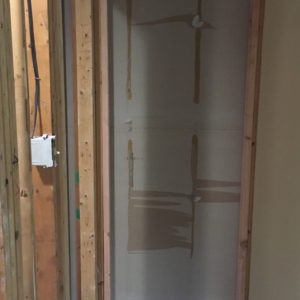
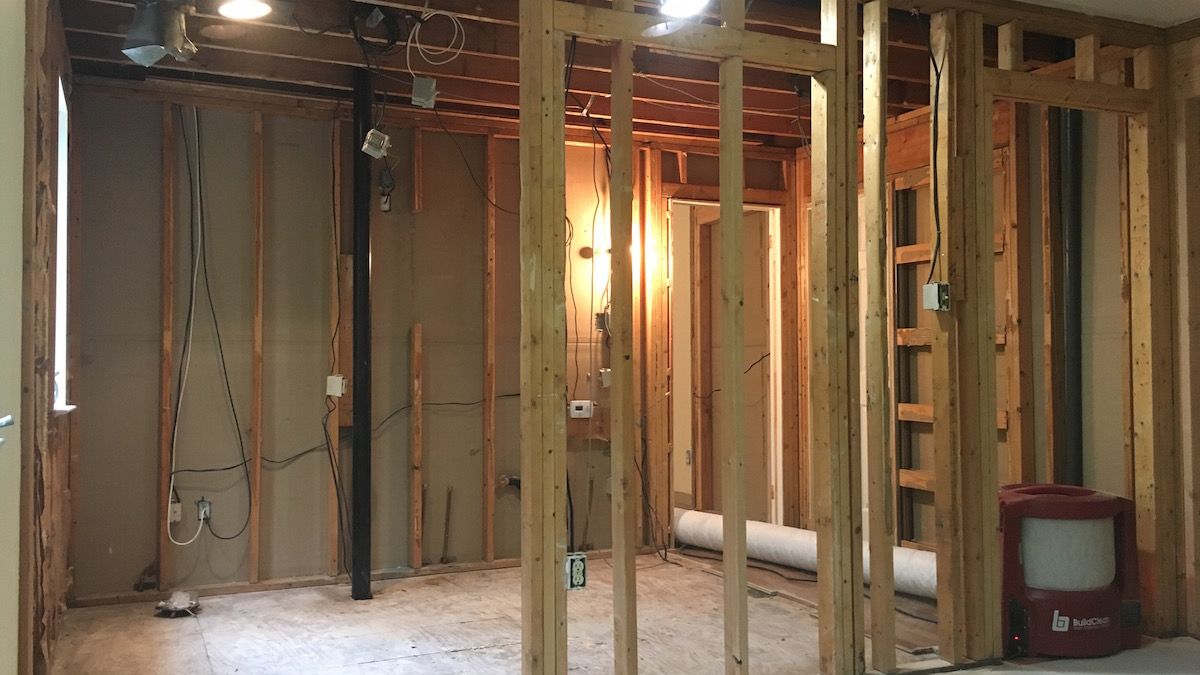
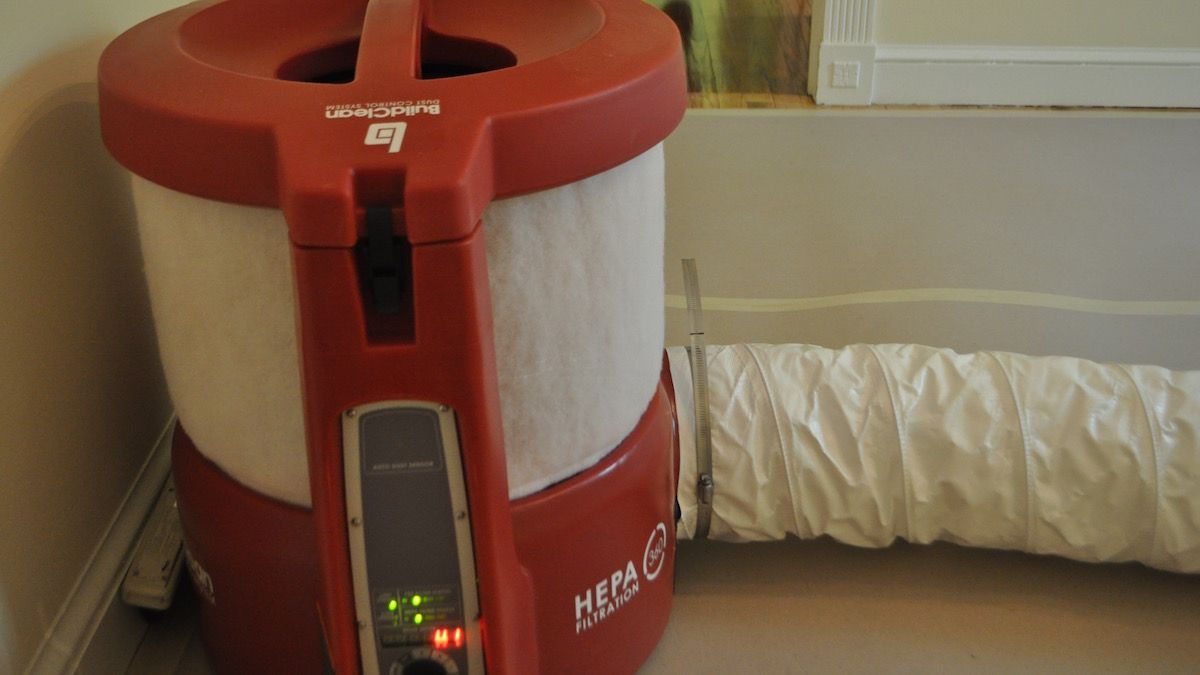
Isolate your work area with polyethylene sheeting from floor to ceiling. On this job we were able to seal off the entry door to the room, and install a temporary plastic door on the other opening. We used a combination of staples, tape, and third hand poles to secure our sheeting. We also ran an air scrubber in the work area that was exhausted to the exterior to create a negative air pressure within the space.
Step 3
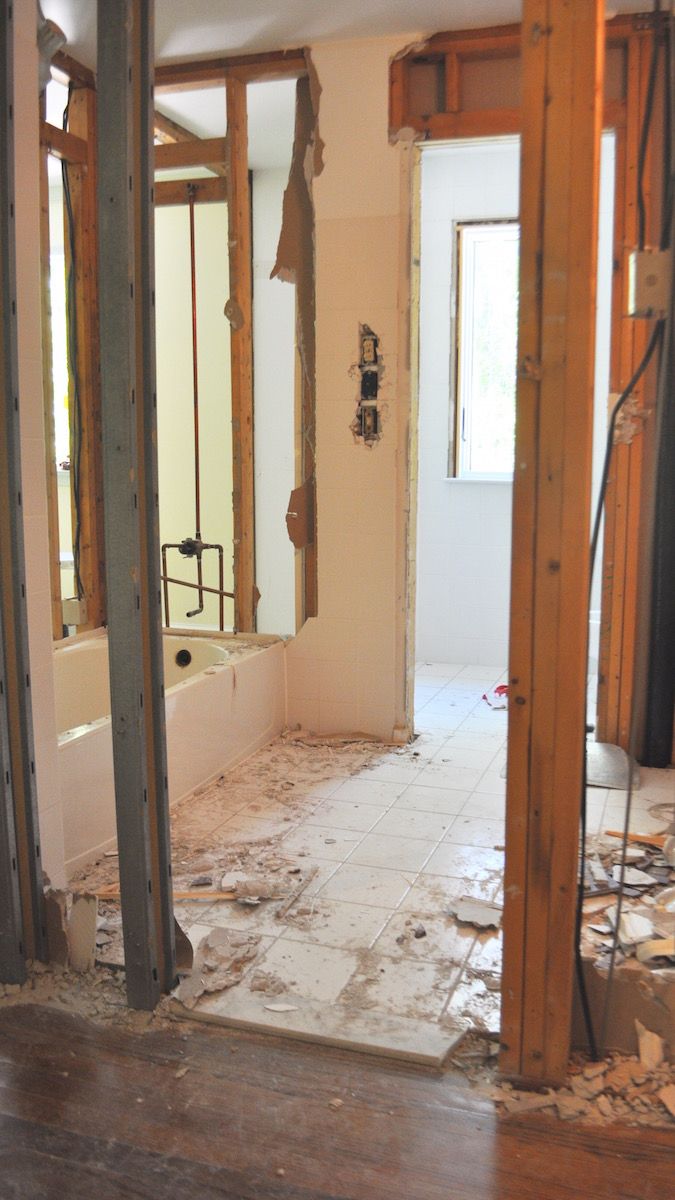
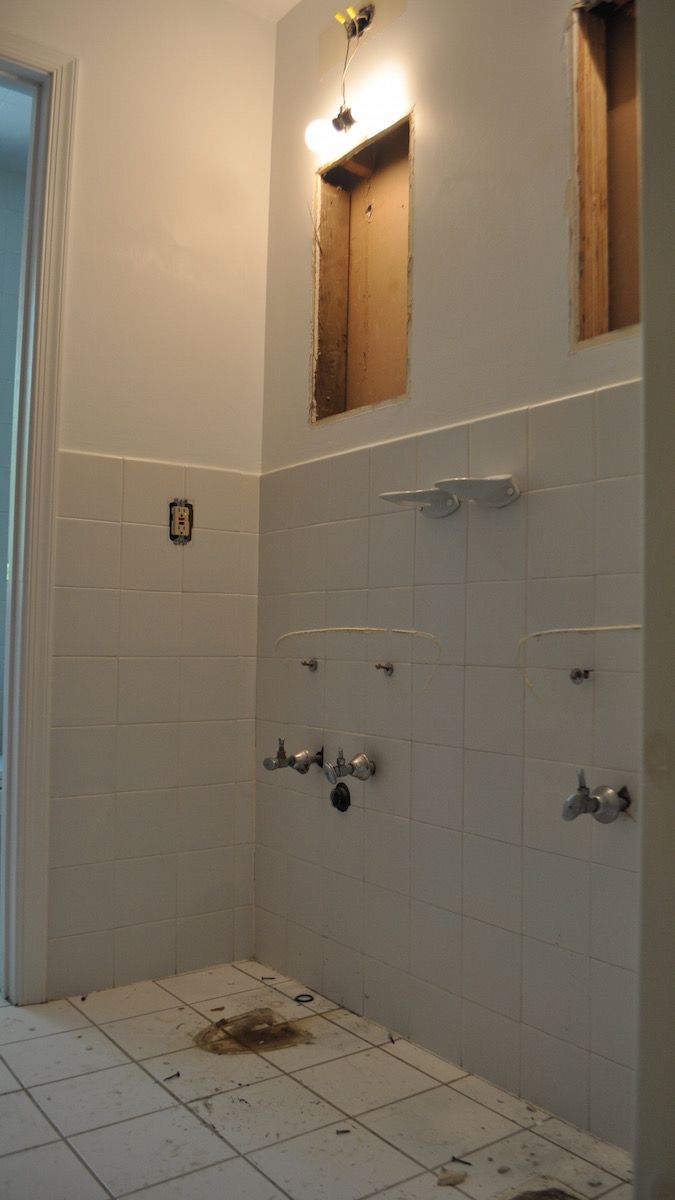
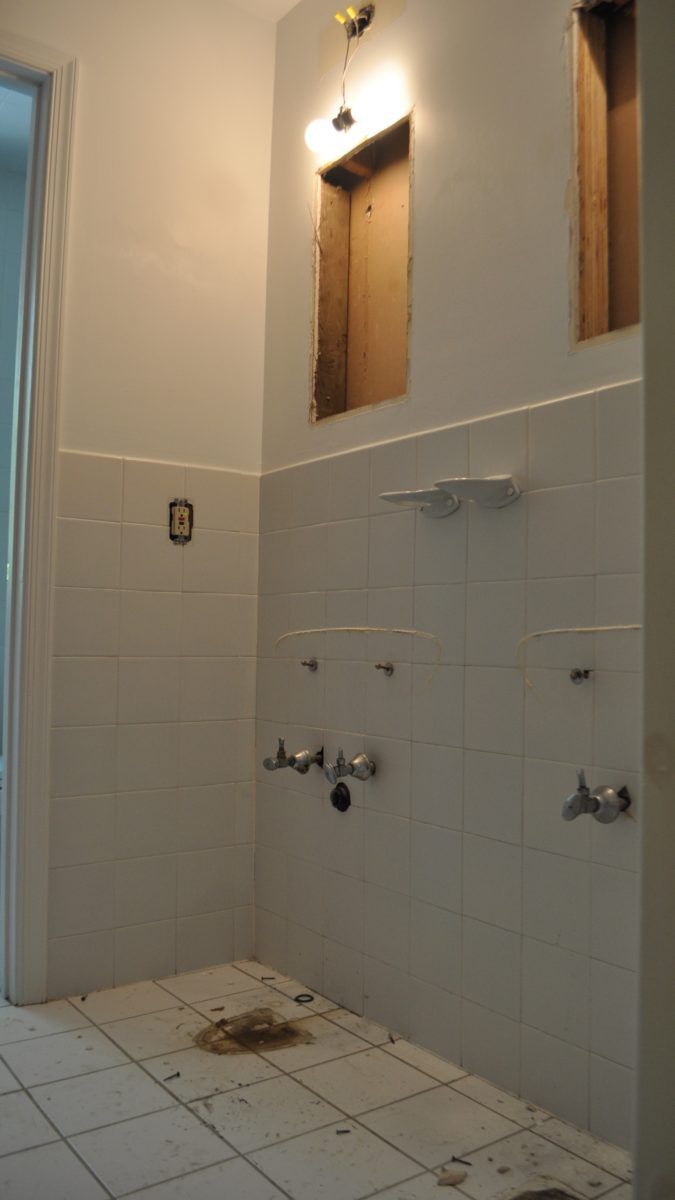
Remove any casing or mouldings that need to be salvaged, remove electrical fixtures, remove plumbing fixtures, and demo any larger items that must be removed in order to demo the walls.
 Step 4
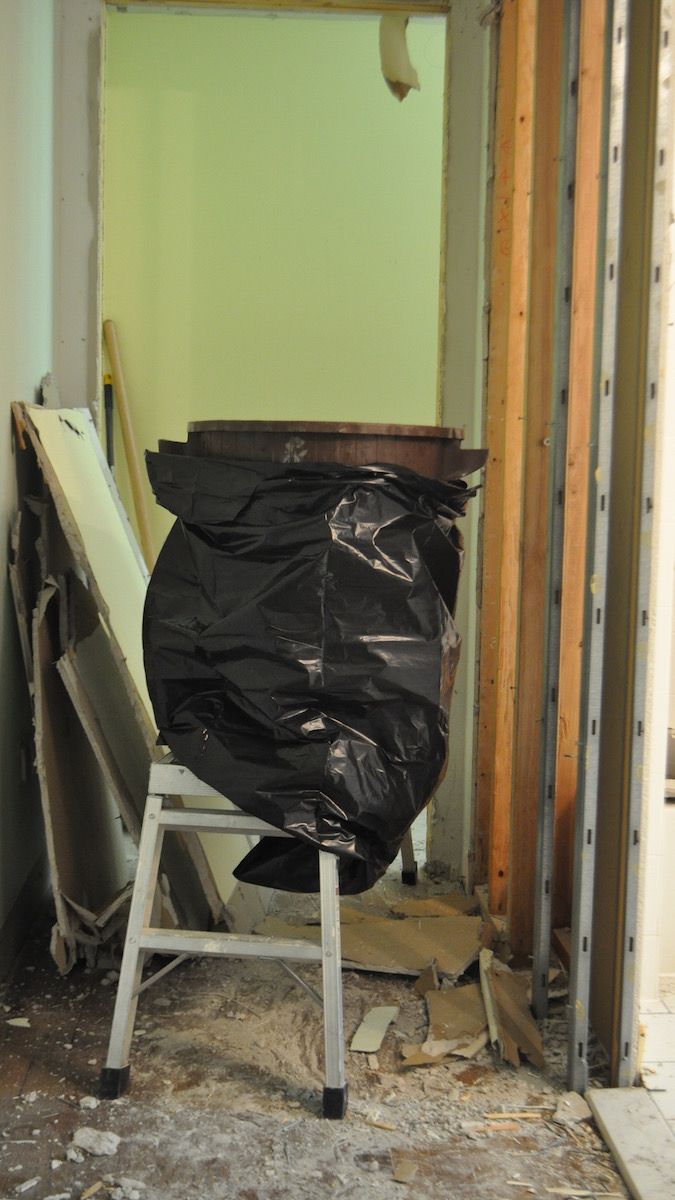
Start removing walls. On a job like this one on the second floor, we put plastic garbage bags around our trash cans to prevent any dust or crumbs from escaping the can while transporting the debris from the second floor, down the driveway, and over to the dumpster. We never simply carry down handfuls of debris, drywall, or plaster.
Step 5
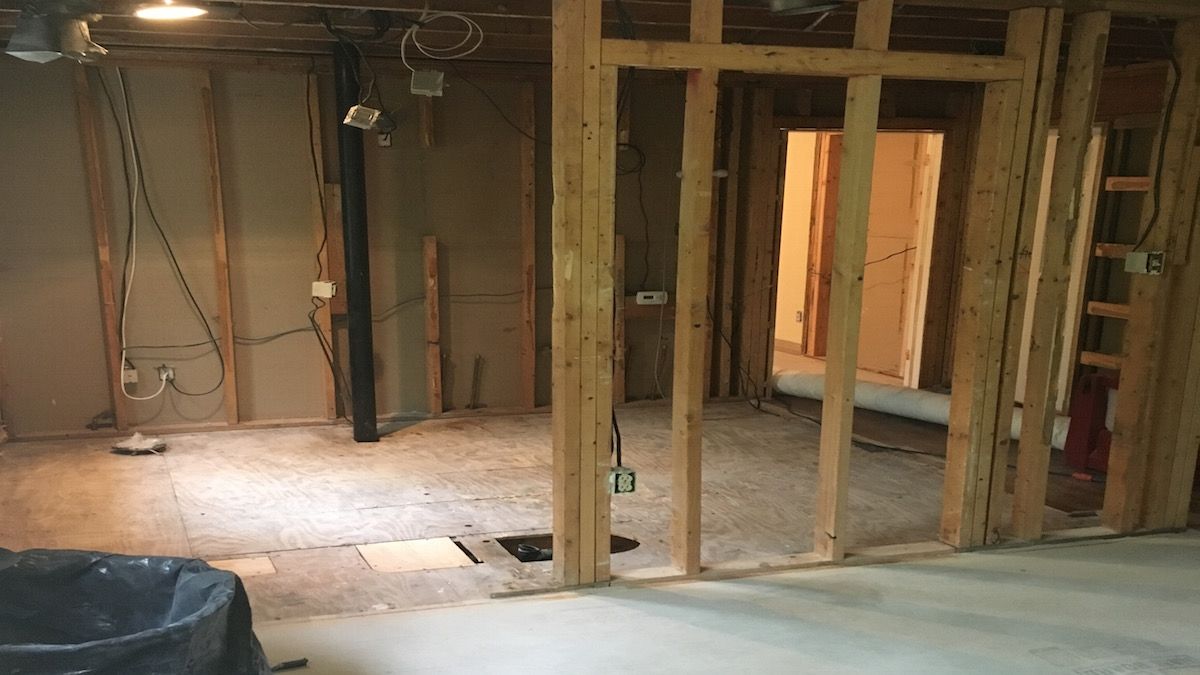
Demo the flooring and underlayment down to the subfloor. At this point we give the area a pretty good sweep/vacuum. This minimizes the amount of dirt and debris that we are tracking around the area.
Step 6
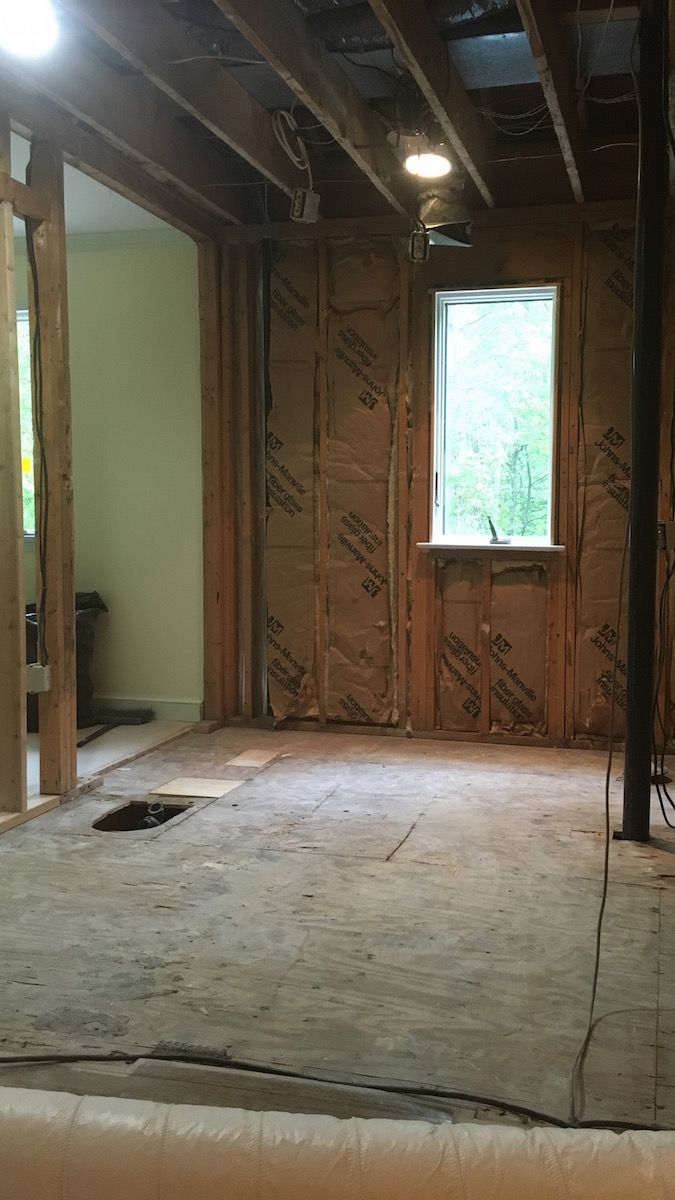
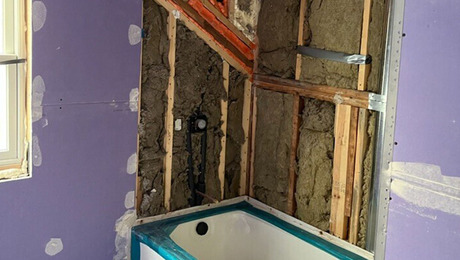
A large portion of demolition is removing the ceiling and insulation. I like to keep this intact whenever possible until the end. It keeps the area conditioned if there is attic space above, and it maintains the negative air pressure in the room.
Step 7
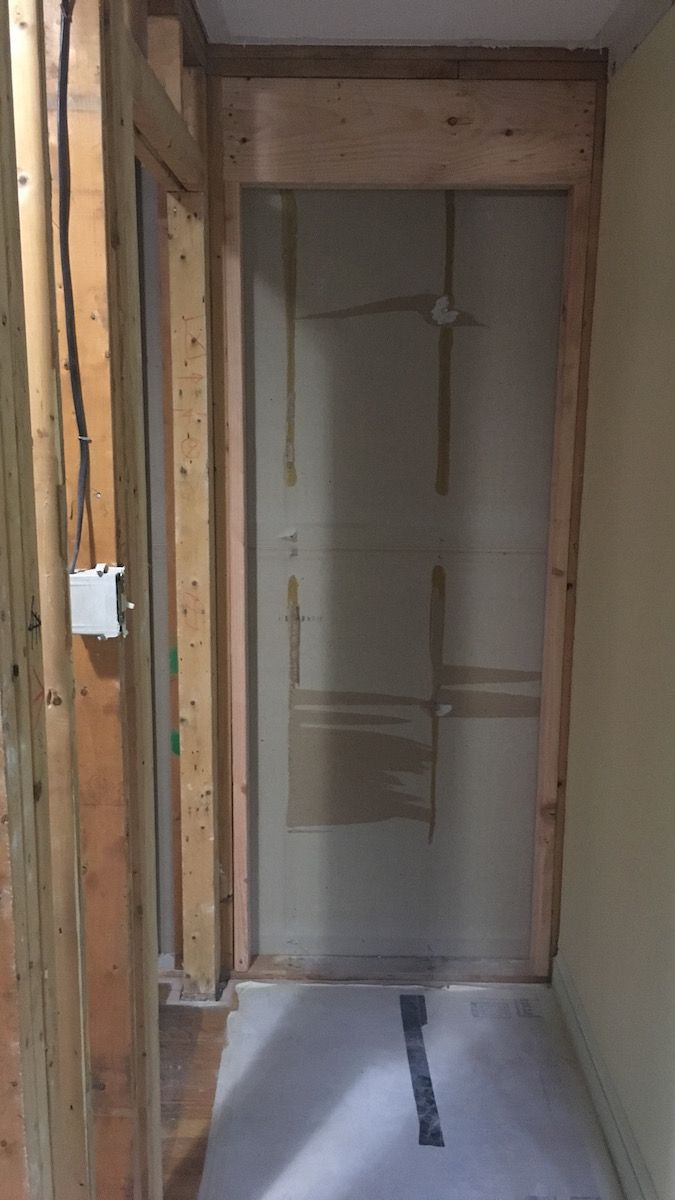
Now we remove any random studs, subfloor, nails, screws, etc. This ensures that we are ready to go for our plumber and electrician to come in and demo/rough-in the new work. One thing to note with this bathroom is that we opened up two new doorways into the hallway in a load-bearing wall. We kept the drywall intact as long as possible on the hall side prior to removing it to keep the space sealed off from the rest of the house.
 Step 8
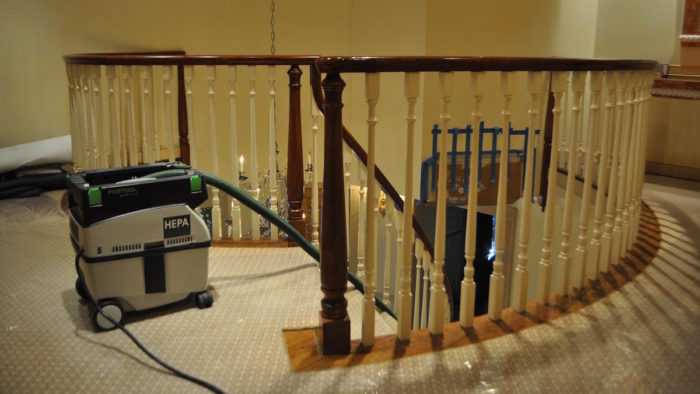
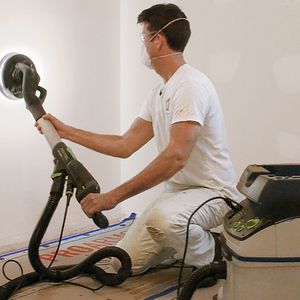
Vacuum the entire work site including all paths of travel from the demolition area to the dumpster. We use a vacuum with a HEPA filter to ensure an extremely clean environment. We then wipe down any hard surfaces, and thoroughly clean the rest of the area.








View Comments
This is very helpful. The pictures especially. Thank you.
I apologize for the delayed response. I am still new at navigating this platform. Thank you for reading.