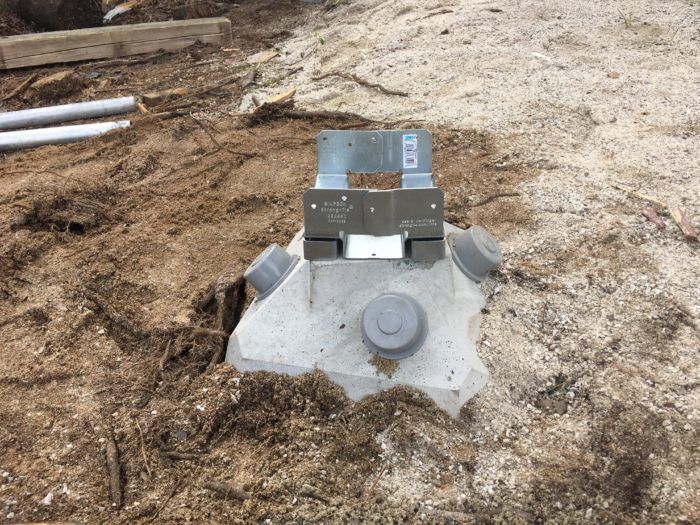
Every deck starts with good footings. Whether you’re resurfacing an old deck with composite decking or just fixing rotting railings, the first thing you check at the estimate walk-through is the footings. There’s no point in pouring money into the deck without sound footings.
The Problem
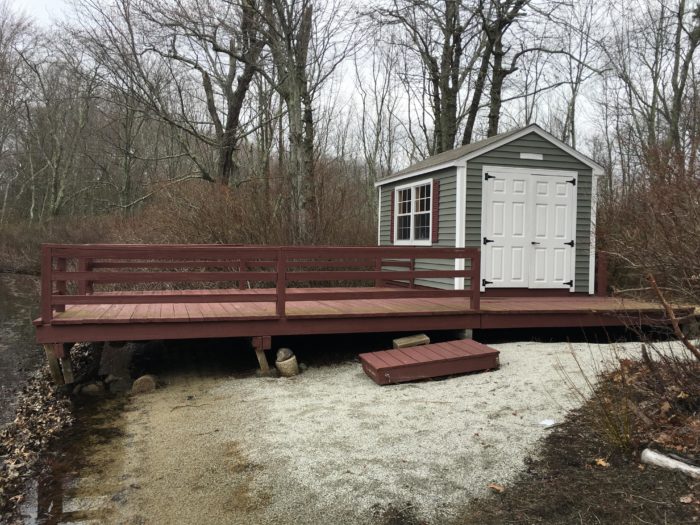 We were asked to update a deck to match the home we renovated a year before. The problem was the previous owner’s contractors used “Band-Aids” to try to solve an ongoing footing issue instead of doing it right. We had to solve this issue before any money was spent on updating the deck with decking, trim, and railings. How would we solve this problem that other people couldn’t for years?
Understanding the soil is the first question, and with this deck being right on the edge of a pond we wanted to be cautious as to how much disruption we caused. We didn’t want to dig footings and install tubes forms (the most common footing) or prefabricated concrete footings. We also didn’t want to drill in helical piles (the drilling part was frowned upon this close to the pond).
The Answer
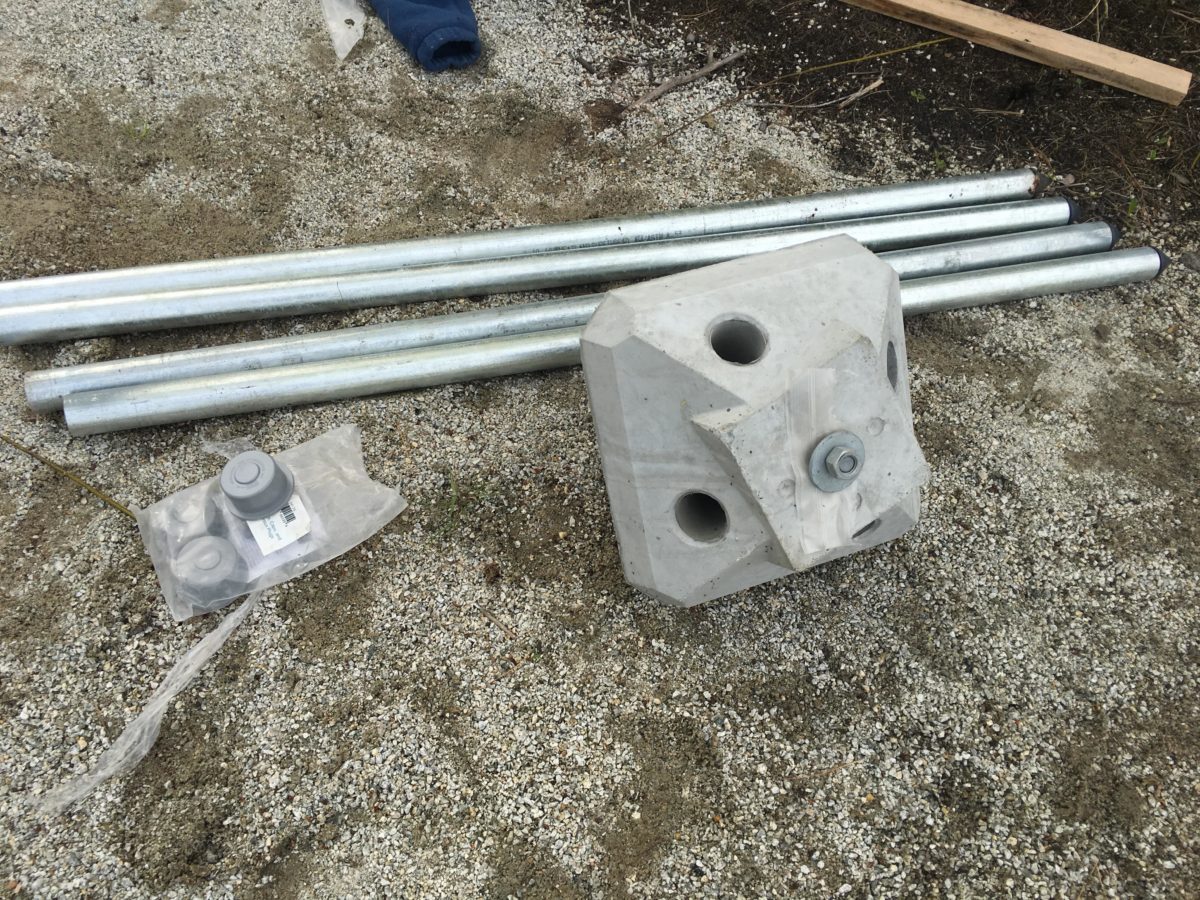 After some research, Diamond Pier stood out as a perfect product for our situation. But it wasn’t a slam dunk, we still needed to confirm soil and some more research on a product we had never used before. This system uses a concrete pier head that sites 2/3’s below grade and bearing pins that are “hammered” to a depth of 36 in. to 63 in. This was perfect for our use–minimal disruption.
Diamond Pier has a great website, and with the help of local representative, Michael Donoghue, we were able to confirm soil conditions and the correct model to use for our application. It’s simple; if there is evidence of stones or boulders, this system doesn’t work. Our site showed signs of stones but also silty sand. Mike, the local rep., dropped off a pin to drive by hand to confirm the soil on the surface matches what’s below ground. We confirmed easy install of the pin with approximately 16 blows from a sledgehammer. This was great news, so we ordered the (12) piers needed at the pin length of 50” to defend against frost.
 Tools
Tools
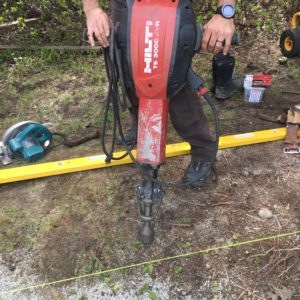
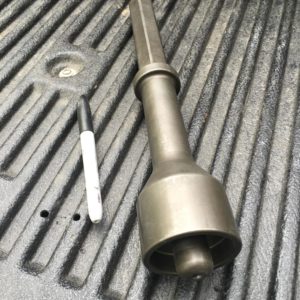
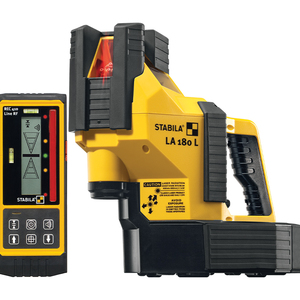
What did we need for the install? We needed to rent an electric hammer drill and purchase the Diamond Pier driving bit. Both of these items are a must for the install; you can’t drive the pins with a sledge due to the fact you will disfigure the tops of the pins, and the driving tip is a one-off piece only available from the manufacturer.
Finished Product
Honestly, these footings/piers from Diamond Piers couldn’t have gone any smoother. Getting (12) footings installed in well under two hours was a huge success. This speed and ease of installed saved us a couple days. To give you the big picture, normal footings would have take us two days to dig with a mini excavator and then another day to pour footings then backfill. Piers took 1.5 hours–leaving us with seven hours on day two (after demo) to frame the whole deck. That’s a night and day difference! Check these piers out if normal footings don’t fit your site conditions.





View Comments
Thanks for the introduction to these. I will keep them in mind
Nice writeup!
A video of the installation would be nice.
It's not clear from your writeup: is the deck seen in the photo the existing deck you were asked to update or an entirely new construction after demo of the original?