Using Tile Leveling Systems
Whichever leveling system you use to keep tiles flat, you still have to remember the basics of tile setting.
For the first six years of running my company I did all of my own tilework. A lot of reading, research, practice, and patience produced great results, but I never truly loved it. I continued to set my own tile in order to avoid scheduling delays, and I knew the finished product would be to my standards. I recently took a short hiatus from doing my own tilework so that I could keep up with the demand for all of my other remodeling projects. Long story short, after re-evaluating the purpose of owning my own company and my desire to produce the highest quality product possible, I have decided to get back into setting my own tile. Maybe this will change again in the future, but for the time being this is the smartest decision that yields the best results for me.
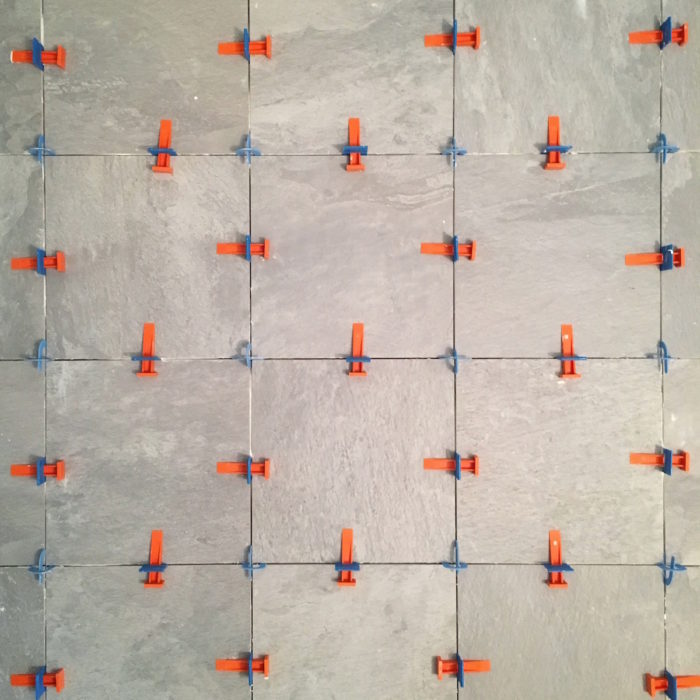
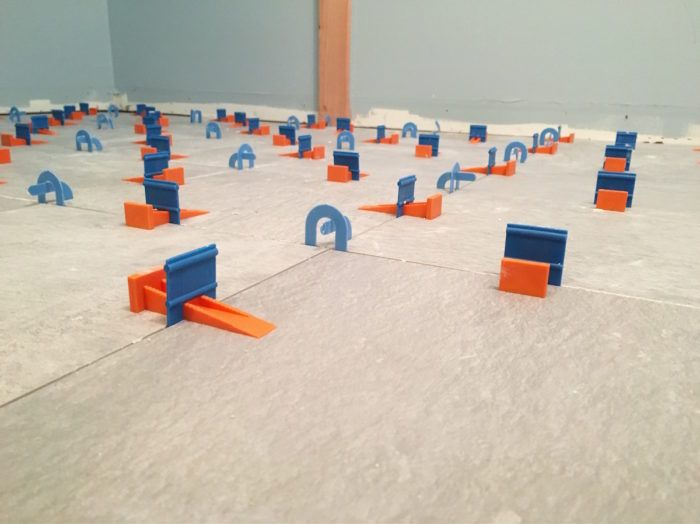
As I am sure everyone has noticed, there has been a wave of tile leveling systems to hit the market recently. Each system has pros and cons, and each professional has their own brand of choice. On my latest project I was able to test out some of these spacers for the first time. I am not here to tell you which is the best, or whose product you should use. I am here to tell you that regardless of which system you decide to employ, you must still to remember the basics of tile setting.
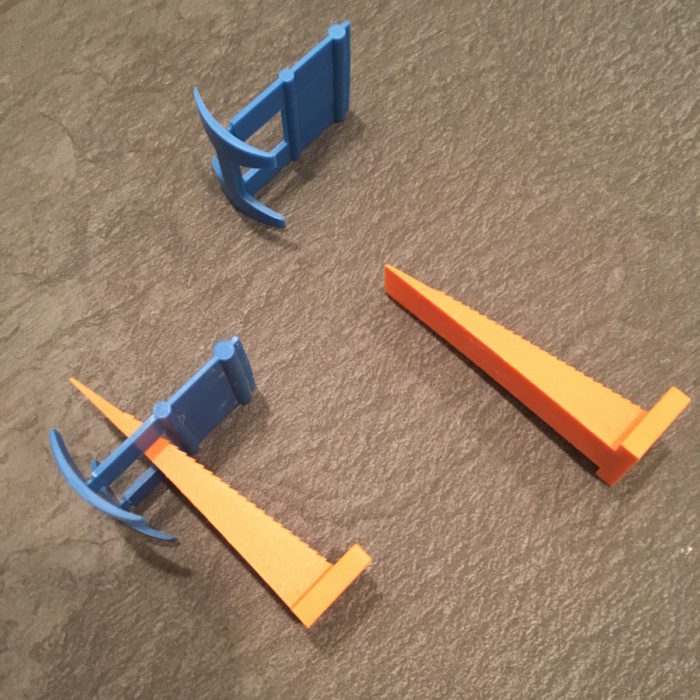
These systems are composed of two parts; one is the actual spacer that locks in below adjacent tiles, and the other is a wedge that slides into the top sandwiching the tiles between the two parts. They essentially “pull” the tiles from below, and “push” the tiles from the top so that they are all on the same plane. This reduces the amount of lippage from one tile to the next. This is a revolution in the world of tiling. When used correctly, these systems improve the overall quality of the install and speed up production, but here comes my disclaimer.
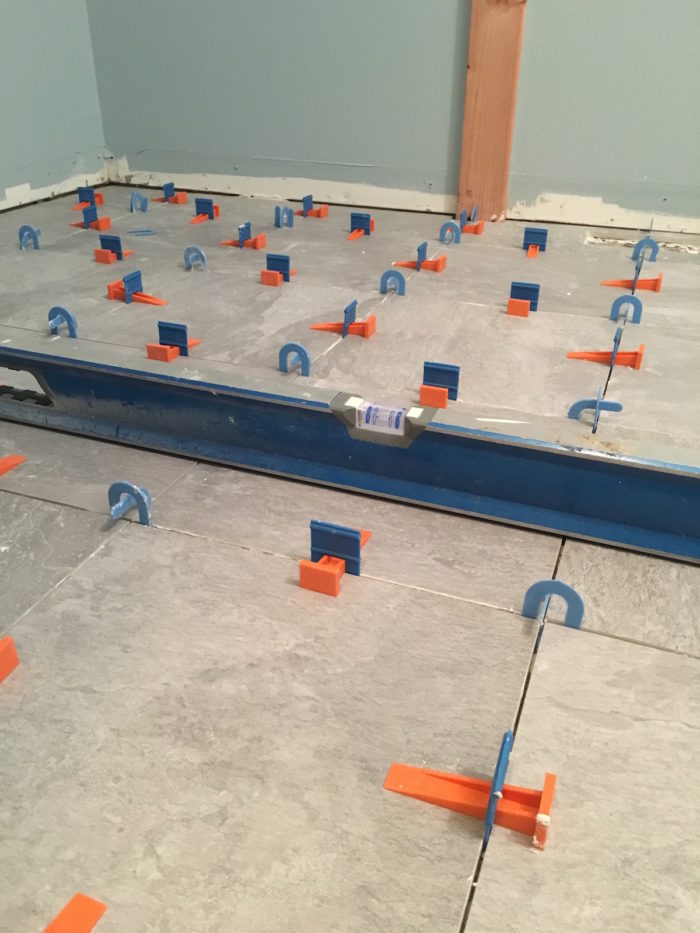
[Please excuse the amount of times I use the word “flat” in the next few paragraphs. There is no other word to articulate the simple description of what needs to be conveyed.] The number one rule of tiling is that the final product needs to be FLAT! Level and plumb are important, but sometimes unobtainable due to existing conditions. Flat is non-negotiable. Lippage is a result of the subfloor or substrate having high spots and low spots. Prior to these leveling systems, you had to ensure that the tile substrate was as flat as possible prior to setting any tile. You then had to hand set and adjust each tile to minimize lippage. Back buttering, lifting tiles and adding thinset to raise them up, pulling tiles and removing thinset to push them down, etc. That principle should not be lost with these spacers. Yes, they aid in reducing lippage, but they work so well that you can actually conform the tiles to the substrate (so that it is not flat) while maintaining a lippage-free floor. This is not acceptable. Just because there isn’t lippage doesn’t mean the floor or walls do not need to be flat as well.
These systems should be used as a crutch to fine tune the lippage on the tiles. They should not be used to manipulate and bend the tiles so they conform to a substrate with highs and lows. So when using these systems, do not forget to get your floors flat before you set your tile. This way you have a lippage-free floor that has no ridges or valleys. That is the goal and my number one priority when setting tile!
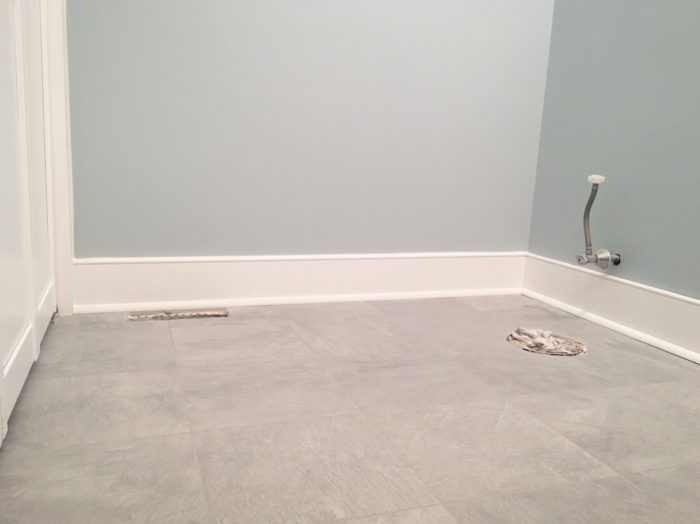
***Note in the above picture how tight the quarteround adjacent to the closet is to the actual tile. This shows how flat this floor is. The quarteround and baseboard on the right is not yet installed because the vanity is not in yet.


View Comments
There are, in fact, other words or phrases you could use for the concept of flat: planar, coplanar, or in the same plane.
Pfft! "Flat" is fine.
No need for a 10 dollar when a 5 dollar word works. :-)