Wall-Framing Tools I Love: QualCraft Wall Jacks
Leave the heavy wall lifting to Jack—Wall Jack, that is
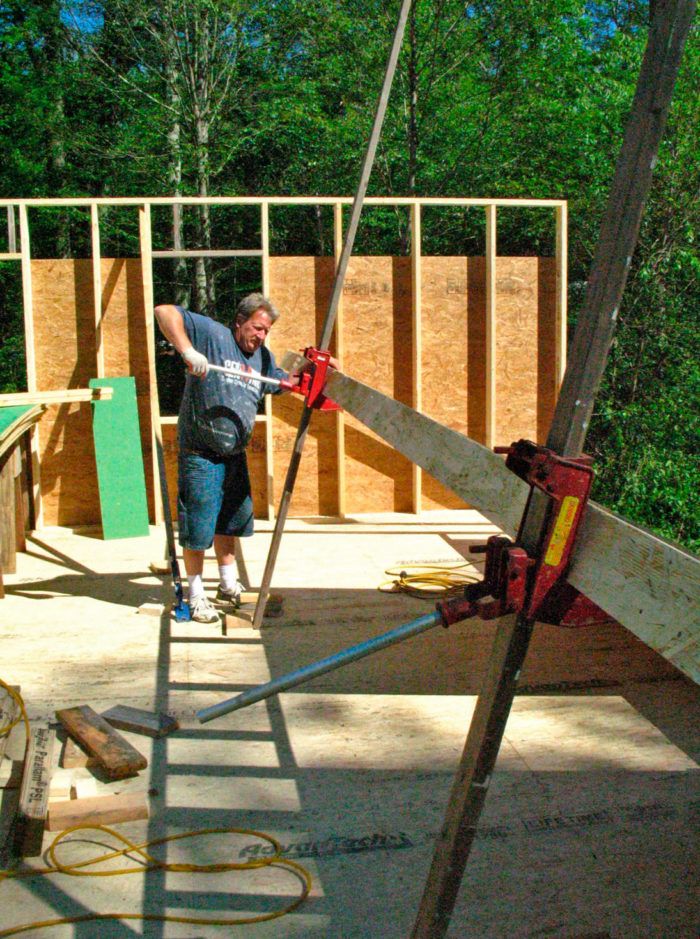
Bruce and I sheath as much of the exterior walls as possible before tilting them up. I usually lay out the top plate for the next floor’s joists or rafters, and sometimes we install the rim joist. The walls are heavier than two old guys can lift safely without assistance.
Over 20 years ago, I bought a pair of QualCraft Wall Jacks #2601 and have used them to lift walls and beams on dozens of jobs. The jack looks a miniature stout pump jack and works on the same principle. The wall jack creeps up a 2×4 post when you crank on the lever arm. The lever arm accepts a 1-in. pipe (you supply). Our pipes are about 2 ft. long and give plenty of leverage.
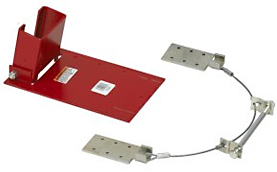
You need to lift the top plate of the wall off the subfloor several inches in order to engage the wall jack. We generally use a pry bar to get the initial lift and rest the plate on a short stack of wood blocks (4-1/2 in. to 6 in.). With the wall raised a little, the wall jack can be hooked beneath the top plate. It’s best to back up the 2x jack post with a block of wood nailed to the subfloor to keep it from sliding out. QualCraft makes a hinged post base for a more secure attachment than a kick-out block, and I’ve sometimes used long strap hinges screwed to the subfloor and posts. We also tether the jacks to the top plate or a stud. A short length of rope or chain is all that’s needed. We tie or hook the tether to the body of the wall jack and around the plate with 6 in. of slack. The tether prevents the jack and post from sliding sideways when the wall is upright and you move on to plumbing and bracing it in place. Without the tether, the post and jack can fall and knock you on the head (and I have the scar to show). QualCraft offers an accessory Wind Hook that serves as tether.
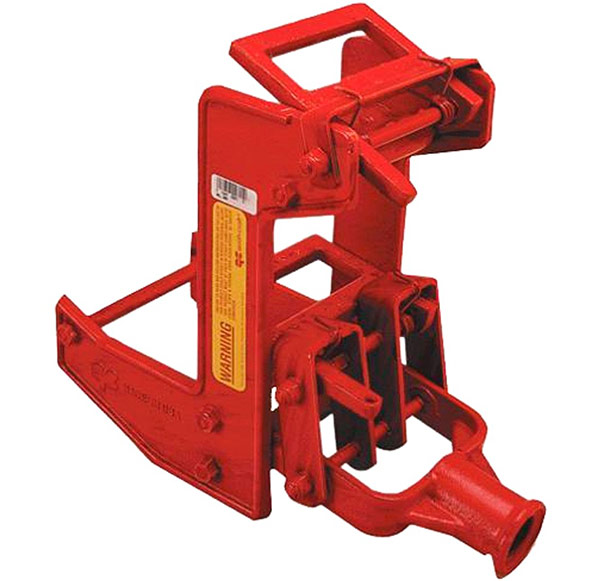
As you lift the wall, the jacks creep higher on the 2×4 post to a point where they get beyond reach. You’ll need stepladders to reach the jacks, especially when lifting tall walls.
Once the wall is about two-thirds of the way up, Bruce and I usually finish lifting the wall with a light push rather than jacking the entire way. But before the final push, we pause and prep another framing tool I love: a turnbuckle wall aligner.
And you don’t necessarily need two workers to operate the wall jacks. I’ve lifted walls over 40 ft. long alone using the wall jacks. I just walk from one jack to the next, giving a few cranks on the lever pipes with each pass.
We lifted the 34-ft.-long walls on this job with just two jacks, but when we have longer walls, we use three or four jacks.
The wall jacks aren’t one-trick tools either; they can be used to lift a heavy beam. You just brace the top of the posts to a nearby wall, rest the beam on the jack arm, and pump it up.
QualCraft Wall Jacks sell for $110 to $120 each, and the accessory kit sells for $50 to $60 each.
Fine Homebuilding Recommended Products
Fine Homebuilding receives a commission for items purchased through links on this site, including Amazon Associates and other affiliate advertising programs.
Magoog Tall Stair Gauges
Guardian Fall Protection Pee Vee
QuikDrive PRO300s


View Comments
Thanks, great information on the wall jacks! You make it look easy!
Mike,
Its been a while since I have used those jacks, so I can't remember. To lower the jacks, do you have to raise/jack them all the way up off the 2x4, or are you able to lower, or ratchet them down?
Response to M2akita:
To lower the jacks you can either run them off the end of the 2x4 or if you use two small pipes engaged to the leverarms of the spring-loaded engaging rings, you can lower them down the pole. It's easier to run the jack off the pole but sometimes you just need to lower it a foot or two while resetting a jack - and the alternative method is faster.