7 Steps to Float a Dry-Pack Shower Pan
Learn how to properly mix dry-pack mortar, form the screeds, and pull the mortar to ensure a consistent pitch or perfectly flat substrate.
As a remodeling contractor, I do my best to have a firm grasp of all construction trades. When I began working in the industry, I believed that certain traditional methods were to be practiced only by aged craftsmen with years of experience. As I learned to set tile, one of my biggest anxieties was teaching myself how to work with dry-pack mortar. Whether it was to flatten a floor or to pitch a shower pan, it seemed to be very complicated – the way you had to mix the mortar, forming the screeds, pulling the mortar, and ensuring a consistent pitch and perfectly flat substrate. Long story short, I learned that with proper knowledge and patience it’s a great technique to add to your arsenal, and it is actually somewhat fun. It’s important to get this detail right since it affects the long-term durability of the shower. No matter what the building inspector says, it’s not a good idea to install a pan liner and then a single, sloped mortar bed over it. Water that gets into the mortar bed won’t be able to drain out. Install the liner over a pre-sloped bed, as I explain here.
Step 1: Reinforce the shower pan. I used an unbonded mortar bed, so I have a tar paper slip sheet on the subfloor with wire mesh stapled to the top of it.
Step 2: Determine the drain height, and the height of the perimeter screeds relative to the drain (in my case, the drain system dictated the drain height above the subfloor). Generally, you want 1/4 in. of pitch per linear foot for the water to drain. In this case, the farthest point from the drain was a corner 36 in. away, so I made the pitch 3/4 in. above the top of the drain all the way around the pan. This means some areas of the pan will have a pitch greater than 1/4 in. per foot, but that is okay.
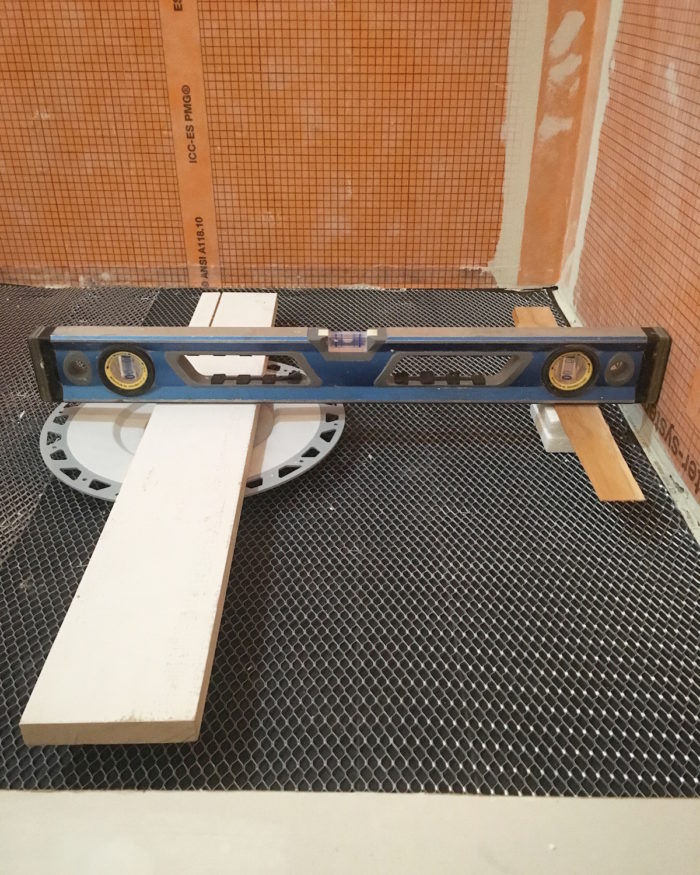
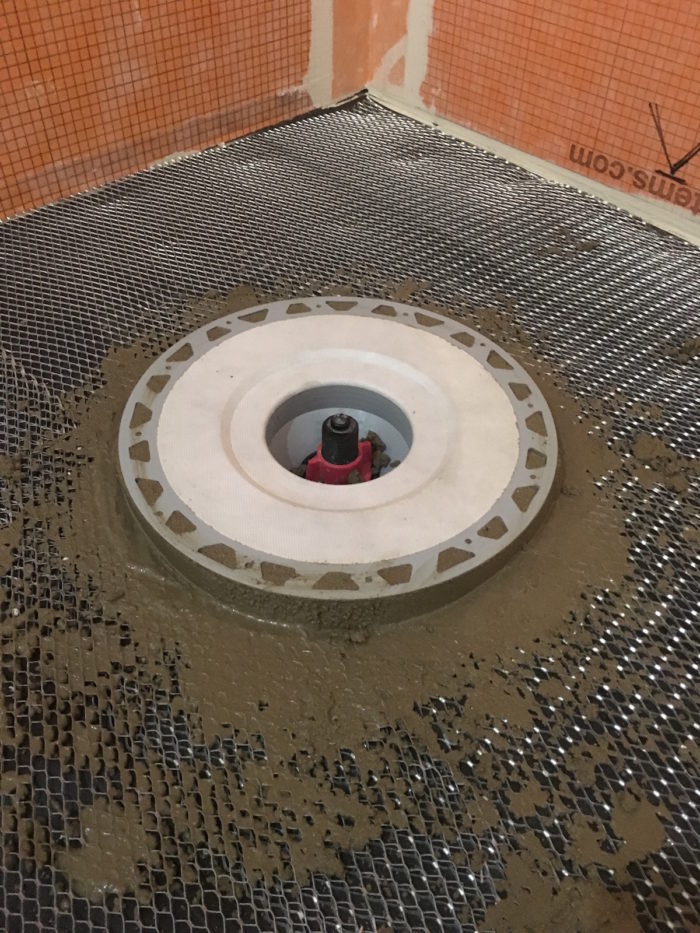
Step 3: Support the flange of the drain with loose mortar. Loose mortar is essentially the same thing as dry-pack only with more water. Once that is jammed under the flange, and the flange is level, the next step is to mix the dry-pack mortar. As a side note, 3/4 in. would be the thinnest I would ever install dry-pack, I usually aim for the thinnest areas to be roughly 1 1/4 in. thick and try not to go greater 2 in. thick.
I have always mixed my own dry-pack mortar with sand and cement. Many others use premixed mortar with the proportions already sorted out, but it has been just as easy for me to make my own, and I like the way that it pulls, so why change now?
The ratio that I prefer is 5:1, sand to cement. Add all of the dry ingredients to the mixing container and mix them prior to adding any water. Once they are thoroughly blended, start adding water by saturating a sponge and squeezing it over the fix. You will not have to add a lot of water at all. Honestly, there is no exact amount that can be specified – it depends on how wet the sand is when you start. You basically want to wet the cement particles and activate the cement, but not make the mix so wet that it shrinks once the water evaporates. Even a little bit too much water makes the mix stick to itself, and this makes it much more difficult to float and get smooth.
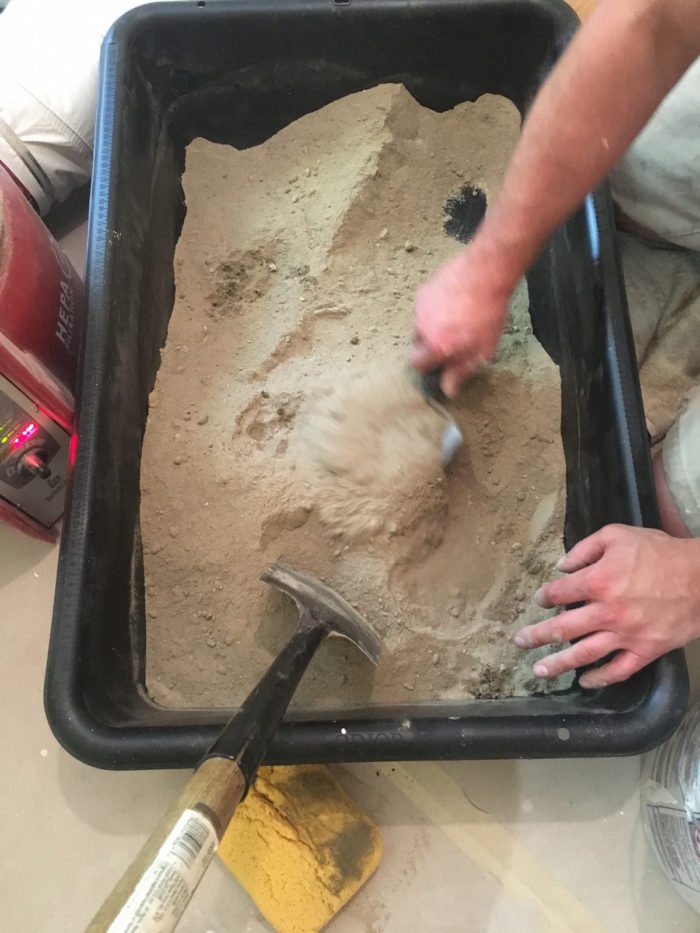
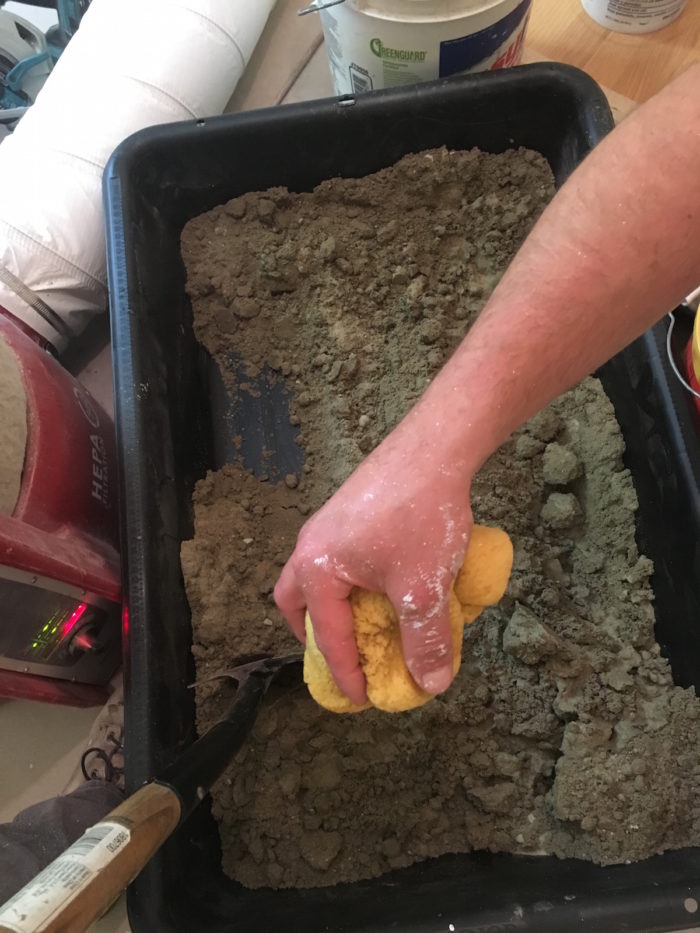
Essentially you want your dry-pack to be the same consistency as sandcastle sand: not too wet, not too dry. If you put some in you hand and squeeze it into a ball in your fist, you should be able to toss it in the air and catch it without it breaking.
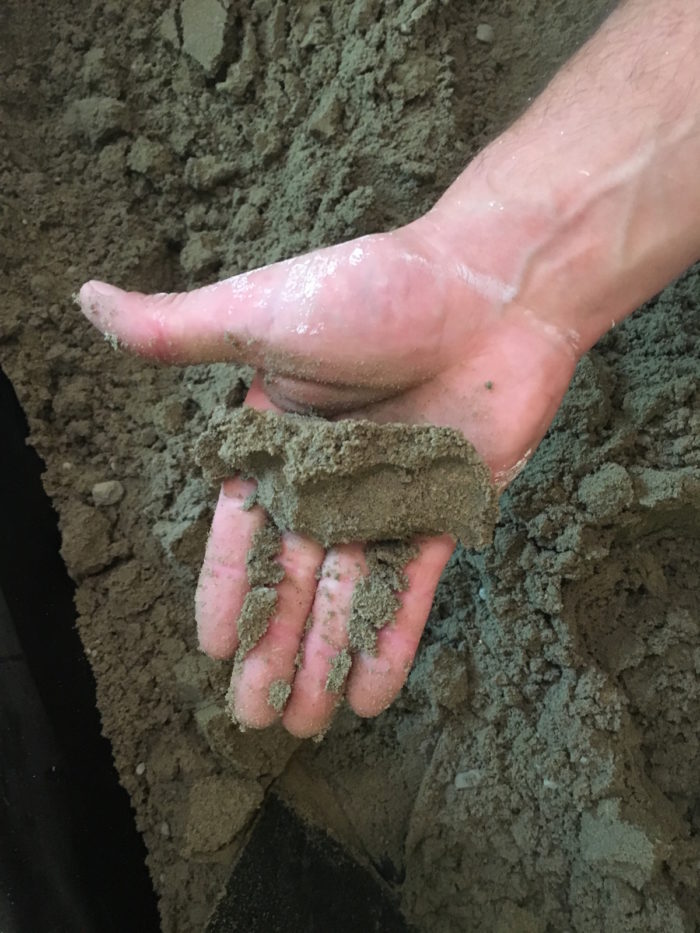
If you poke the same sand ball with your finger it should break apart.
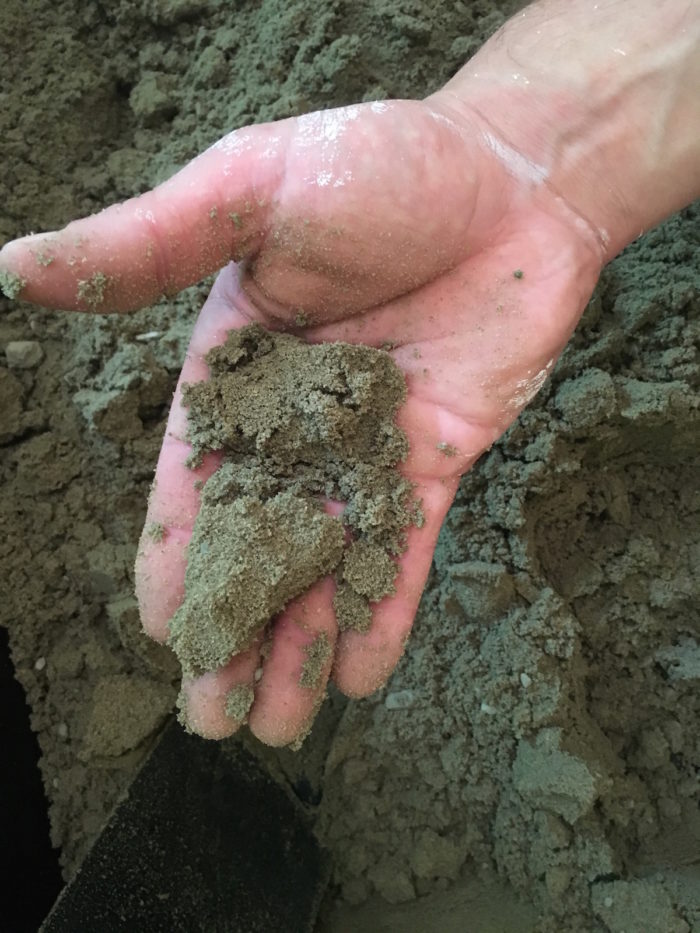
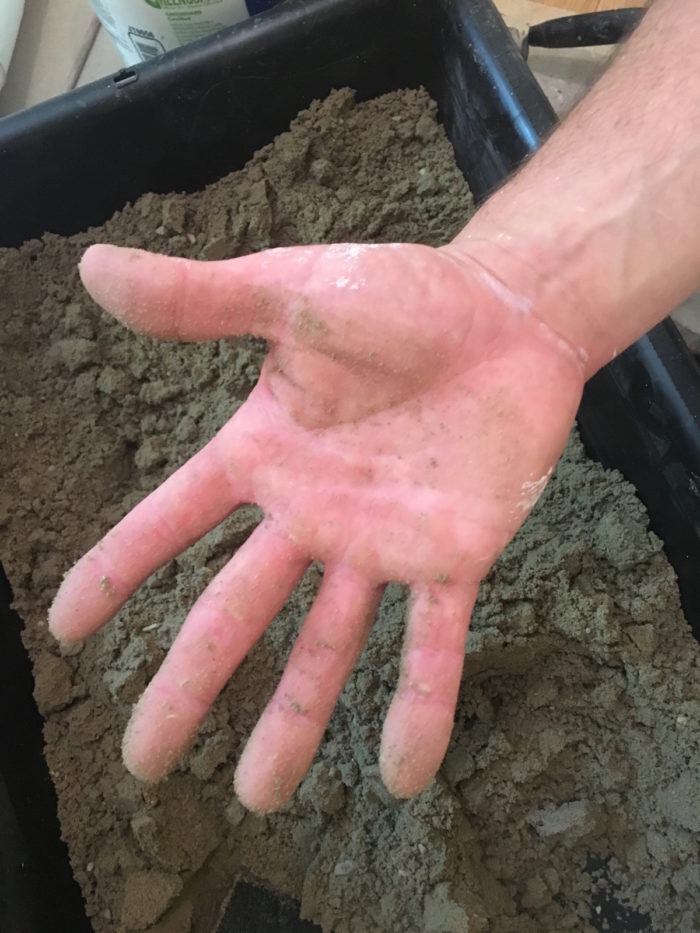
Once you drop the mortar out of you hand, your hand should be relatively clean and not wet. The pictures should help you gauge the right consistency.
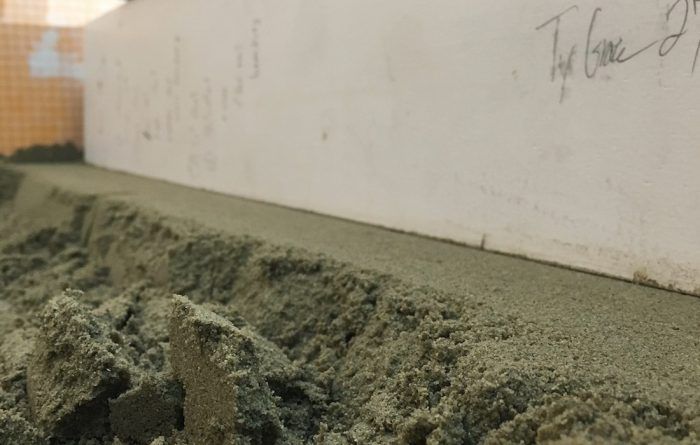
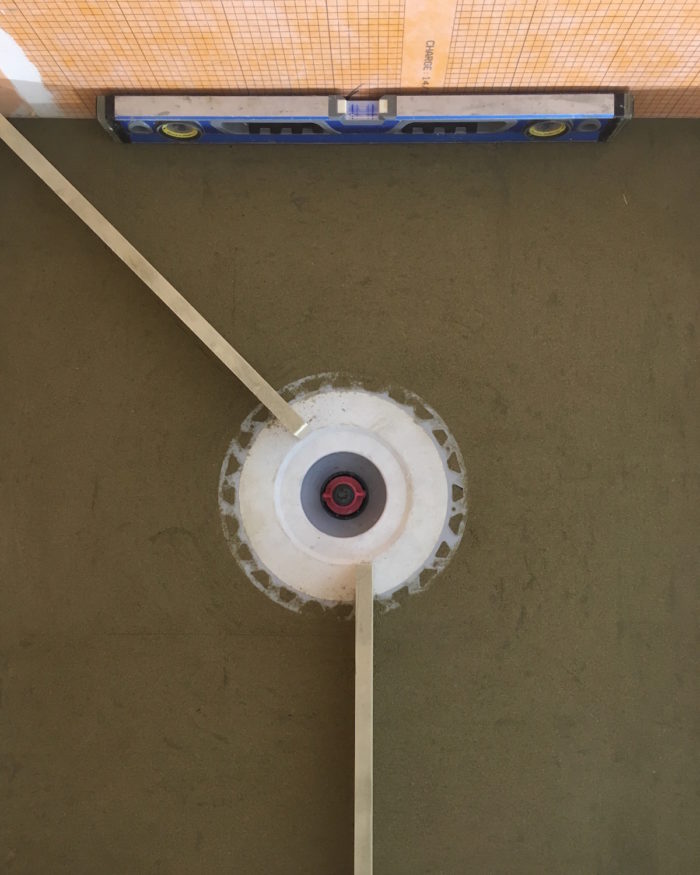
Step 5: Form screeds with the dry-pack around the perimeter of the pan. I start my screeds at the initial mark I made that was 3/4 in. above the drain. I then build the screeds with the dry-pack, compacting it by slapping it with my steel float. Next, I use a straight board to make the screeds level. I generally start against the wall with the board, put the level on top of the board, and bang it into the dry-pack so that I have a perfectly level depression. I then pull the rest of the excess mortar on the screed to the same height as my depression.
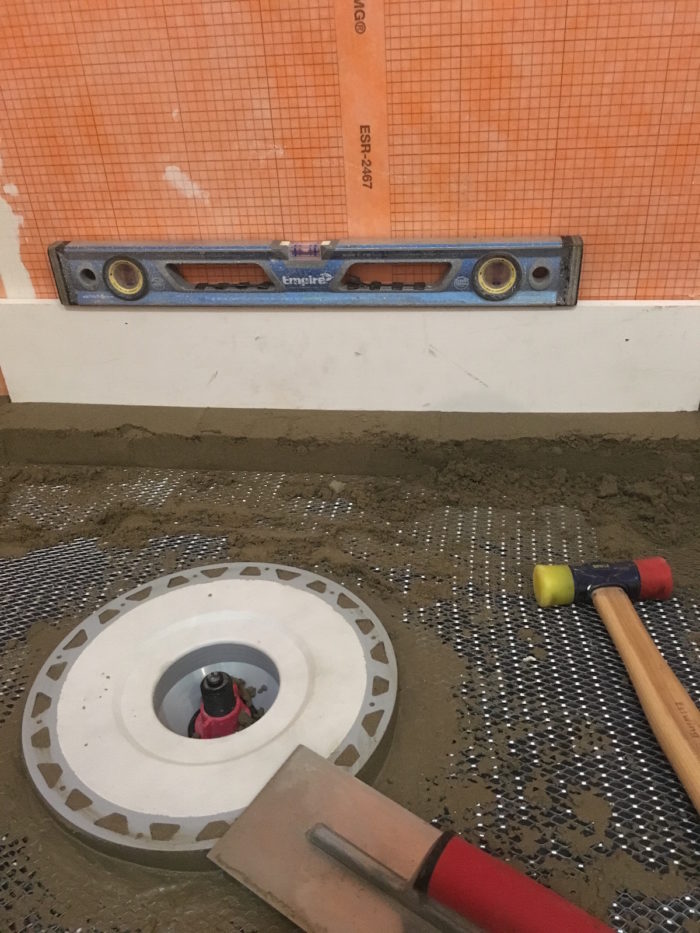
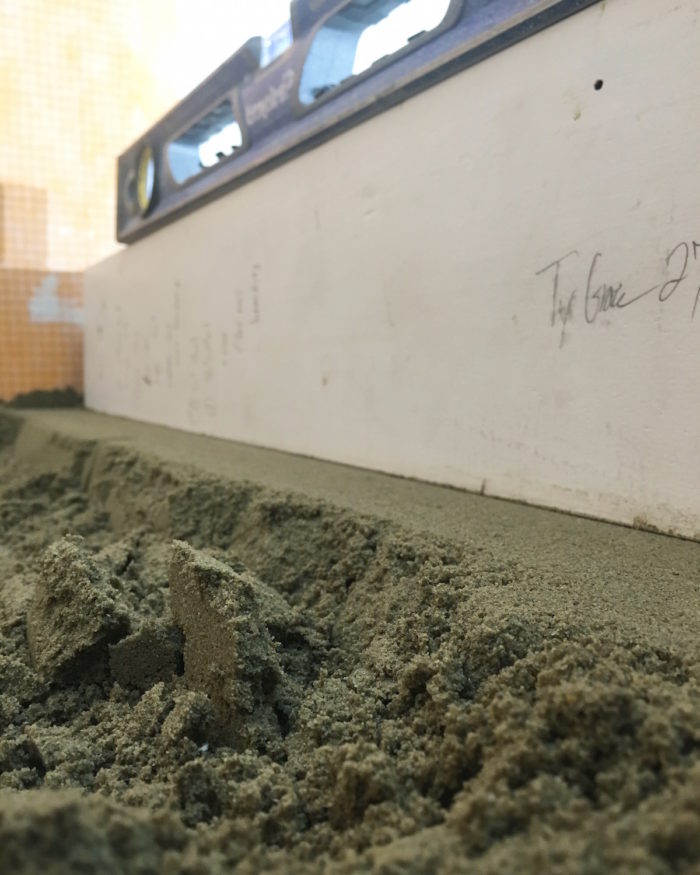
Continue this process and complete the screeds around the perimeter of the shower. By the time you finish your last wall, the screeds should all connect, be perfectly flat, and perfectly level.
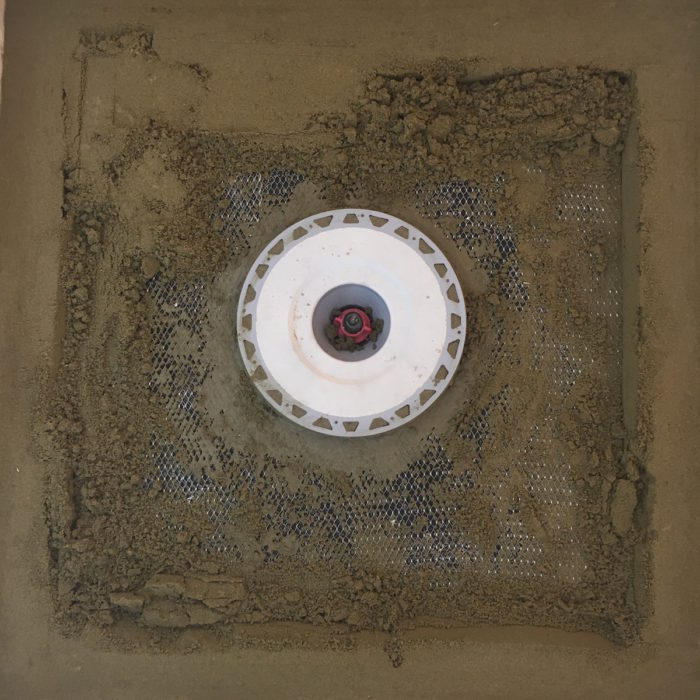
Step 6: Fill in the pan inside the screeds. Start shoveling in your dry-pack, spreading it out to get a general sense of how much more or less you need in different areas. You want to leave the dry-pack high at this point so that once you compact it with your steel trowel, it will not be below the height of the perimeter screeds. Once you have the proper amount necessary, start beating it down and compressing all of the sand particles with your steel trowel. Any low spots should be raked out and more mortar should be thrown into it to ensure it bonds to the existing dry-pack. You should then compact it again.
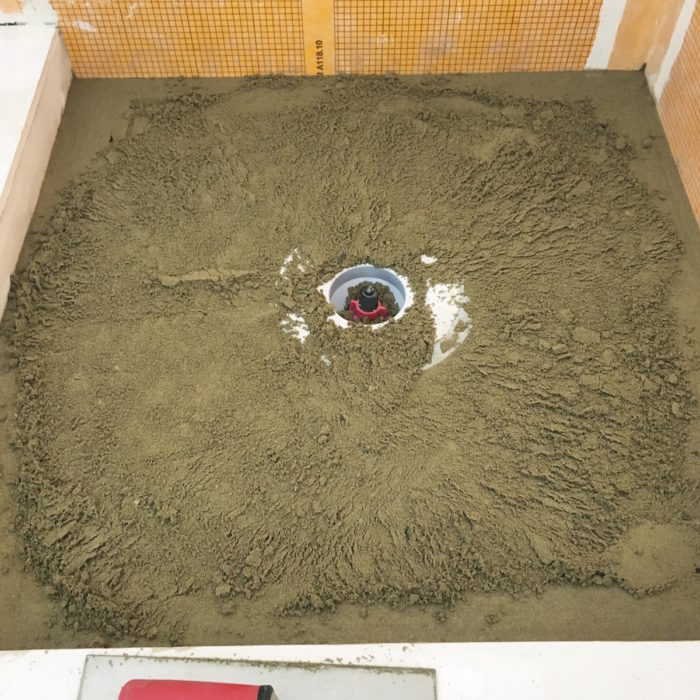
Once you have the correct amount of dry-pack you can start screeding the inside area of the pan using your perimeter screeds and the drain as a gauge to how much mortar needs to be removed. I usually have a few different size screeds cut at this point so you can constantly switch to the correct size without banging into walls.
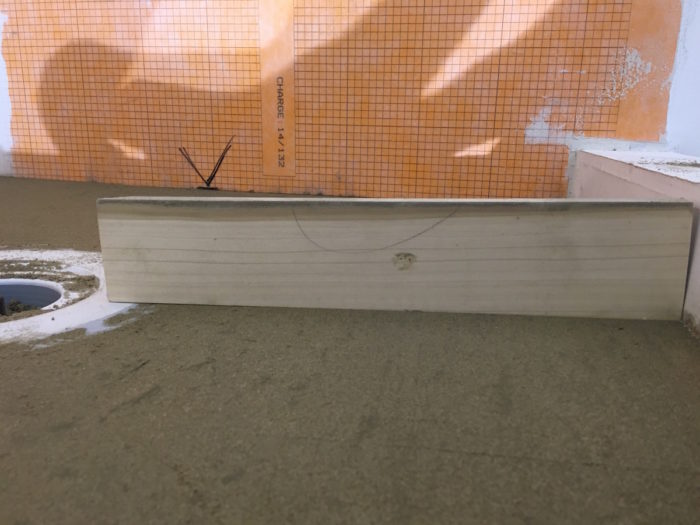
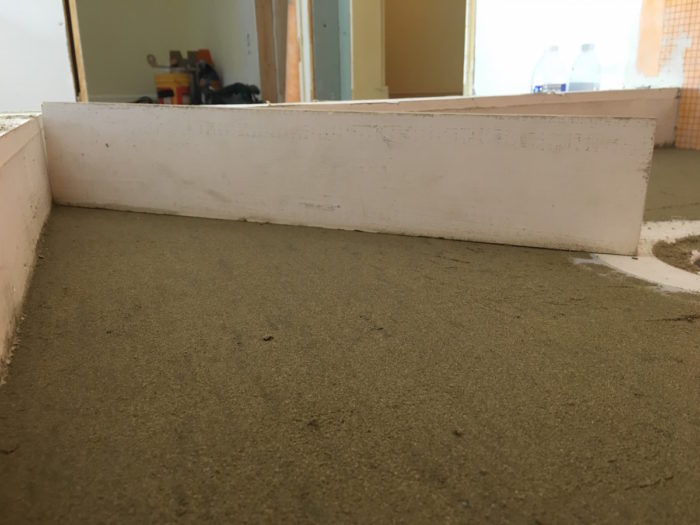
Once you are all screeded, take a wood float and smooth out the top of the dry-pack, removing any any imperfections and flattening out the mortar so that there are no high spots. After rubbing it with a wood float remove any excess mortar that is on top of the pan and slick it down with a steel trowel. This will bring up a tiny bit of water (unnoticeable) and seal the sand and cement to make a very thin smooth crust on the top layer of the dry-pack. It embeds any loose sand/cement particles. Now it is time to clean up and admire your work of art.
More on Showers
5 Handsome Choices for Capping Your Shower Drain – There’s something for everyone in this new line of decorative drain covers.
How to Install a Tile Shower Floor – This article explains three methods of installation of a tile shower floor. All of the methods work, but the one you choose will be dictated by how much labor you’re willing to put in (or pay for), and how custom you want the job to be.
Installing a Leakproof Shower Pan – A thick mortar bed over a vinyl membrane makes a sturdy base for tile, but it pays to test for leaks.
Linear Drains for Custom Showers – These sleek drains open shower-design possibilities, but at a cost.


View Comments
This is just what I'm looking for Thanks
How much working time do I typically have with drypack mortar? Nice article by the way
So, in top of this goes the liner membrane and another layer of drypack, right?
We had a shower installed by a handyman who put portland sand mix under an acrylic shower. It pops and creaks very loudly under our feet, especially around the drain. Is there a way to fix that? Thanks