How to Tile Everything
Use the right substrate and mortar for a long-lasting tile installation.
Synopsis: Tiling looks simple, so many people decide to do it themselves. Unfortunately, there’s more to a good tile job than meets the eye. Editor Justin Fink identifies five fundamentals for every tiling job, then provides an overview of some common tiling projects (kitchen backsplash, outdoor spaces, tub/shower surround, shower floor) and of two specialty tiles: glass tile and large-format tile.
To me, tile work is a lot like painting, or hanging and taping drywall. It’s a task that looks simple and has a low barrier to entry in terms of tools and materials. It’s the part of a remodel job where people often try to save a bit of money by doing it themselves. And although it’s true that tile can be the center of attention in a kitchen, bath, or foyer because it introduces color, creates the illusion of an expanded space, or counterbalances the other parts of the room by providing a change in texture, it’s just as likely to be the center of attention because of a poor installation.
It may look like straightforward work, but there’s a lot that goes into a good tile installation, and shortcuts or shoddy materials will come back to bite you later. If you plan to do the work yourself, it helps to know some basic rules of thumb for common tile jobs, especially when it comes to prep work and proper material selection. Get these parts of the job right, and the only thing you’ll need to worry about in 10 or 15 years is how you ever thought the trendy tiled tub surround or kitchen floor you chose was a good idea.
FUNDAMENTALS TO KNOW FOR EVERY JOB:
Straight talk on substrates
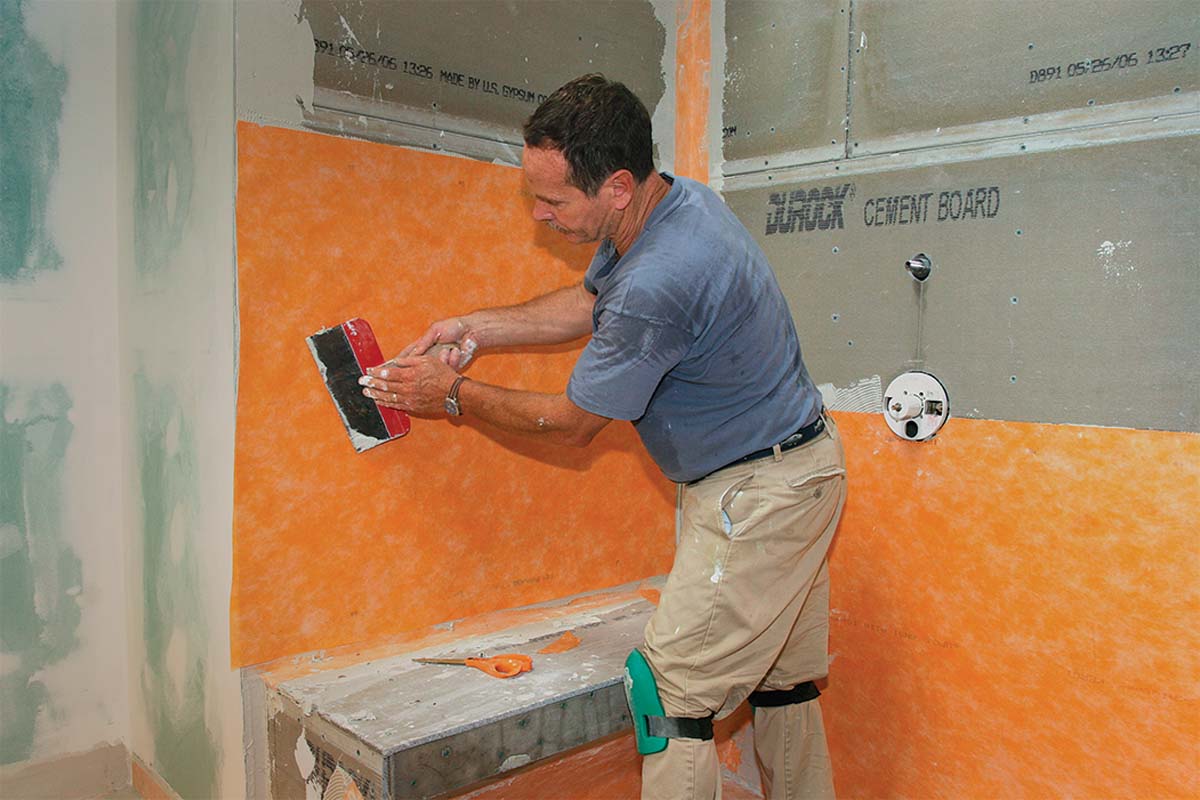 Tile is often installed over plywood subfloor sheathing, concrete slabs, tile backerboard, or drywall. But it’s possible to install tile over other materials, too—including old tile, vinyl flooring, laminate counters, and more—as long as the full substrate is sound (as opposed to just the layer you’re bonding to) and the right thinset is used. Some substrates should be avoided at all costs, including painted floors (even overspray from walls or trim), moisture-damaged or delaminating surfaces, and anything with an oily or waxy finish. Also, the most recent ANSI standards for tile installation specifically exclude bonding tile directly to OSB.
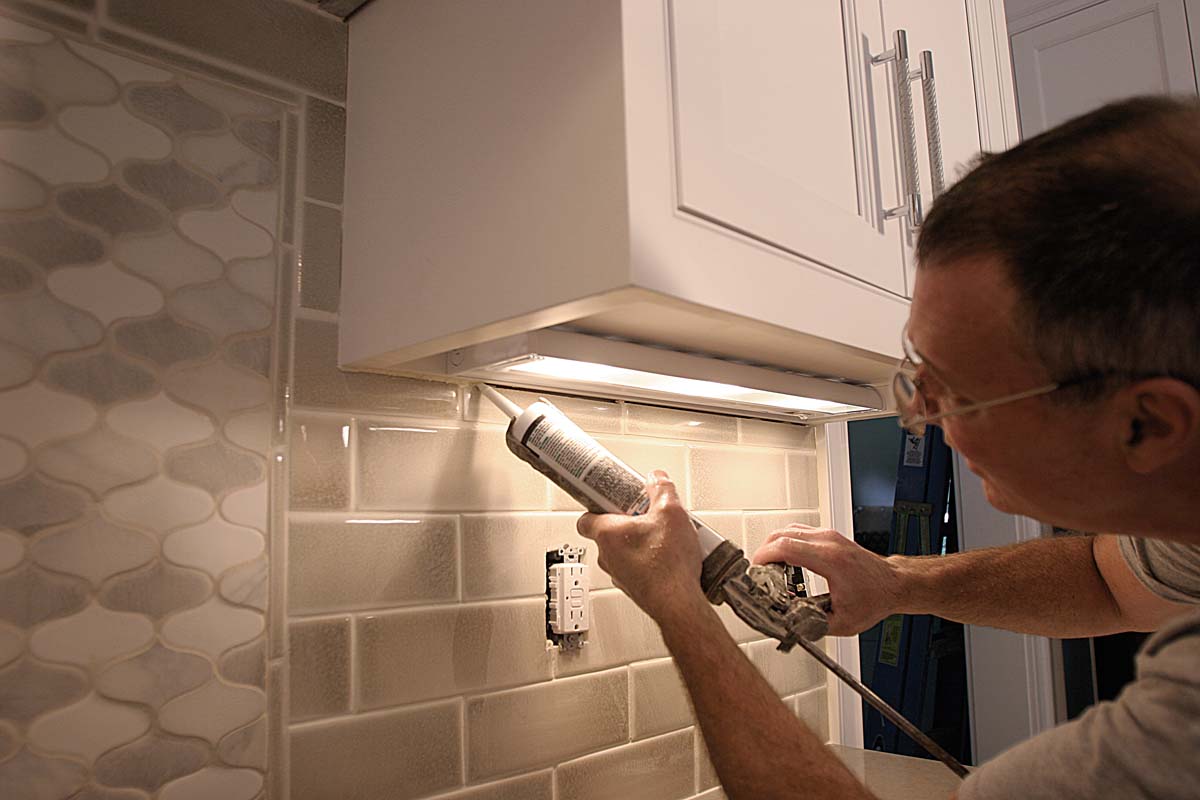
Know when to switch to caulk
Grout-joint width: purpose or preference?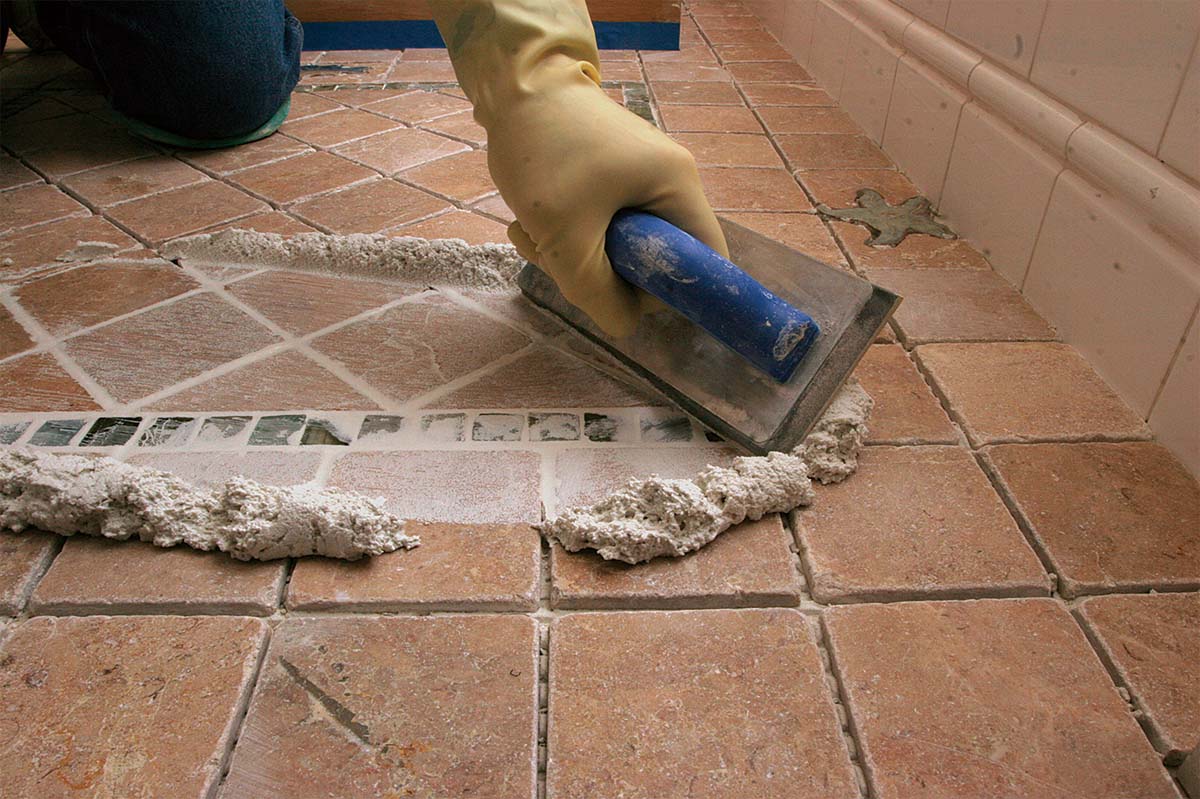
There is no official standard for the width of grout joints, but whether directly or indirectly, the width is driven by the tile you’re installing. In most cases, variation in tile size dictates the minimum joint width. People often use the example of handmade tiles with irregular edges to illustrate this point, but it’s not uncommon for boxes of manufactured tiles to have as much as a 3⁄32-in. difference between the largest and smallest pieces. Although that may seem minor, it can wreak havoc in your layout and finished look if the tiles are set with a narrow grout joint, so a wider grout joint is often required in order to disguise the problem. The joint width also may be driven by the type of grout being used, which may in turn be dictated by the tile material. For example, because marble is a relatively soft stone, it must always be finished with unsanded grout to avoid scratching the surface; the joints must therefore be no wider than 1⁄8 in., which is the maximum width for unsanded grout.
The right thinset will make your life easier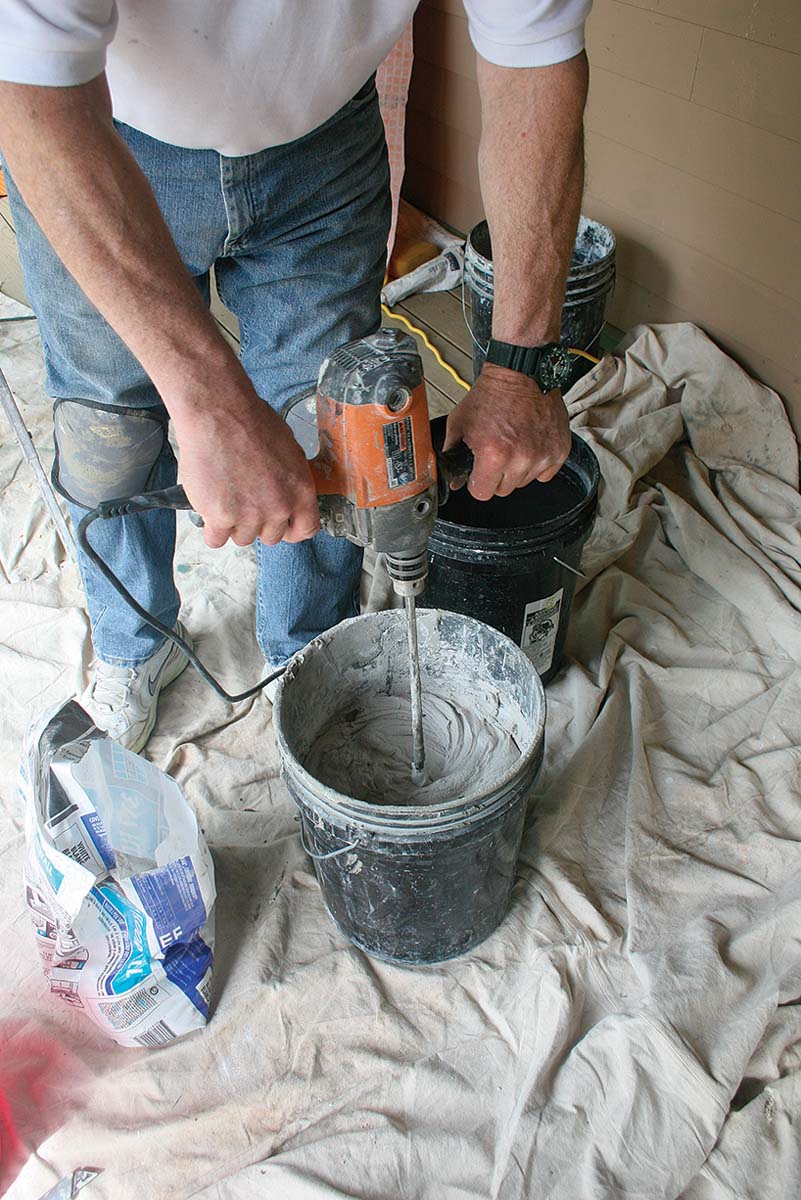
At the most basic level, thinset mortars break down into modified (sometimes called polymer-modified) and the less expensive unmodified (sometimes called dry-set). These days, there isn’t much reason to choose unmodified thinset unless you’re bonding tile to an uncoupling membrane (such as Schluter Ditra) or trying to save a few bucks per bag of mortar. Modified mortars dominate the shelves at home centers and tile shops, and there seems to be a special variety of modified thinset for every type of job. Manufacturers often advertise the intended uses of their different thinsets right in the product name: natural-stone mortar, nonsag mortar, large-format mortar, glass-tile mortar, and so on. There is a lot of overlap between varieties, though, so if you’re not sure which to use, call or visit the websites for Laticrete, Mapei, Custom Building Products, and other brands, and you’ll find excellent advice on the right product for each job.
Learn from cracks and grout failures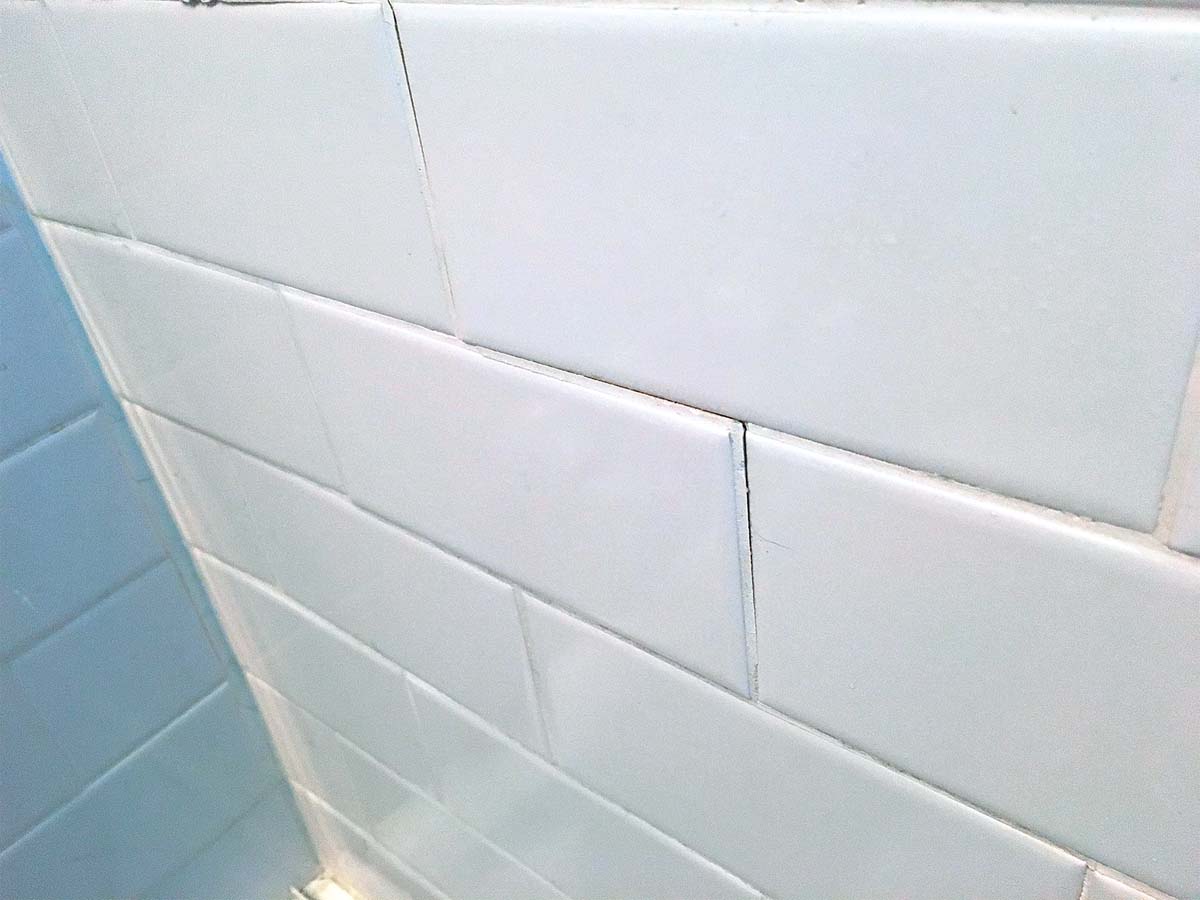
A cracked tile is usually a sign of substrate movement. In many cases, it’s a problem of an inherently stiff tile installed over a substrate that is soft, improperly fastened, or inadequately stiffened. The substrate moves, the thinset holds, and the tile gives way and fractures or debonds. A similar phenomenon can be found with tile installed over concrete, where movement stems from contraction. If installed before the concrete moisture has equalized and the freshly poured concrete dries out and shrinks, the tile can debond or crack. Such cracking can be avoided by installing the tile on a mortar bed set over a cleavage membrane (felt paper, for instance), or over a crack-isolation membrane. Although these types of deflection and movement can also lead to grout cracks, there are other possible causes to consider when grout fails. For example, if the grout hasn’t been sufficiently packed into the joint, it can bridge the space between tiles without fully filling the void. It’s also crucial to get the mix correct. Cement consumes water to fuel hydration, but if you mix the batch too wet, the excess water can leave pinholes in the grout as it evaporates. Grout that has started to dry in the bucket and is rewetted is also problematic. It will pack into the joint as normal but will dry to a weaker, sometimes crumbly joint.
Kitchen Backsplash
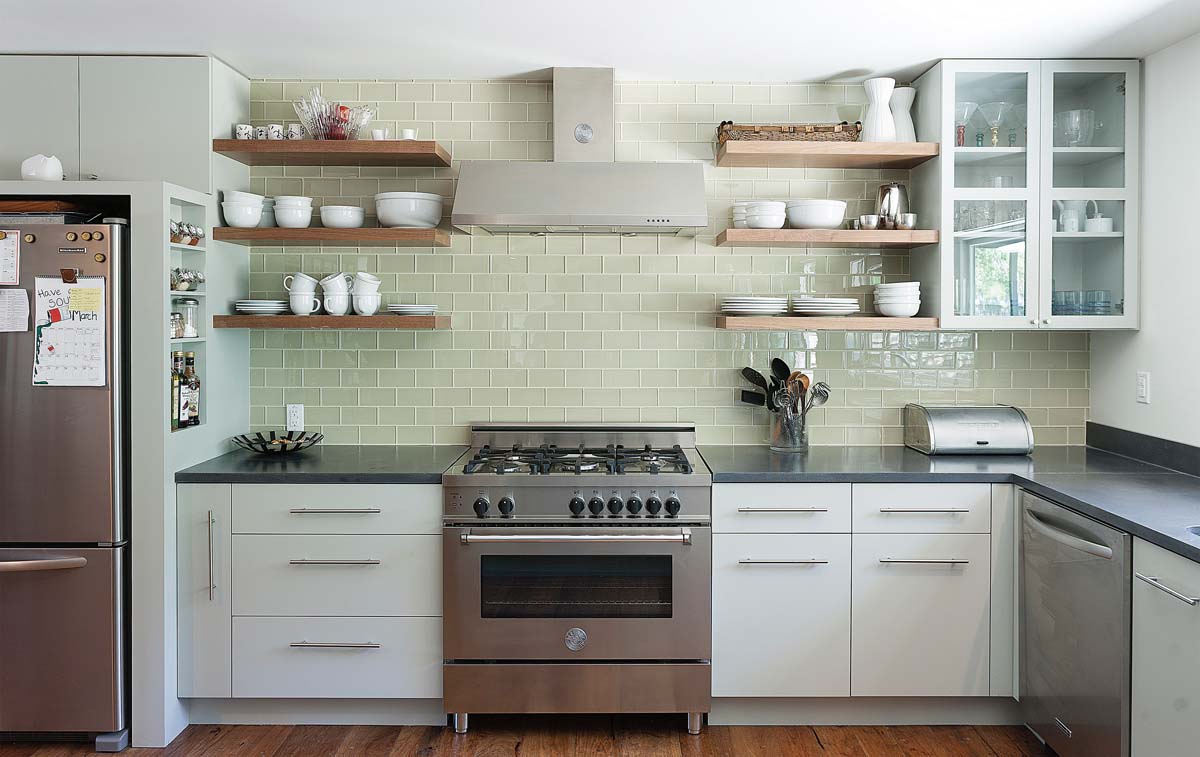
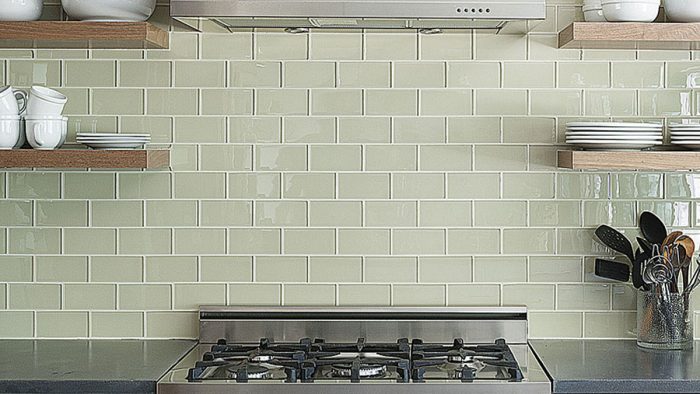
Compared to a shower or tub surround, a backsplash sees less water, which means that the substrate can be standard drywall, and mastic is an acceptable adhesive. Be mindful of the often long horizontal shape of the space, the number of cutouts needed for outlets and fixtures, and the possibility of visible tile edges at the end of a run, where through-colored tiles or bull-nosed tiles are preferred. Ceramic subway tile, shown here, is a classic choice for its light weight, workability, and relatively low cost. Grout for ceramic tile can be either sanded or nonsanded.
Glass tile
Regardless of substrate and location, all glass tile should be set in a purpose-made modified thinset, which is designed to bond impervious materials and typically is made from a finer white blend of sand and cement to ensure that the thinset, which is often visible through the translucent glass, doesn’t affect the look of the finished installation. Grout should always be nonsanded, which eliminates the risk of scratching the surface of the glass.
Outdoor spaces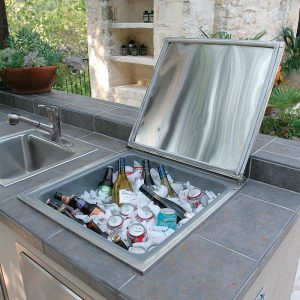

Covered entries, balconies, and outdoor kitchens take a beating from sun and weather, so the name of the game with outdoor tile is a reliable, rotproof substrate. Countertops are often installed over a cementitious backerboard. Although nonmodified thinset is a common choice over interior concrete slabs, opt for a modified thinset with increased flexibility in exterior applications, possibly with the addition of a crack-resistant coating or membrane over the concrete. Natural stone is likely the best aesthetic fit, but porcelain (shown) is often chosen for its mix of low cost and high durability. For added weather and stain resistance, consider epoxy grout for joints.
Tub/shower surround
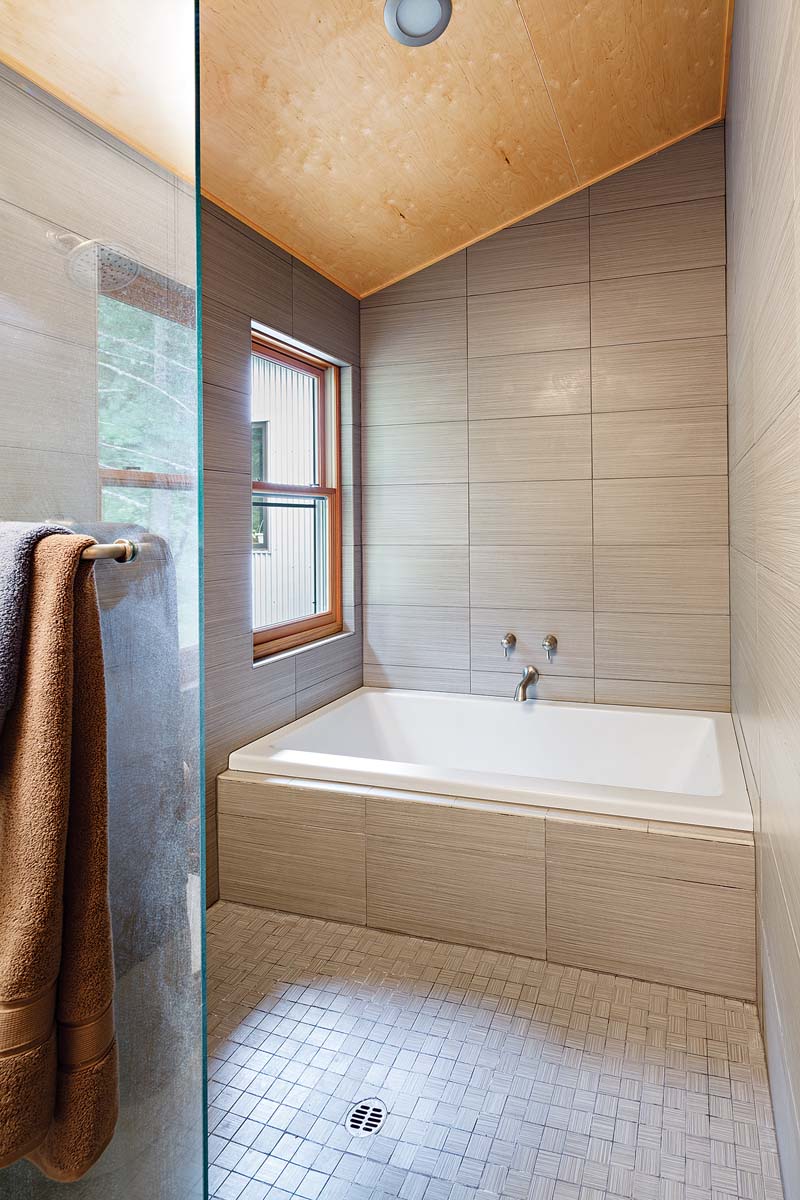
There are many options for the substrate in a tub surround or shower. Cementitious backerboard is the most common and affordable choice; roll-on or bonded waterproofing membranes and preskinned waterproof polystyrene panels are the premium options. Drywall is a no-no, including green-paper-faced products. Mortar can be any modified thinset that fits the type of tile being installed, but nonsag wall-tile formulations provide a firm grip with fewer spacers. Grout options are standard.
Shower floor
Substrates and mortar are dictated by the type of shower assembly, which can range from traditional hand-packed mortar beds to prefab, ready-to-tile platforms. Linear drains open the door to using larger tiles and having less grout, but the common choice remains tile no larger than 4 in., a limitation that ensures the tile surface can be sloped toward the center drain. Grout options are standard, although epoxy grout is a worthwhile upgrade in this area for its reduced maintenance on these often grout-heavy surfaces.
Large format
Tiles larger than 15 in. long or wide are referred to as large-format tiles. When it comes to installation, these tiles are in a league of their own. Substrate options and prep are typical, but it’s even more important to ensure adequate stiffness. Thinset should be formulated specifically for large-format installations to ensure flexibility in the bond and allow the mortar to be built to a thicker bed than when using conventional thinsets. A thicker bed is helpful when leveling and aligning edges of large tiles, which often have slight arches—a byproduct of firing large pieces in a kiln. Many thinsets in this category are also formulated to be lightweight so that back-buttering—often a must when setting large-format tiles—doesn’t make the pieces too heavy to wield. Grout options are standard, although expansion joints are common features when tiling large, uninterrupted areas (as often as every 8 ft., depending on the job).
For more photos and details, click the View PDF button below:

