Fitting a Cabinet Between Two Walls
I knew it would be a tricky installation, so I planned to take my time and nail the execution. Here's how.
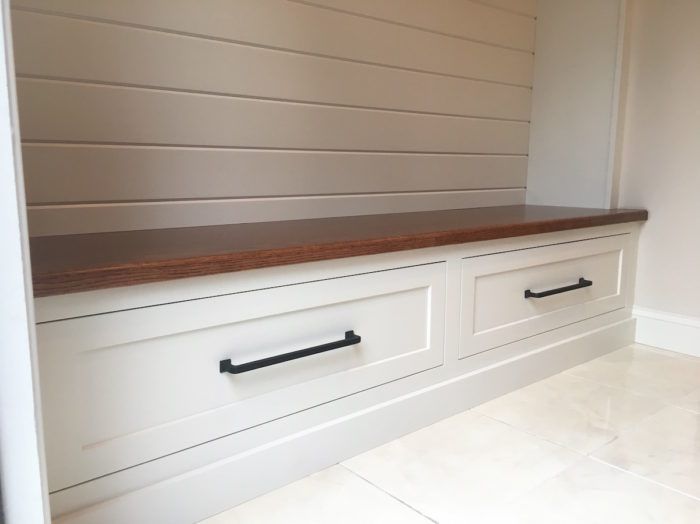
One of the toughest cabinet installations has to be fitting a single cabinet between two walls. Add an outside corner or, even worse, two outside corners close to the front of the cabinetry, and it makes it even more difficult. That’s because the corner bead and spackle generally reduce the opening size by at least 1/4 in. So getting the cabinet into the opening and still having it fit tightly once past the corners is nearly impossible.
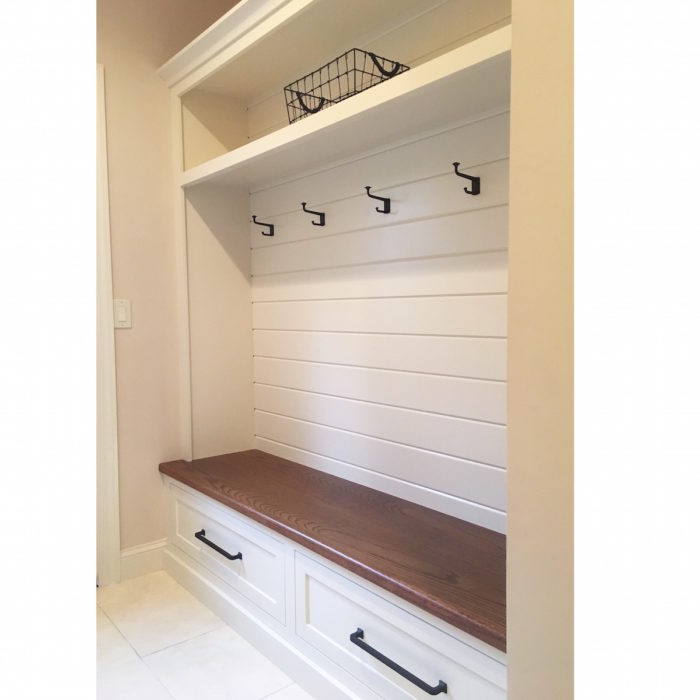
My last built-in installation had one outside corner on the right-hand side, and a door/door casing on the left-hand side. The cabinet itself was almost 7 ft. wide and had oversize stiles for scribing. I knew going into the job that it would be a tricky installation, so I allowed for it in my pricing. I did not want to rush and mess anything up in the process, so I planned to take my time and nail the execution. Here’s how.
My first step is to find a plumb reference line roughly in the center of the space. I then mark where the front of my face frame will intersect with each wall. If the cabinet is 20 in. deep, I take all of my measurements at that 20 in., not at the inside of the wall. I next check my walls on either side for plumb. I take note of how far out the walls are and write/sketch down my findings. Many times you can get away with a top and bottom measurement on either side of your plumb line for your scribe. If the walls are really wavy, you can measure off each side of your reference line every 6 in. or so vertically. This will provide you with multiple measurements on either side of your reference line, which you can then transfer to your face frame and connect the dots so that the cabinet contours to each wall.
Once all of my measurements are jotted down, I transfer them to my cabinet. I measure from my center reference line on either side and essentially draw the wall contours onto my face frame. I then set my track saw at a steep bevel and rip the contours approximately 1/8 in. proud of my line. Next, I cheat up to the line with a sander or a block plane. This creates a bevel with a flat portion toward the front of the face frame. It helps prevent cracking or chipping the front corner of your scribe. I once had a slight nail pop tear a chunk out of my scribe because it was bulging the drywall just enough for the stile to get hung up on it. Lesson learned.
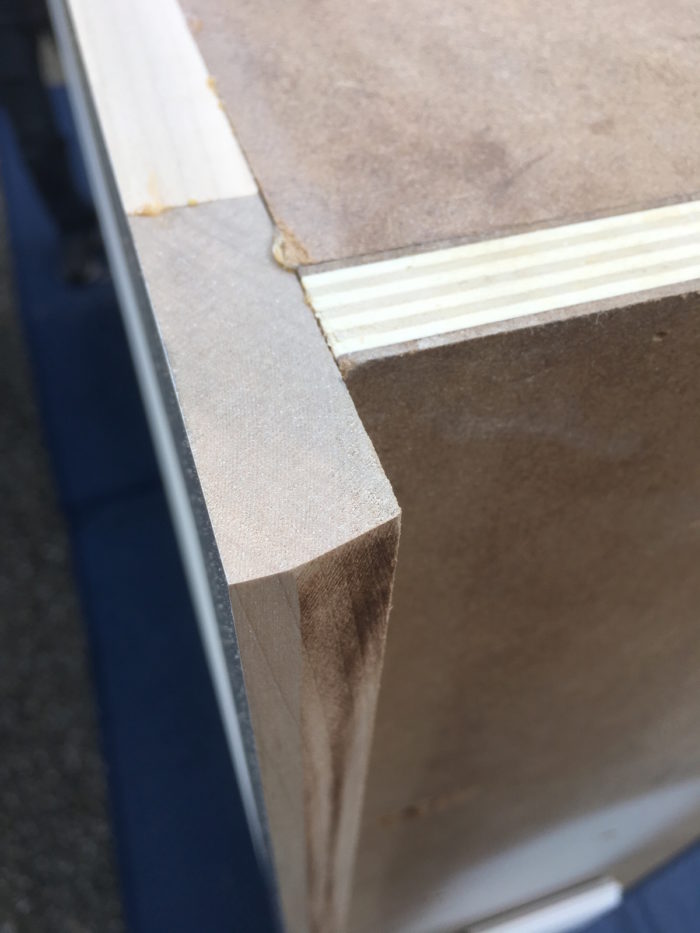
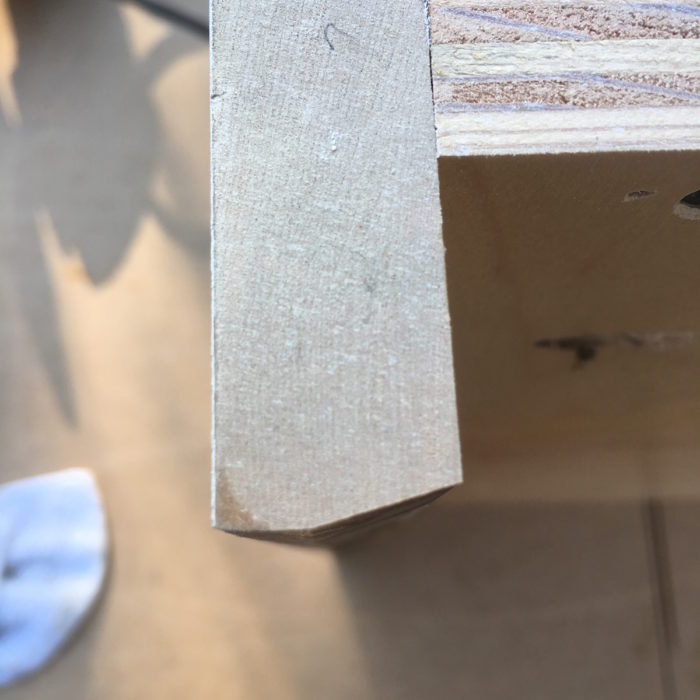
Finally, I position the cabinet near the opening. I try my best to swing the end closer to the outside corner in first (right side) and then push the other side in (left side). You need to keep the cabinet as close to square with the opening when doing this. Too much angle will cause you not to fit. Too little angle will also cause you not to fit. I needed little extra help in this situation, so I grabbed an extendable pole and propped it between the two walls. It gave me just enough clearance to get past the corner bead, and then it was smooth sailing from there.
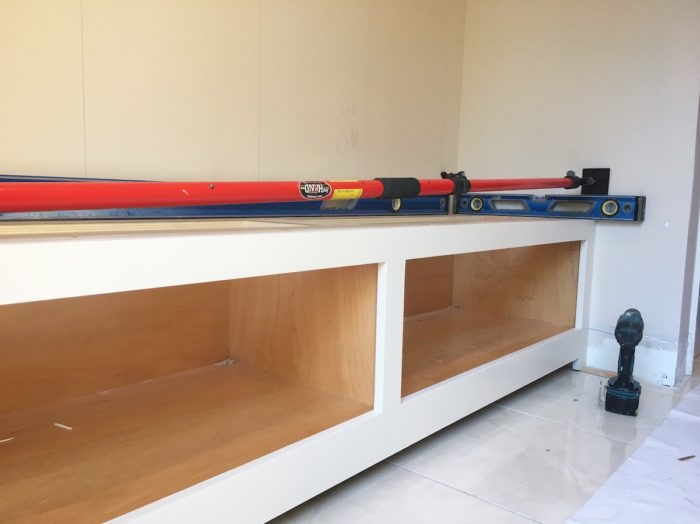
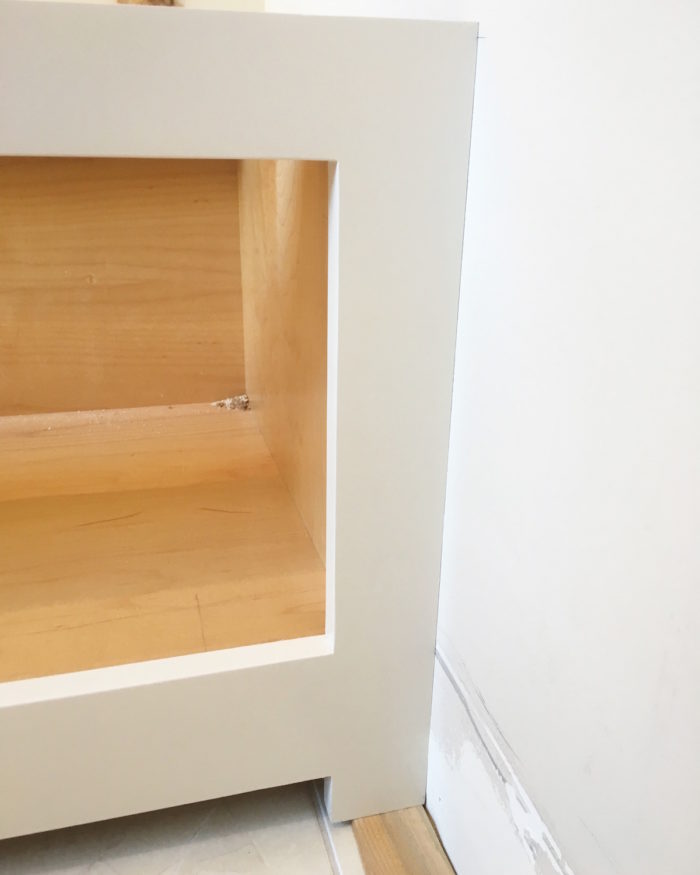
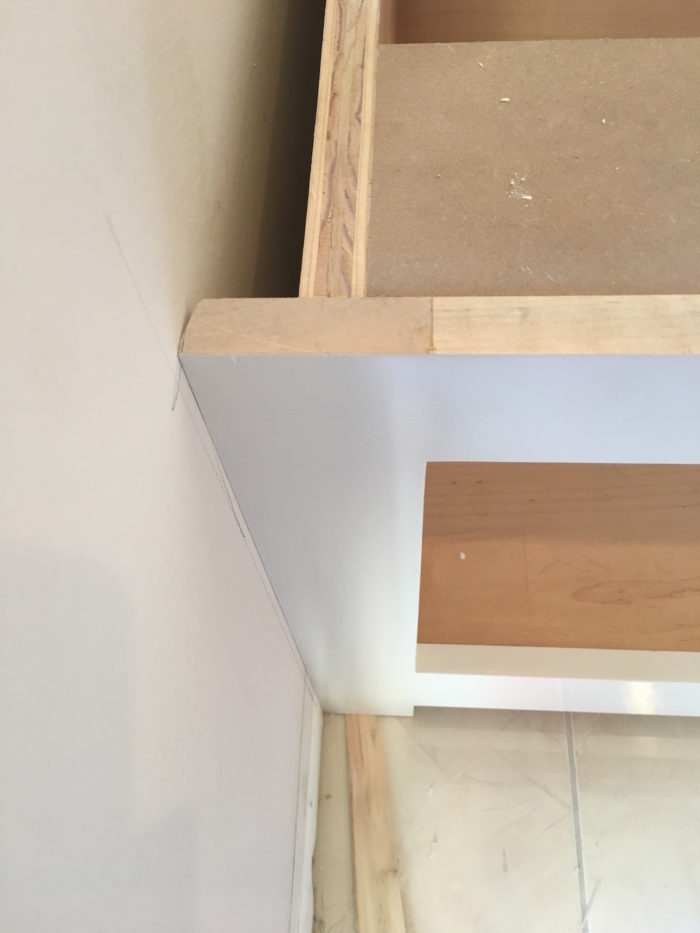
After the cabinet goes in, you will sometimes have slight gaps. You can either tape the face frame and caulk the gaps and then touch them up with your sprayer, or you can spackle the wall to build it up to the side of the face frame. I generally get my scribes extremely tight and do not need anything, but on this job, I needed a small amount of caulk on one or two spots due to contours in the wall. These gaps are 1/16 in. or less, but they are still gaps. If you have anything bigger than that, or if you have gaps along the entire stile, the better option is to build the wall out with spackle. Because there were only two small spots on this job, I taped the stile, caulked the gap, and then touched it up the next day with my HVLP sprayer.
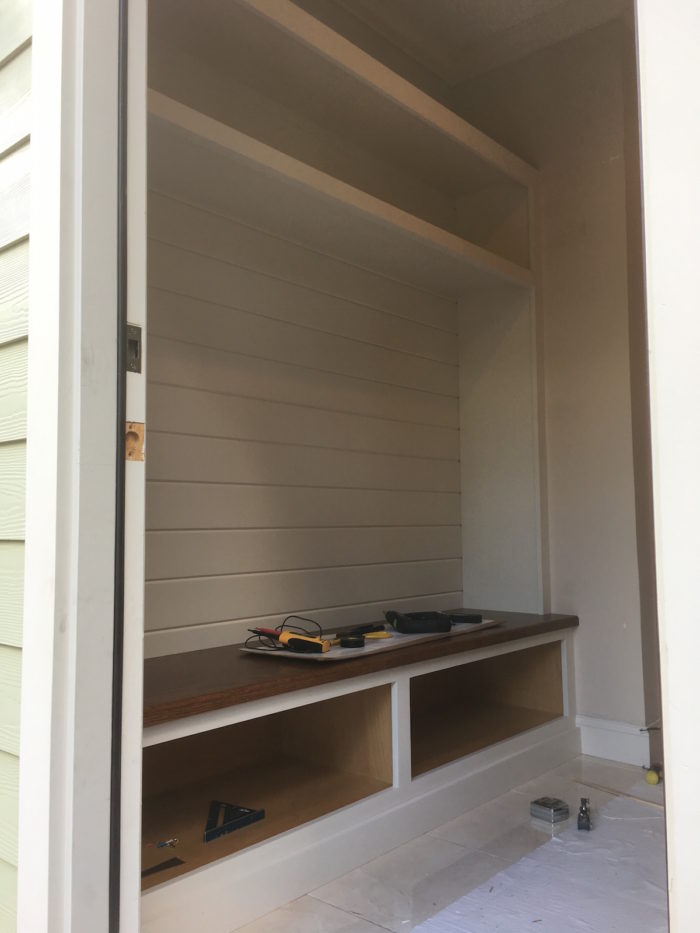
The upper cabinet and lower cabinet go in the same exact same way. Take your time, measure 800 times before cutting, bevel your stile and leave a flat portion on the front, cut it tight, and scrape your way on in for a tight fit!








View Comments
Interesting. I would not have caulked that gap that was less than 1/16 inch. I prefer to have absolutely straight cut-in paint lines. Much easier than masking every door/window frame and basecap. I simply slip a piece of paper behind the trim.--Just my preference.
I'm not sure why he didn't build the cabinets on-site or even have the cabinet manufacturer leave off the face frame and he could have simply built that on-site.
Thank you for this excellent article. In a similar situation I have built the face frame a separate unit ever so slightly proud with the outer edges beveled in back to make removing scribe material easier. The cabinet is prepared beforehand with internal pocket holes. The frame can then be tilted side to side for scribing, careful to err on the side of a hair too long. With two people a gentle bend of the frame shortens it and it can be laid flush against the cabinet. as the pocket hole screws grab it tight and it flattens to the cabinet it compresses nicely against the sidewalls.
good interior design