How to Load Paint onto a Brush The Professional Way
How to make and use a cut bucket and how to load a brush with the right amount of paint to get excellent results without making a mess.
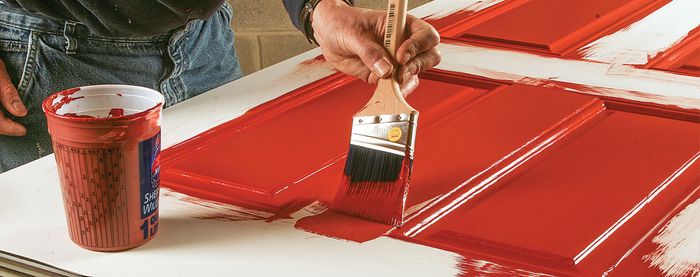
One of the first mistakes would-be painters make happens before the brush ever touches the surface. Properly loading the brush with paint is an essential painting skill you need to learn. In this video from the Fine Homebuilding archives, professional painter Brian Doherty shows us how to make and use a cut bucket and how to load a brush with so that the bristles are full of paint but you don’t get drips and runs.


View Comments
My version of loading a brush is slightly different. I dip the brush into the paint that I've poured into a plastic pail. I then push the side of the brush against the inside wall of the pail. This pushes paint into the "reservoir" within the bristles. Once you understand that a paint brush consists of a handle, paint reservoir, and applicator, you understand how to properly use it.
I fill the ferrule with solvent an then "whip" it all out to ease cleanup. Otherwise, that is pretty much the way I do it.
Even though this is from the video vault, it is interesting that it no prep was made to the window or trim being painted. Throughout the clip you can see the water damage in the bottom corner of the window and at about 3:05 you can see a ridge of paint(?) that need to be sanded off on the left side of the trim. Also, It is a lot of extra work to paint over a radiator without covering it up.
Interestingly, I start painting from the ceiling down or top to bottom but I agree that the final stroke should be down. A really good brush is important but due to cost I do use the cheaper nylon brushes mostly cause I can throw them away and the better brushes are hard to find at the last moment. I think the hair brushes leave a finer, cleaner line look. Thanks for sharing